function(head, req) {
  // !json templates.index
  // !json blog
  // !code vendor/couchapp/path.js
  // !code vendor/couchapp/date.js
  // !code vendor/couchapp/template.js
  // !code lib/atom.js
Let’s take a look at Sofa’s list function. This is a rather long listing, and introduces a few new concepts, so we’ll take it slow and be sure to cover everything of interest.
The top of the function declares the arguments head and req. Our function does not use head, just req, which contains information about the request such as the headers sent by the client and a representation of the query string as sent by the client. The first lines of the function are CouchApp macros which pull in code and data from elsewhere in the design document. As we’ve described in more detail in the CouchApp chapter, these macros allow us to work with short, readable functions which pull in library code from elsewhere in the design document. Our list function uses the CouchApp JavaScript helpers for generating urls (path.js), for working with Date object (date.js) and the template function we’re using to render HTML.
var indexPath = listPath('index', 'recent-posts', {descending:true, limit:5});
var feedPath = listPath('index', 'recent-posts', {descending:true, limit:5, format:"atom"});
The next two lines of the function generate URLs used to link to the index page itself, as well as the XML Atom feed version of it. The listPath function is defined in path.js - the upshot is that it knows how to link to lists generated by the same design document it is run from.
The next section of the function is responsible for rendering the HTML output of the blog. Refer to the Show Functions Chapter in the Design Documents section for details about the API we use here. In short, clients can describe the format(s) they prefer in the HTTP Accept header, or in a format query parameter. On the server, we declare which formats we provide, as well as assigning each format a priority. In cases where the client accepts multiple format, the first declared format is returned. It is not uncommon for browsers to accept a wide range of formats, so take care to put HTML at the top of the list, or else you can end up with browsers recieving alternate formats when they expect HTML.
provides("html", function() {
The provides function takes two arguments, the name of the format (which is keyed to a list of default mime-types), and a function to execute when rendering that format. Note that when using provides, all send and getRow calls must happen within the render function. Now let’s look at how the HTML is actually generated.
send(template(templates.index.head, {
  title : blog.title,
  feedPath : feedPath,
  newPostPath : showPath("edit"),
  index : indexPath,
  assets : assetPath()
}));
The first thing to we see is a template being run with an object that contains the blog title and a few relative URLs. The template function used by Sofa is fairly simple, it just replaces some parts of the template string with passed in values. In this case, the template string is stored in the variable templates.index.head which was imported using a CouchApp macro at the top of the function. The second argument to the template function are the values which will be inserted into the template, in this case title, feedPath, newPostPath, index, and assets. We’ll look at the template itself later in this chapter. For now it’s sufficient to know that the template stored in templates.index.head renders the topmost portion of the HTML page, which does not change regardless of the contents of our recent posts view.
Now that we’ve rendered the top of the page, it’s time to loop over the blog posts, rendering them one at a time. The first thing we do is declare our variables and our loop.
var row, key;
while (row = getRow()) {
  var post = row.value;
  key = row.key;
The row variable is used to store each JSON view row as it is sent to our function. The key variable plays a different role. Because we don’t know ahead of time which of our rows will be the last row to be be processed, we keep the key available in its own variable, to be used after all rows are rendered, to generate the link to the next page of results.
  send(template(templates.index.row, {
    title : post.title,
    summary : post.summary,
    date : post.created_at,
    link : showPath('post', row.id)
  }));
}
Now that have the row and its key safely stored, we use the template engine again for rendering. This time we use the template stored in templates.index.row, with a data item that includes the blog post title, a URL for its page, the summary of the blog post we generated in our map view, and the date the post was created.
Once all the blog posts included in the view result have been listed, we’re ready to close the list and finish rendering the page. The last string does not need to be sent to the client using send(), but can be returned from the HTML function. Aside from that minor detail, rendering the tail template should be familiar by now.
  return template(templates.index.tail, {
    assets : assetPath(),
    older : olderPath(key)
  });
});
Once the tail has been returned, we close our the HTML generating function. If we didn’t care to offer an Atom feed of our blog, we’d be done here. But we know most readers are going to be accessing the blog through a feed reader or some kind of syndication, so an Atom feed is crucial.
provides("atom", function() {
The Atom generation function is defined in just the same way as the HTML generation function - by being passed to provides() with a label describing the format it outputs. The general pattern of the Atom function is the same as the HTML function: output the first section of the feed, then output the feed entries, and finally close the feed.
// we load the first row to find the most recent change date
var row = getRow();
One difference is that for the Atom feed, we need to know when it was last changed. This will normally be the time at which the first item in the feed was changed, so we load the first row, before outputting any data to the client (other than HTTP headers, which are set when the provides function picks the format). Now that we have the first row, we can use the date from it to set the Atom feed’s last-updated field.
// generate the feed header
var feedHeader = Atom.header({
  updated : (row ? new Date(row.value.created_at) : new Date()),
  title : blog.title,
  feed_id : makeAbsolute(req, indexPath),
  feed_link : makeAbsolute(req, feedPath),
});
The Atom.header function is defined in lib/atom.js which was imported by CouchApp at the top of our function. This library uses JavaScript’s E4X extension to generate feed XML. We’ll skip the details of using E4X, as it’s a bit of a side track from the task at hand. If you are interested, the full source listing of Sofa is included in Appendix ??? and atom.js can be found on page ???.
// send the header to the client
send(feedHeader);
Once the feed header has been generated, sending it to the client uses the familiar send() call. Now that we’re done with the header, we’ll generate each Atom entry, based on a row in the view. We use a slightly different loop format in this case than in the HTML case, as we’ve already loaded the first row in order to use it’s timestamp in the feed header.
// loop over all rows
if (row) {
  do {
The JavaScript do / while loop is similar to the while loop used in the HTML function, except that it’s guaranteed to run at least once, as it evaluates the conditional statement after each iteration. This means we can output an entry for the row we’ve already loaded, before calling getRow() to load the next entry.
// generate the entry for this row
var feedEntry = Atom.entry({
  entry_id : makeAbsolute(req, '/' +
    encodeURIComponent(req.info.db_name) +
    '/' + encodeURIComponent(row.id)),
  title : row.value.title,
  content : row.value.html,
  updated : new Date(row.value.created_at),
  author : row.value.author,
  alternate : makeAbsolute(req, showPath('post', row.id))
});
// send the entry to client
send(feedEntry);
Rendering the entries also uses the Atom library in atom.js. The big difference between the Atom entries and the list items in HTML, is that for our HTML screen we only output the summary of the entry text, but for the Atom entries we output the entire entry. By changing the value of content from row.value.html to row.value.summary you could change the Atom feed to only include shortened post summaries, forcing subscribers to click through to the actual post to read it.
  } while (row = getRow());
}
As we mentioned above, this loop construct puts the loop condition at the end of the loop, so here is where we load the next row of the loop.
    // close the loop after all rows are rendered
    return "</feed>";
  });
};
Once all rows have been looped over, we end the feed by returning the closing XML tag to client as the last chunk of data.
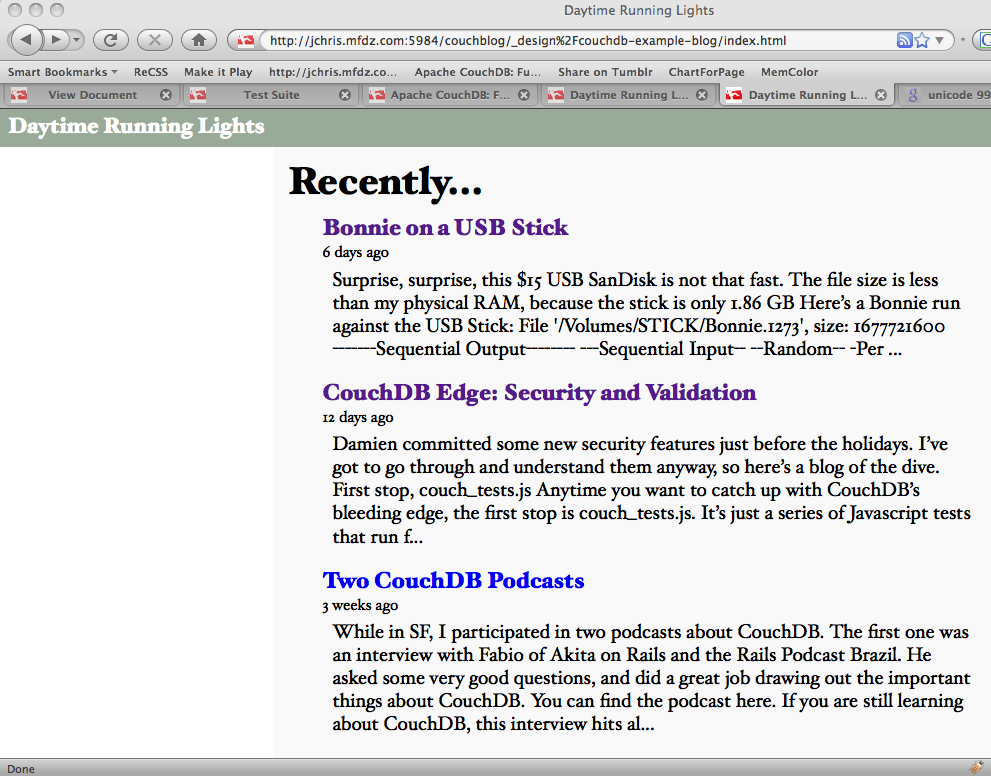
Screenshot: The Rendered Index Page
This is our final list of blog posts. That wasn’t too hard, was it? We now have the front page of the blog, we know how to query single documents as well as views and how to pass arguments to views. We’ll go on describing how you can accept reader comments on your blog.