Chapter 39. Notes in the Graphs
Notes in the graph let user type necessary pieces of information directly into a graph. The notes can serve as a documentation to a particular graph.
Notes are rendered in layer below the components: if you place a note over a component, you will see the component rendered over the note.
Notes can serve as containers for components. If you move a note, you also move the components within the note.
Parameters used in text of notes are not resolved. If you type any parameter in a Note, the parameter is not replaced by its value.
Placing Notes into Graph
You can place a note into a graph from the Palette of Components: drag the note from Palette of Components and drop it into the Graph Editor Pane.
An alternative way to place a note to a graph is to click the icon in the Palette, move cursor to the desired location in the Graph Editor, and click again.
After that, a new Note will appear there. It has a New note label in the top.
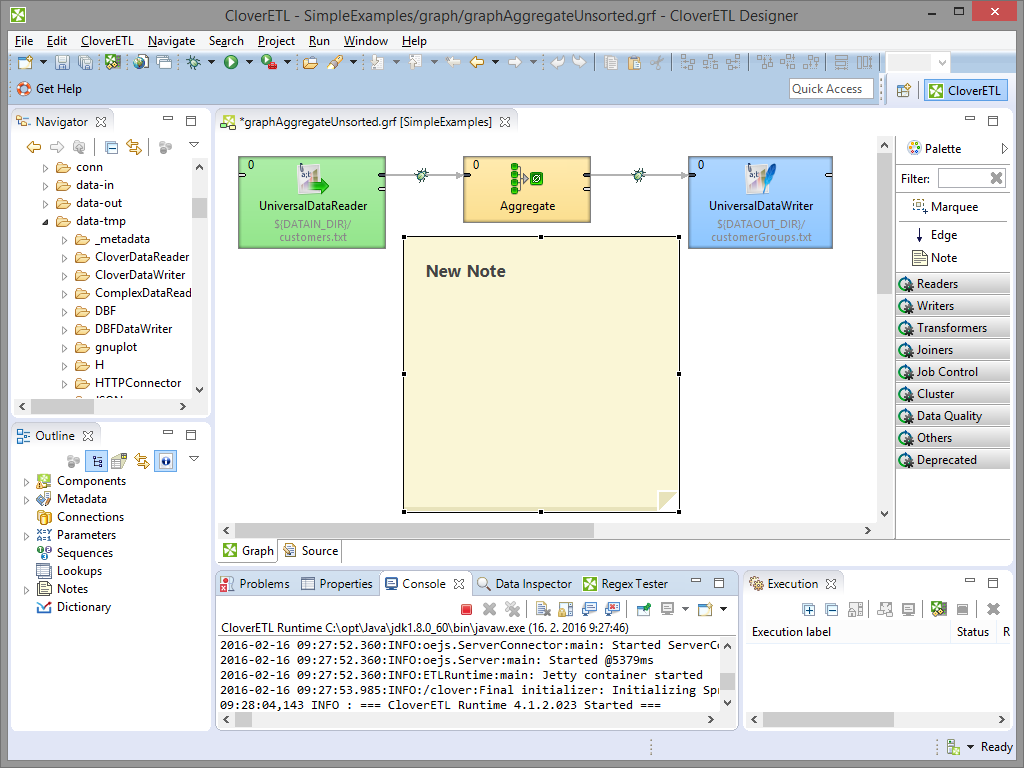 |
Figure 39.1. Pasting a Note to the Graph Editor Pane
This way, you can paste more Notes in one graph.
Resizing Notes
To resize a Note, highlight it by clicking, and then drag its margins.
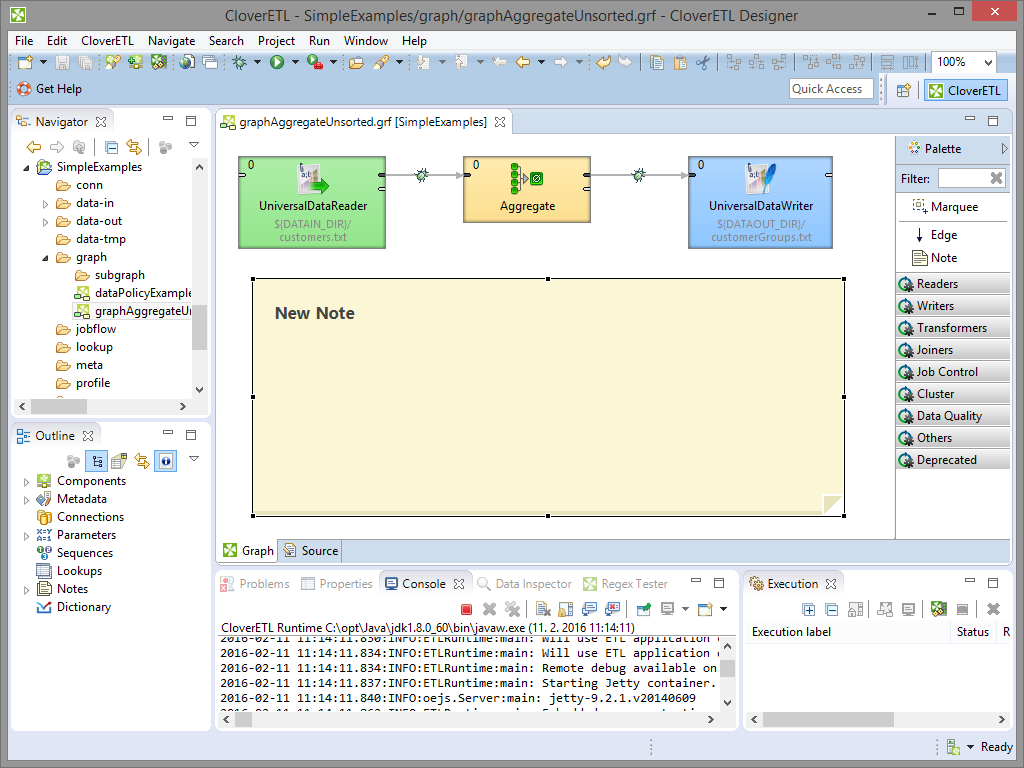 |
Figure 39.2. Enlarging the Note
When you have changed its size, click outside the Note. The highlighting disappears.
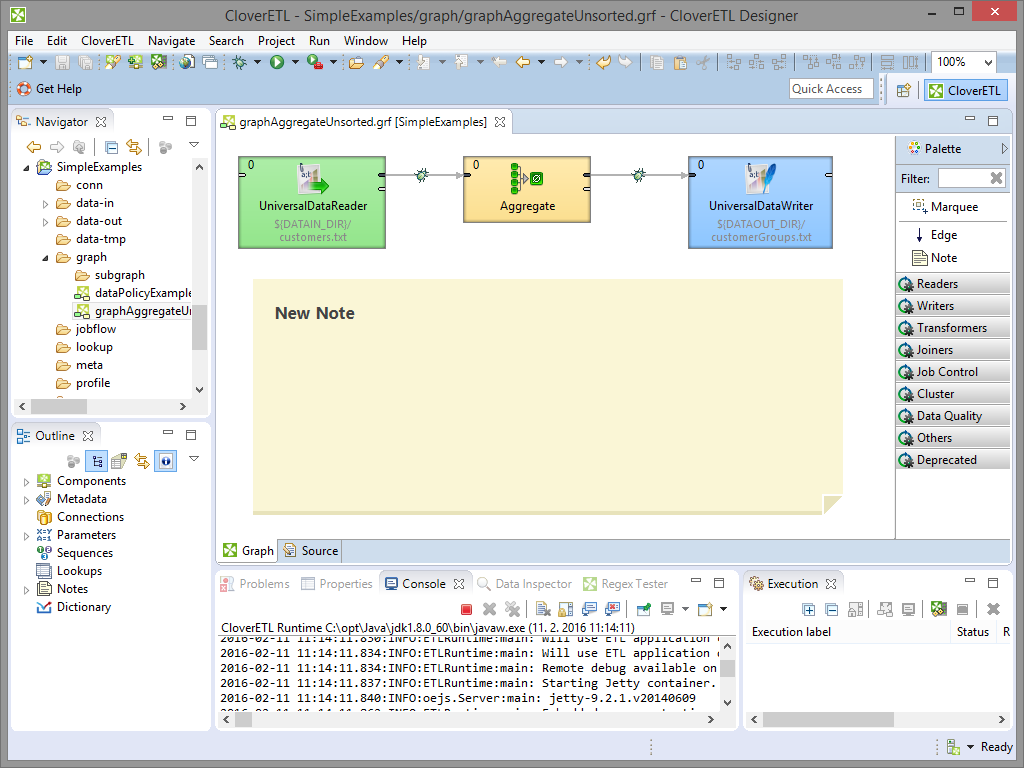 |
Figure 39.3. Highlighted Margins of the Note Have Disappeared
Editing Notes
To start editing the note content, double-click the note content. If the note is highlighted, a single click suffices.
If you make a click on the Note, this formatted text switches to the text in an editor.
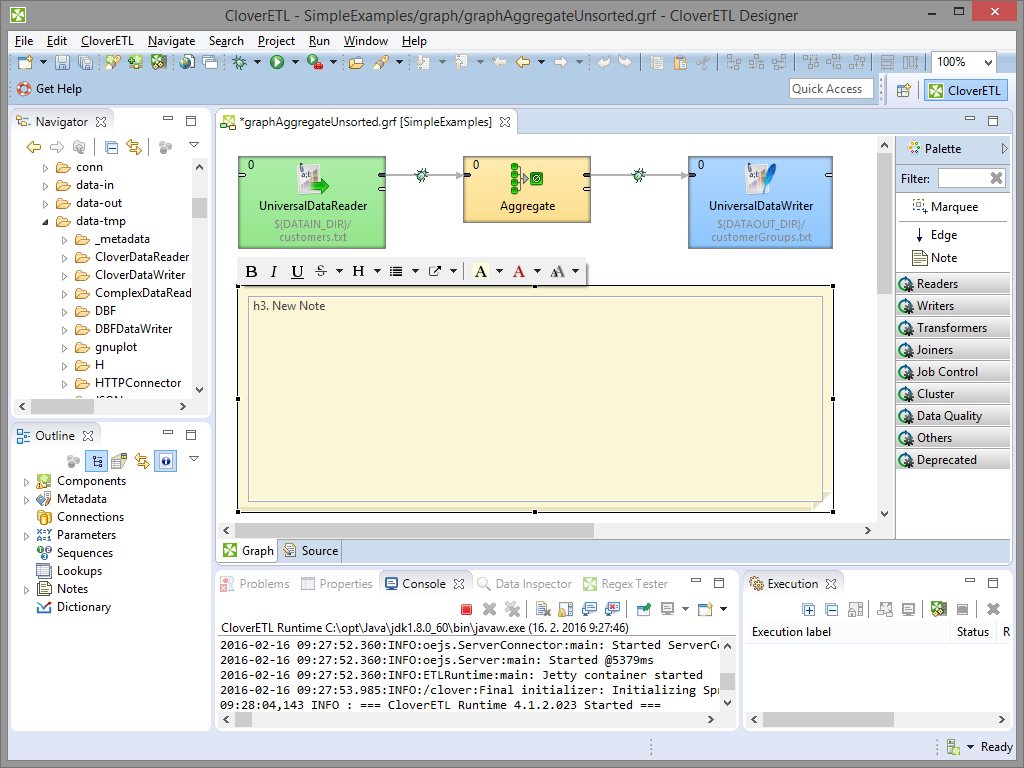 |
Figure 39.4. Changing the Note Label
Type the text of your note.
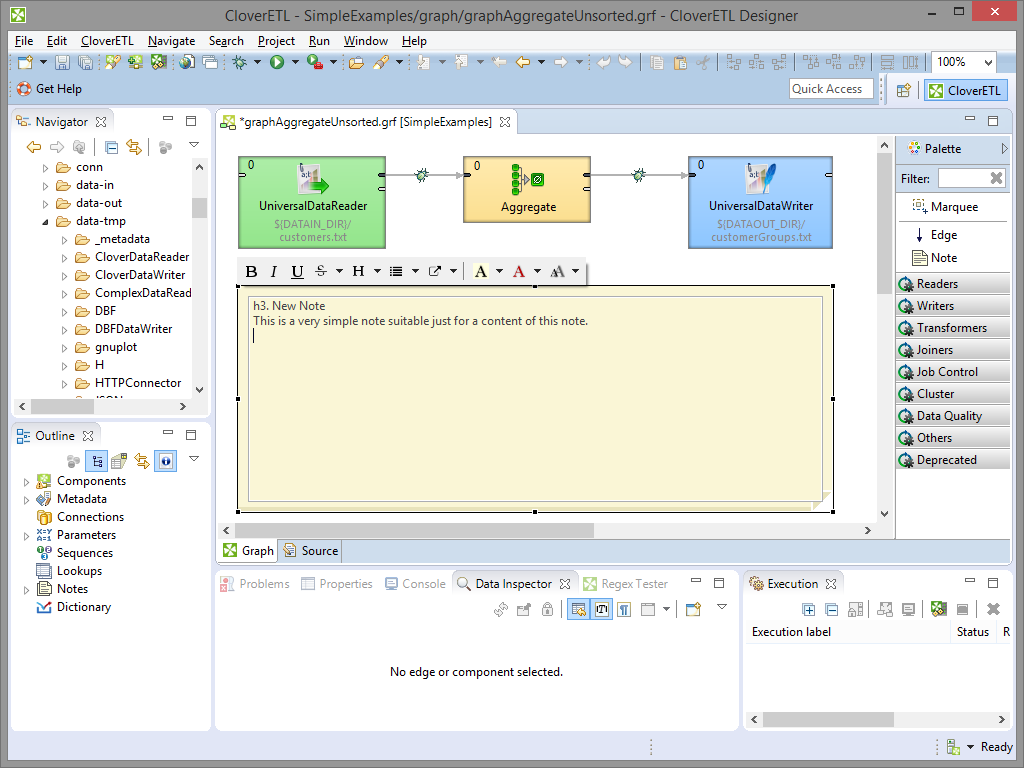 |
Figure 39.5. Writing a New Description in the Note
To see the note with proper text formatting, click outside the note.
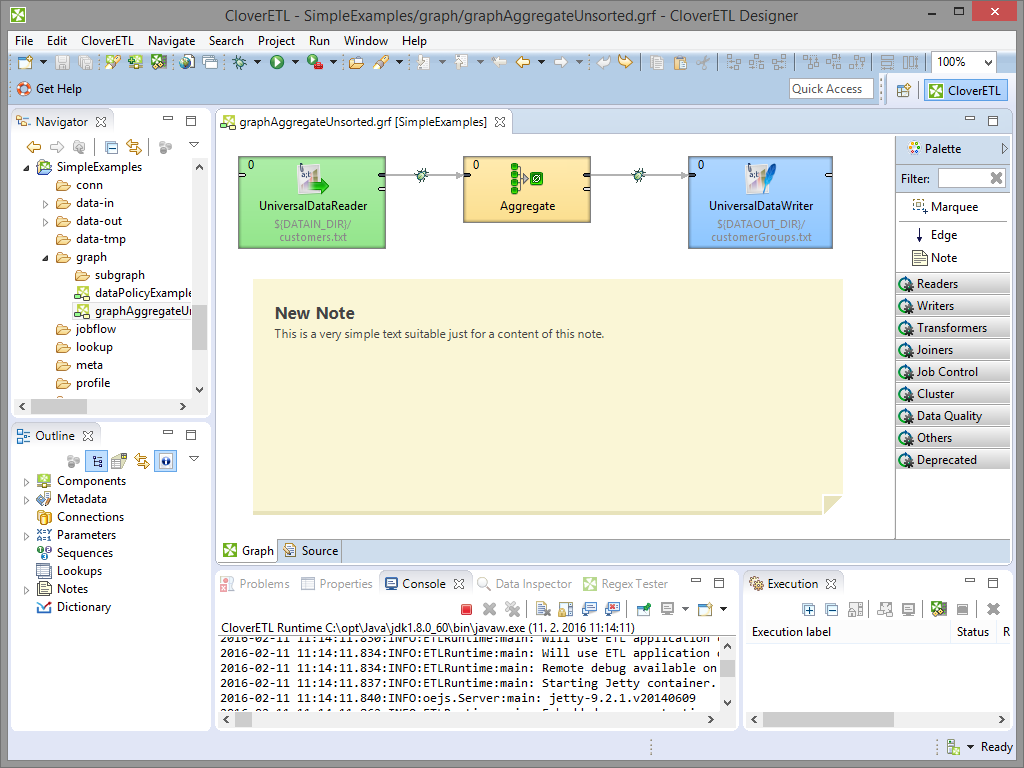 |
Figure 39.6. A New Note with a New Description
Formatted Text
When you type text of your note, you will see your text without any additional formatting. Optionally, you can make your text formatted.
You can format the text with tools from toolbar above the text. When you have clicked the note the toolbar appears above the note.
To change format of the text, mark the text to be formatted, and click the tool from the toolbar.
 |
Figure 39.7. Toolbar for Format Editing
You can:
Use headers of 6 levels
Format you text as bold, italics, underlined, strikethrough, preformatted, or monospace
Use lists: simple lists, bulleted lists, numbered lists, and mixed lists
Insert links
Change text colour and background colour for the whole note
Change font size
The default font size configuration is taken from the operating system.
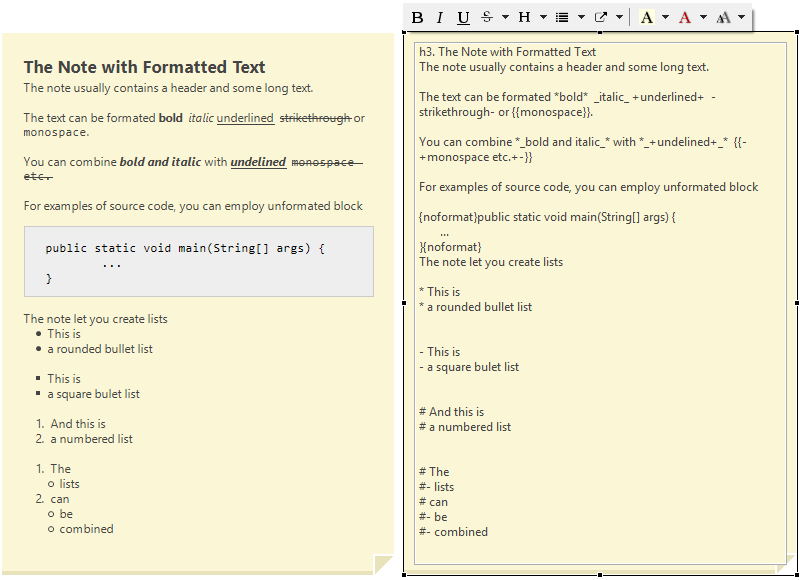 |
Figure 39.8. Note with formatted text and markup
Notes Markup and Escaping Backslashes
Text notes use subset of Confluence wiki syntax to format the content. You can format the note content using the markup directly without icons from toolbar.
The markup in notes uses backslash character (\) as an escape character
and \\ to create a new line.
If you paste an absolute windows path into a note, the backslash characters are replaced with html entities to make the path correctly visible when the note is rendered.
You can convert backslashes to entities manually. From toolbar, choose → .
Links from Notes
Notes can contain links to graph elements, to a file in navigator, to a file on file system, or to a webpage, etc. Some types of the links are available from the toolbox, the later ones can be inserted manually from the keyboard.
The linkable targets are shown in examples below. Links to the items not mentioned in the list, e.g. graph parameters, are not possible.
Link to Website
You can insert a link to particular website from toolbar. The link can be displayed as a URL of the target
[http://www.javlin.eu]
or the link can contain a user-defined text
[Our site|http://www.javlin.eu]
Link to Graph Element
You can insert a link to a particular graph element from toolbar,
or type element:// prefix followed by graph element ID:
[A link to DataGenerator|element://DATA_GENERATOR]
It's also possible to create a link to a graph element of another graph.
[A link to DataGenerator|element://project_name/path_to_graph/my_graph.grf:ELEMENT_ID]
Link to File in Navigator.
You can insert a link to a file in navigator from toolbar,
or type navigator:// prefix followed by the location.
[A link to a file in navigator|navigator://SimpleExamples/data-in]
Link to Open File
You can insert a link to open a file from toolbar,
or type open:// prefix followed by the path.
You can use relative or absolute path.
Usage of relative path is recommended, especially in server projects.
[A link to open a file|open://C:/Users/Public/Data/]
Link to Send an E-Mail
To insert a link to send an e-mail type mailto: prefix followed by the e-mail address.
[mailto:[email protected]]
[Send mail to doc creators|mailto:[email protected]]
Link to Open a View
To open a view, type the view:// prefix followed by the Eclipse View ID:
[view://org.eclipse.ui.views.ResourceNavigator]
[Open Navigator|view://org.eclipse.ui.views.ResourceNavigator]
Link to a CloverETL Documentation
You can create a link to a particular built-in documentation page.
Type help:// prefix followed by link to particular documentation page.
[help://com.cloveretl.gui.docs/docs/spreadsheetreader.html]
You can point to a particular documentation page or to a particular page element with an identifier.
[help://com.cloveretl.gui.docs/docs/spreadsheetreader.html#spreadsheetreader-details]
Folding the Notes
Content of a note can be folded (hidden). You can fold any Note by selecting the item from the context menu.

Figure 39.9. Toolbar for Format Editing
The folded Note has a visible label. Its text is hidden.
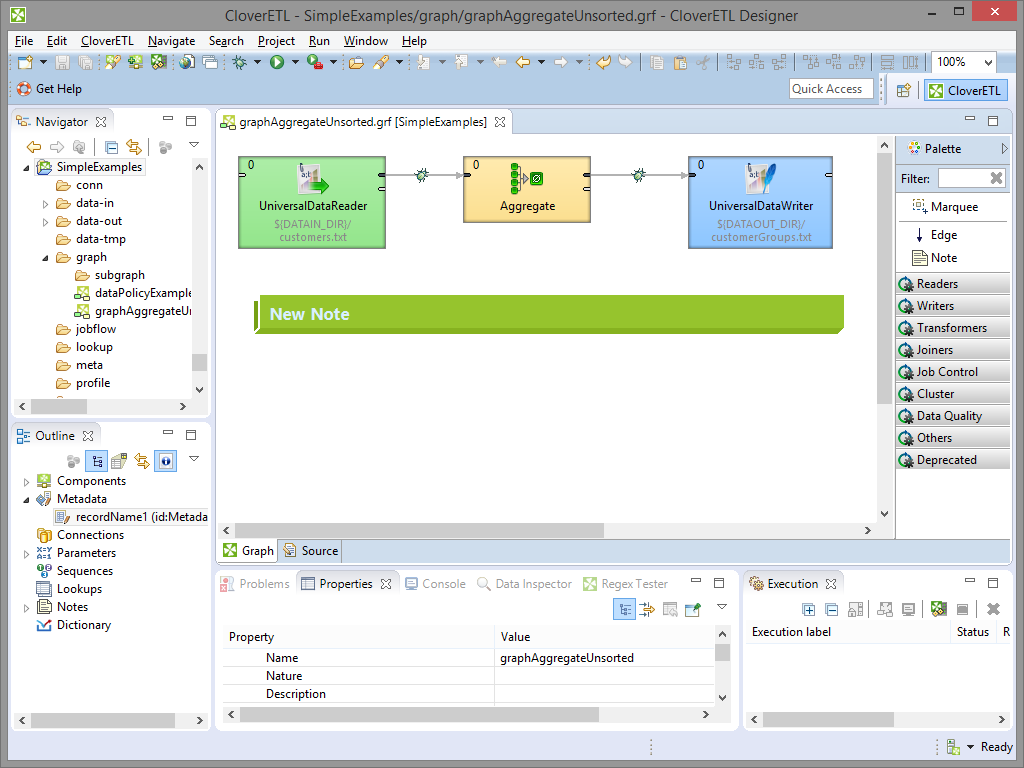 |
Figure 39.10. Folded the Note
Notes Properties
You can set up many properties of any Note in the Properties tab. Click the Note and switch to the Properties tab (in the bottom).
You can see and edit Text, set its size, colour, or the colour of a note background. To edit or see the text, you can open it in a new window.
To change Text and background colour, select one from the toolbox.
The default font sizes are displayed in this tab and can be changed as well. If you want to fold the Note, set the Folded attribute to true.
Each Note has an ID like any other graph component.
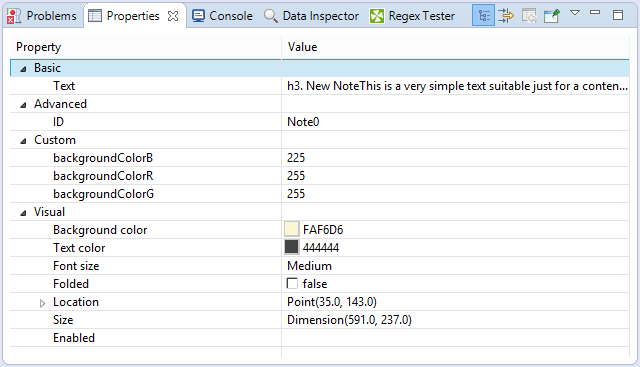 |
Figure 39.11. Properties of a Note
Compatibility
In CloverETL 4.1.2, the Notes have been significantly changed. The previous version allows you to type a title and a text without any formatting, links, etc.
The old notes can be easily converted into the new ones. Edit the old note and save it. It will be converted into the new one.