Chapter 7. Starting
When you start CloverETL Designer, you will see the following screen:
 |
Figure 7.1. CloverETL Designer Splash Screen
The first thing you will be prompted to define after the
CloverETL Designer launches, is the
workspace folder.
Workspace is a place your projects will
be stored at; usually a folder in the user's home
directory (e.g., C:\Users\your_name\workspace or
/home/your_name/CloverETL/workspace )
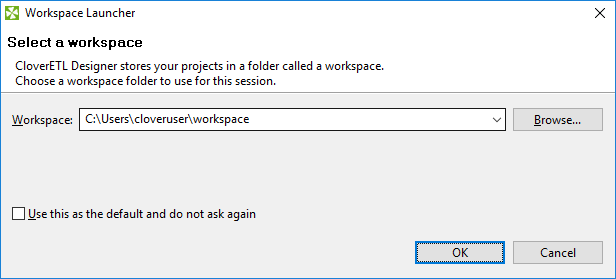 |
Figure 7.2. Workspace Selection Dialog
Note that the workspace can be located anywhere. Make sure you have proper permissions to the location. If a non-existing folder is specified, it will be created.
When the workspace is set, the welcome screen is displayed.
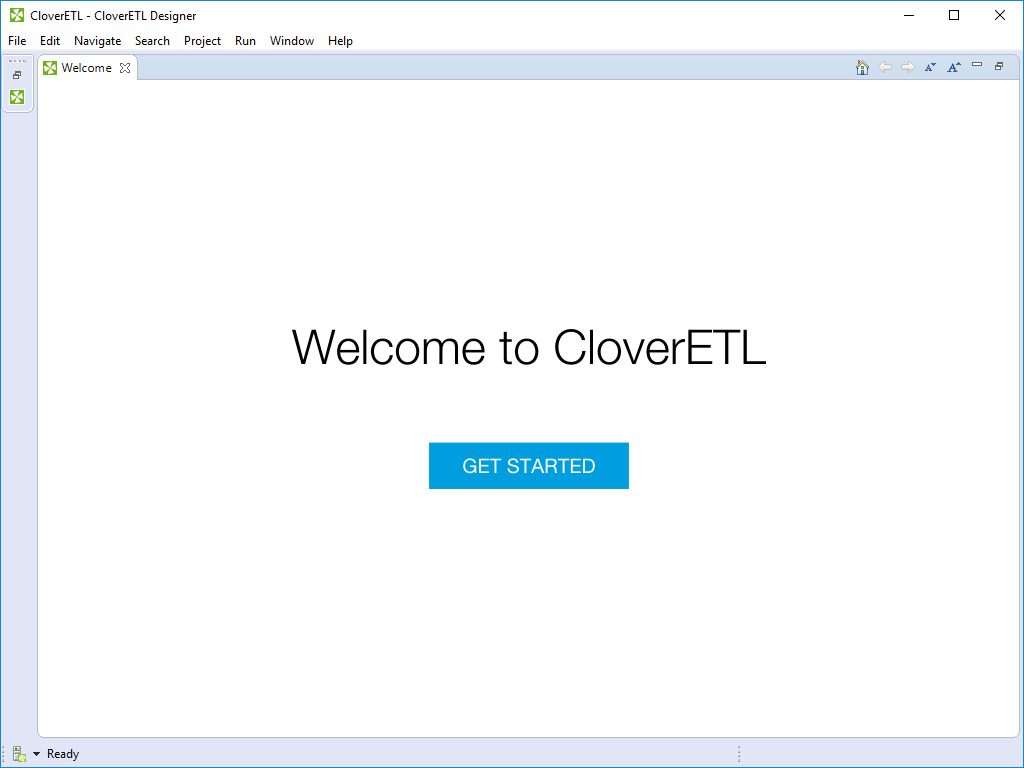 |
Figure 7.3. CloverETL Designer Introductory Screen
When you have started for the first time, you are asked to activate the product.
The first steps with CloverETL Designer are described in Creating CloverETL Projects.
The help to the product is accessible from main menu under → .
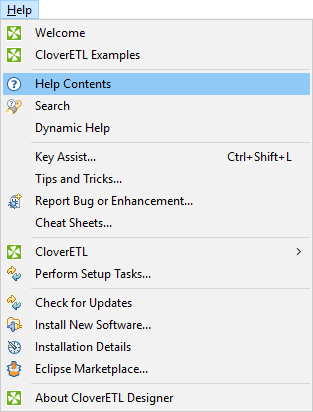
Figure 7.4. CloverETL Help