 | Documentation |
|---|---|
24.7. Executing a Query with no resultsSo far our two examples have focused on pulling information from the database via a SELECT command. EnterpriseDB JDBC Connector, SQL and EnterpriseDB also allow the basic DML (Data Manipulation Langauge) commands for inserting, updating and deleting information via SQL commands. However, insert, update and delete commands are considered no-result queries as they do not return a ResultSet object after being executed. And it is for this very reason, that we do not use the executeQuery() method but the executeUpdate() method instead. The basic signature of the executeUpdate() method is: int executeUpdate(String sqlStatement)
This method takes a single parameter of type String, which is the query to be executed against the database. The query will not result in the return of a ResultSet as no SELECTs are allowed in this method. Instead this method returns an integer after the query is executed, where this integer represents the number of rows affected by this query. The following are the query statements that do not return a ResultSet:
Let us represent each of the above query with code examples. Please note that these examples also make use of the resources.properties file as well as the helper ConnectionUtils, Console classes. 24.7.1. Insert Example
import java.sql.*;
public class InsertTest
{
  public static void main(String[] args)
  {
    String message = "/********************************************************/\r\n";
          message += "*                                                        *\r\n";
          message += "*  This example will execute an insert query             *\r\n";
          message += "*                                                        *\r\n";
          message += "/********************************************************/";
    try
    {
      Console c = new Console();
      Connection con = ConnectionUtils.getConnection();
      Statement st = con.createStatement();
      System.out.println(message);
      System.out.print("\r\nEmployee Number : ");
      int eno = Integer.parseInt(c.readLine());
      System.out.print("Employee Name : ");
      String enm = c.readLine();
      int n = st.executeUpdate("INSERT INTO EMP(EMPNO,ENAME) VALUES("+eno+",'"+enm+"')");
      System.out.println("\r\nQuery successfully executed and "+n+" rows affected.");
    }catch(Exception exp){
      System.out.println("\r\nAn Error occured while executing the procedure.");
      System.out.println("See full details below.\r\n");
      exp.printStackTrace();
    }
    ConnectionUtils.closeConnection();
  }
}
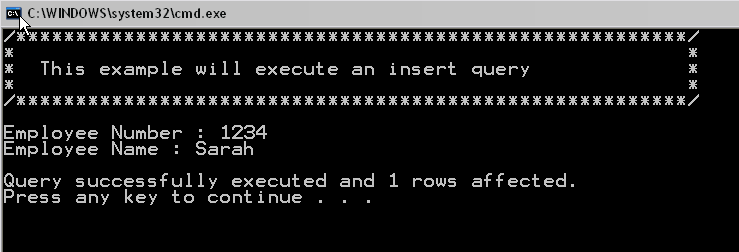
When you compile and run this example you will be prompted with a screen asking for the employee number and employee name that you would like to insert into the emp table. If you are using Windows you should see something like the following:
24.7.2. Update ExampleSuppose that we want to update the employee name such that it is all in capital letters. We can do that using the following code snippet: import java.sql.*;
public class UpdateTest
{
public static void main(String[] args)
{
String message = "/********************************************************/\r\n";
message += "* *\r\n";
message += "* This example will execute an update query *\r\n";
message += "* *\r\n";
message += "/********************************************************/";
try
{
Console c = new Console();
Connection con = ConnectionUtils.getConnection();
Statement st = con.createStatement();
System.out.println(message);
System.out.print("\r\nEmployee Number : ");
int eno = Integer.parseInt(c.readLine());
System.out.print("Employee Name : ");
String enm = c.readLine();
int n = st.executeUpdate("UPDATE EMP SET ENAME='"+enm+"' WHERE EMPNO="+eno);
System.out.println("\r\nQuery successfully executed and "+n+" rows affected.");
}catch(Exception exp){
System.out.println("\r\nAn Error occured while executing the procedure.");
System.out.println("See full details below.\r\n");
exp.printStackTrace();
}
ConnectionUtils.closeConnection();
}
}
When you run this example you are prompted for the employee number that you wish to update against, after giving this you can enter the new value for that employee's name. If using Windows you should see something like the following screen.
24.7.3. Delete ExampleNow that we have tested our insertion and updation, we can go ahead and delete the sample row that we entered in the emp table. The following code snippet takes in an employee's number and deletes the corresponding row containing that employee's information in the database. import java.sql.*;
public class DeleteTest
{
public static void main(String[] args)
{
String message = "/********************************************************/\r\n";
message += "* *\r\n";
message += "* This example will execute a delete query *\r\n";
message += "* *\r\n";
message += "/********************************************************/";
try
{
Console c = new Console();
Connection con = ConnectionUtils.getConnection();
Statement st = con.createStatement();
System.out.println(message);
System.out.print("\r\nEmployee Number : ");
int eno = Integer.parseInt(c.readLine());
int n = st.executeUpdate("DELETE FROM EMP WHERE EMPNO="+eno);
System.out.println("\r\nQuery successfully executed and "+n+" rows affected.");
}catch(Exception exp){
System.out.println("\r\nAn Error occured while executing the procedure.");
System.out.println("See full details below.\r\n");
exp.printStackTrace();
}
ConnectionUtils.closeConnection();
}
}
If on Windows you should see something like the following screen:
24.7.4. Create Table ExampleIn case you programmatically want to build a new table for your database, then you will make use of the executeUpdate() method as once again as a execution of a table creation query does not return a ResultSet. The following code listing shows a simple example for creating a table called "TestTable" with two columns; one column called "x" of datatype NUMBER and the other column called "y" being of datatype VARCHAR2. import java.sql.*;
public class CreateTableTest
{
public static void main(String[] args)
{
String message = "/********************************************************/\r\n";
message += "* *\r\n";
message += "* This example will create a database *\r\n";
message += "* *\r\n";
message += "/********************************************************/";
try
{
Console c = new Console();
Connection con = ConnectionUtils.getConnection();
Statement st = con.createStatement();
System.out.println(message);
st.executeUpdate("CREATE TABLE TestTable (x NUMBER(4,2), y VARCHAR2(30))");
System.out.println("\r\nTable Created Successfully");
}catch(Exception exp){
System.out.println("\r\nAn Error occured while executing the procedure.");
System.out.println("See full details below.\r\n");
exp.printStackTrace();
}
ConnectionUtils.closeConnection();
}
}
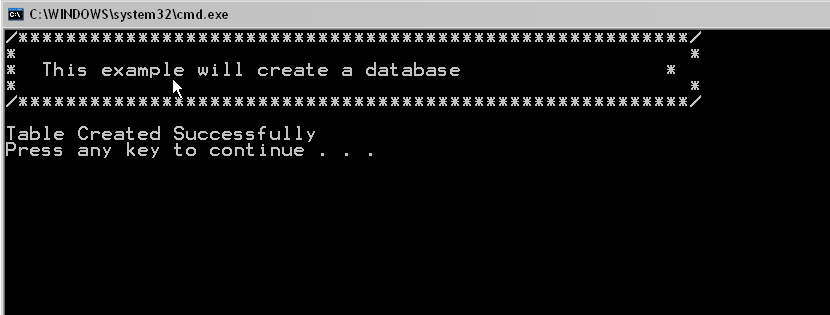
When you run the above java application in Windows you should see something like the following screenshot:
24.7.5. Alter Table ExampleLets extend "TestTable" created in the above example and extend it further by adding another column "z" having a boolean dataype. The following code listing shows how we can do just this. Once again note that we are making use of the executeUpdate() method as our query is not returning a ResultSet. import java.sql.*;
public class AlterTableTest
{
public static void main(String[] args)
{
String message = "/********************************************************/\r\n";
message += "* *\r\n";
message += "* This example will alter an existing database table *\r\n";
message += "* *\r\n";
message += "/********************************************************/";
try
{
Console c = new Console();
Connection con = ConnectionUtils.getConnection();
Statement st = con.createStatement();
System.out.println(message);
st.executeUpdate("ALTER TABLE testtable ADD COLUMN z BOOLEAN");
System.out.println("\r\nTable altered Successfully");
}catch(Exception exp){
System.out.println("\r\nAn Error occured while executing the procedure.");
System.out.println("See full details below.\r\n");
exp.printStackTrace();
}
ConnectionUtils.closeConnection();
}
}
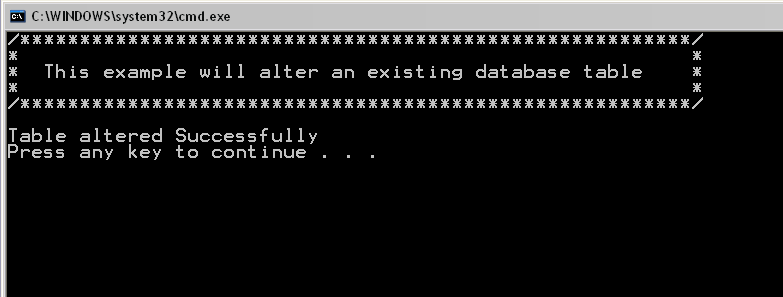
After running the above example, you should see something like the following screen:
24.7.6. Drop Table ExampleSuppose that we are done playing around with our "TestTable" and would like to drop it from our database now. We looked at the DELETE command earlier, which should us how to remove rows from a database table. However, getting rid of the data stored in a database table does not get rid of the table itself. For removing a table from a database we would need to make use of a DROP table command, which once again does not return a ResultSet and hence is executed via the executeUpdate() method. The sample code below shows how to drop the "TestTable" that we worked with in the CREATE TABLE and ALTER TABLE commands. import java.sql.*;
public class DropTableTest
{
public static void main(String[] args)
{
String message = "/********************************************************/\r\n";
message += "* *\r\n";
message += "* This example will drop an existing database table *\r\n";
message += "* *\r\n";
message += "/********************************************************/";
try
{
Console c = new Console();
Connection con = ConnectionUtils.getConnection();
Statement st = con.createStatement();
System.out.println(message);
st.executeUpdate("DROP TABLE testtable");
System.out.println("\r\nTable dropped Successfully");
}catch(Exception exp){
System.out.println("\r\nAn Error occured while executing the procedure.");
System.out.println("See full details below.\r\n");
exp.printStackTrace();
}
ConnectionUtils.closeConnection();
}
}
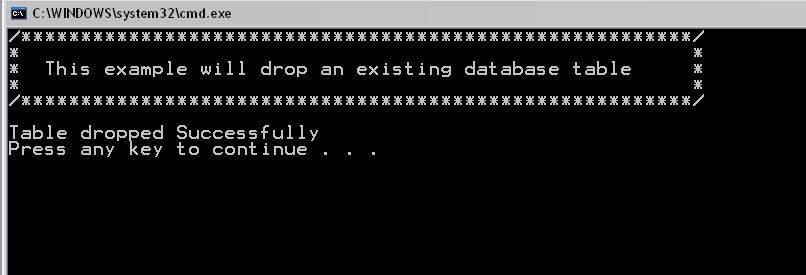
On Windows you should see something like the following when you run the example above:
Hopefully the above six examples helped in making the concept of working with non result returning queries clear. Let us proceed with onto the next section where we build on even more advanced topics about EnterpriseDB JDBC Connector and Java. |


