The CMSAdmin Portlet allows control over the content management system.
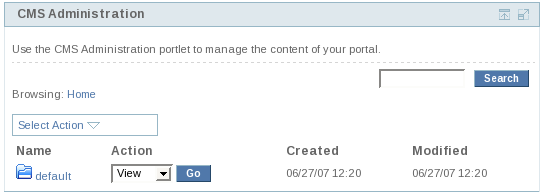
Viewing the CMSAdmin Portlet is accomplished by logging in as an admin (admin/admin) and navigating to the admin portal and then the CMS Page tab.
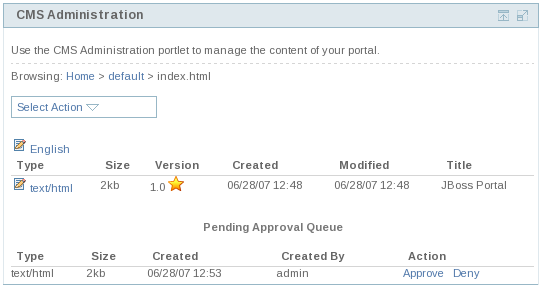
You should then be presented with a page that is similar to this:
 |
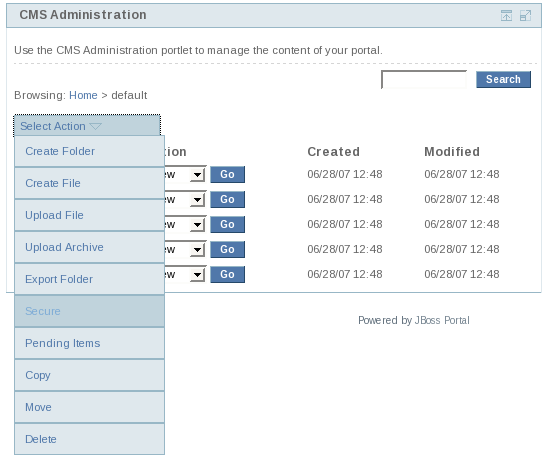
This section describes common actions an administrator can perform from within the AdminCMS Portlet. All actions are available using the flyout menu. Note that the Pending Items action is only available if the workflow mechanism has been activated.
 |
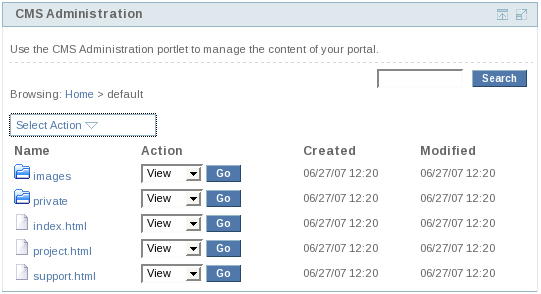 |
A user can list directory contents by either clicking on the folder name or selecting "view" from the Action dropdown and clicking "go".
|
Clicking on the "Name" of a file brings up the File Properties page.
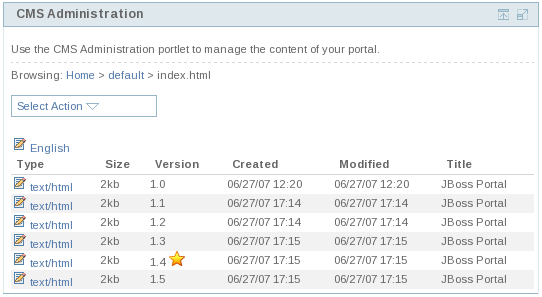 |
The File Properties window displays all the possible actions available to perform on a file.
Version and Locale Information are also contained on this screen. Note that any version
labeled with the
 is the current "live" version shown to users.
Clicking on the "Copy" action, displays the copy file/directory dialog window.
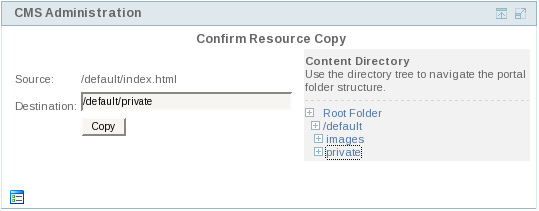 |
The copy resource window allows a user to copy files to any folder on the system, as
well as copy whole directory trees to any directory on the system. A user can select which
destination directory to copy the resource to, by using the directory browser. Clicking the
 icon expands the directory tree. Clicking on the name of the directory within
the tree, sets it as the destination directory for the copied resource.
icon expands the directory tree. Clicking on the name of the directory within
the tree, sets it as the destination directory for the copied resource.
Clicking on the "Move" action, displays the move file/directory dialog window.
 |
The move resource window allows a user to move files to any folder on the system, as
well as move whole directory trees to any directory on the system. A user can select which
destination directory to move the resource to, by using the directory browser. Clicking the
icon expands the directory tree. Clicking on the name of the directory within
the tree, sets it as the destination directory for the moved resource.
Clicking on the "Delete" action, displays the delete file/directory confirmation window.
 |
The delete resource confirmation window allows a user to delete a file, or a directory on the system. Note that deleting a directory, will delete the entire tree, so all directories under the deleted one, will also be deleted.
Warning
Currently, there is no way to retrieve deleted files/directories! Deleting a file or directory is permanent!Clicking on the "Create Folder" action, displays the create directory dialog window.
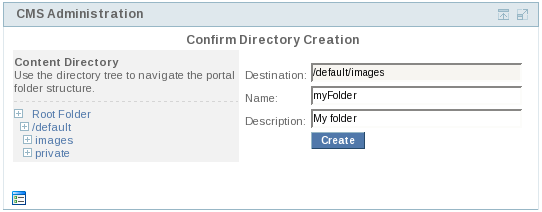 |
The create directory resource window allows a user to create a directory under chosen path. On this window, a user can specify a name for the new empty directory and assign it a description.
Clicking on the "Create File" action, displays the create file dialog window with the embedded WYSIWYG editor and directory browser.
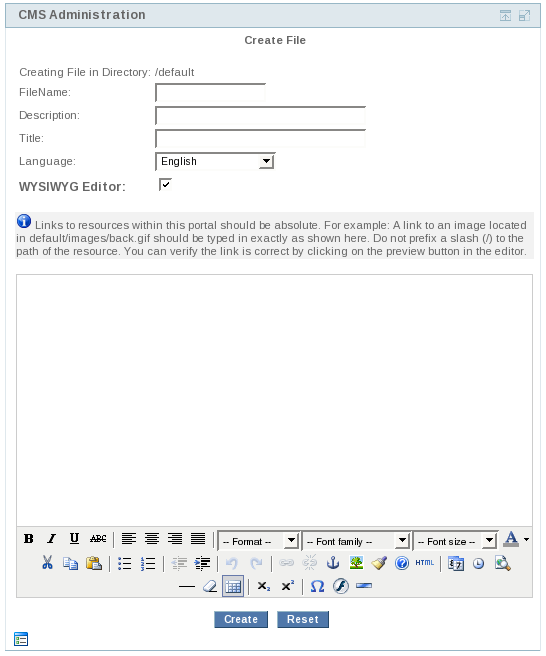 |
The create file window allows a user to create a text or HTML file using the embedded
WYSIWYG HTML editor. The editor is a fully-functional HTML editor with a myriad of HTML
functions. It also includes a preview
 button and a source view
 button.
An in-depth walk-through of the editor is beyond the scope of this document. However,
the editor does contain help pages within it, that can be accessed by clicking the
 icon.
icon.
Note
It is important to note here that when creating links to images or other resources within the system, as user must use the relative file path to that resource. ie: images/hello.gif. Keep in mind at all times that the document base is http://localhost/portal/ by default!Additionally, a user can set a title for the file that will be used in the portlet title bar, and a language for the file, used in serving localized content.
Clicking on the "Upload File" action, displays the upload file dialog window.
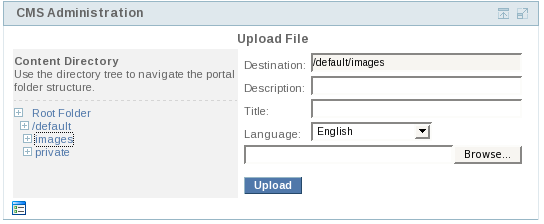 |
The upload file window allows a user to upload files to any directory on the system. The
upload process will work on files up to 1GB and of all types. A user can select which
destination directory to upload the resource to, by using the directory browser. Clicking
the
icon expands the directory tree. Clicking on the name of the directory within
the tree, sets it as the destination directory for the uploaded resource. Additionally, a
user can set a title for the file that will be used in the portlet title bar, and a language
for the file, used in serving localized content.
Clicking on the "Upload Archive" action, displays the upload archive dialog window.
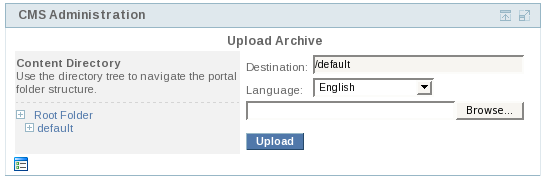 |
The upload archive window allows a user to upload archives to any directory on the
system. The system will then explode the archive, create versions, and place all the files
in the repository. A user can select which destination directory to upload the resource to,
by using the directory browser. Clicking the
icon expands the directory tree. Clicking on the name of the directory within
the tree, sets it as the destination directory for the uploaded resource. Additionally, a
user can set a language for the archive files, used in serving localized content.
Clicking on the "Export Folder" action, displays the export archive dialog window.
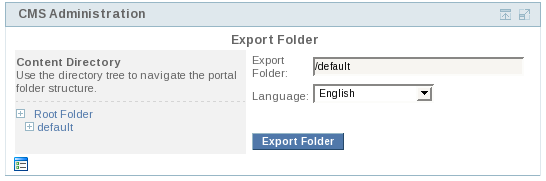 |
The export folder window allows a user to export entire directory structures as zip files. The system
will aggregate all contents of a specific directory, and present to the user to download it.
A user can select which source directory to export the resources from,
by using the directory browser. Clicking the
icon expands the directory tree. Clicking on the name of the directory within
the tree, sets it as the source directory for the export resource. Additionally, a
user can set a language for the files to be exported.
Note
Version information is not exported. Only versions labeled "Live" are exported!
|
Clicking on the "text/html"link, displays the edit file dialog window with the embedded WYSIWYG editor and directory browser.
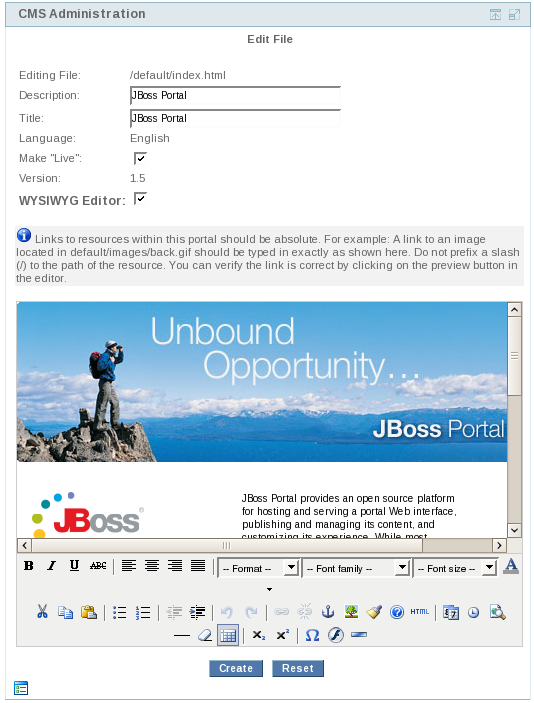 |
The edit file window allows a user to edit a text or HTML file using the embedded
WYSIWYG HTML editor. The editor is a fully-functional HTML editor with a myriad of HTML
functions. It also includes a preview
button and a source view
button.
A user may specify at this point if he would like to make the new edit "live", or available in production. Additionally, a user can set a title for the file that will be used as the portlet window title.
Administrators are able to apply permissions settings to any folder or file in the CMS. These permissions on a specific node, can be applied on a per-Role and/or per-User basis.
The security dialogue is accessed by navigating to the node you want to secure and selecting Secure .
 |
You should then be presented with a screen that allows you to assign read, write, and manage priviledges on the selected node for selected Roles or specific Users.
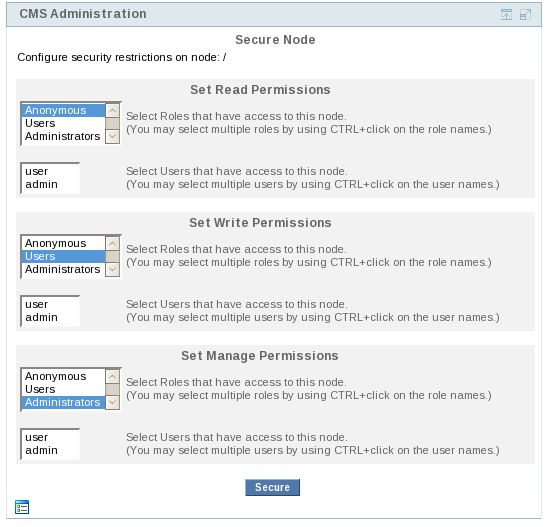 |
There are three main security settings for every node in the CMS.
- Read Permissions: Assigned roles/users can view the resource.
- Write Permissions: Assigned roles/users are able to edit the resource, or create nodes within it (as is the case for folders)
- Manage Permissions: These permissions include: copy, move, delete, and exporting.
Adminsitrating and assigning permissions on a selected node is as simple as selecting which Roles and/or Users you want to allow to have a specific permission.
When the Publish/Approval Workflow service is activated on the CMS, any requests for publishing new content or making updates to existing content requires an Approval process before going "Live". You can specify a list of Portal Roles that can act as Approvers who can authorize/deny the publishing of content in the CMS.
When a content is created in the CMS, the screen should show an Pending Queue of Approvals for that particular content as shown below in the screen. The content waiting in this queue is not accessible for "Live" usage.
 |
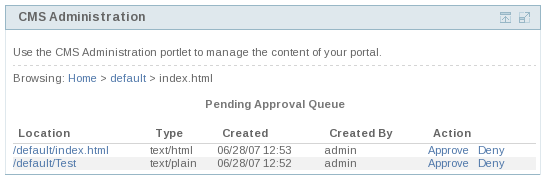
The user's who are designated as Approvers can view the CMS pending queue by clicking the Pending Items link in the flyout menu. The Pending Queue screen is as follows:
 |