Although MS provides its own SIP server, known as MS Live Communications Server, this article is based on experiences during the usage of MS Windows Messengers with SIP Express Router (SER).
In your real configuration, you have to replace the addresses presented in this document with the proper values for your SIP service. So, in the next examples we will use “sip-server.net” as the address of the SIP server (registrar and proxy), “[email protected]” as the SIP address of local user and “[email protected]” as the SIP address of the remote user.
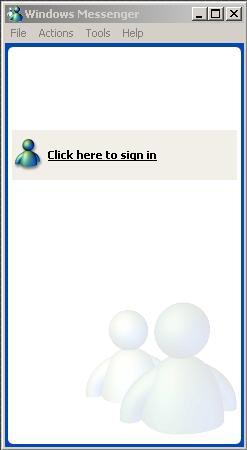
Make sure the version of MS Windows Messenger is 4.6, 4.7 or 5.0+.
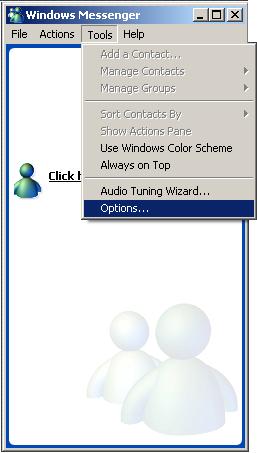
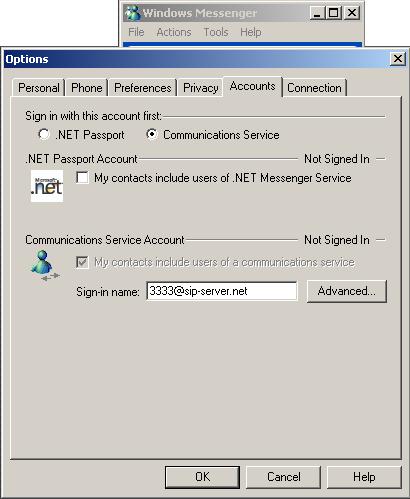
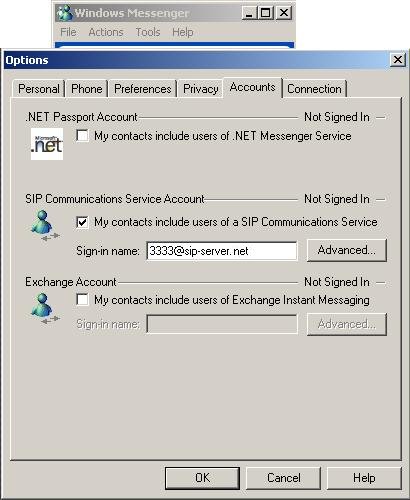
- select “Accounts” tab
- select “Communications Service”
- in the “Communications Service Account” section, fill in the “Sign-in name” field with the address of your SIP account, e.g., “[email protected]”.
- click on “Advanced...” button
- select “Configure Settings”
- outbound proxy: to enable outbound proxy fill in the “Server name or IP address” with the address of your SIP server, e.g., “sip-server.net:5060”
- communication protocol: select an option from “Connect Using” list, e.g., “UDP” -- this is the most recommended protocol for SIP
- click OK
- click OK in Options window


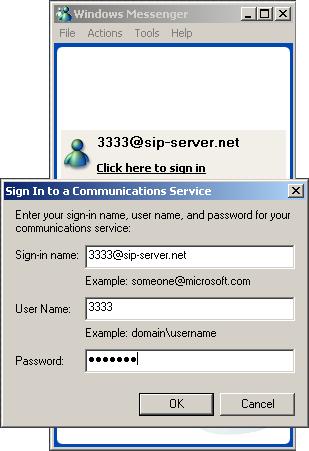
- if the SIP server requires user authentication
- fill the “Sign-in name” field with your SIP address, e.g., “[email protected]”
- fill the “Username Name” field with the user name of your SIP account, e.g., “3333”
- fill the “Password” field with the password of your SIP account (chosen by you or given by your SIP provider during the subscription to SIP service)
- press “OK” button

Once you are online, you can start chatting or talking with your friends using Windows Messenger, or, if you have a webcam, you can have a video conference.
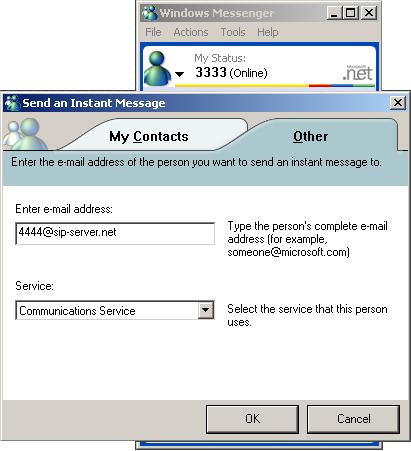
- click “Send a instant message” from “I want to...” list
- select “Other”
- enter the address of destination in “e-mail address” field
- choose “Communication Service” in “Service” select box
- click “OK”
- type the message in the new window
- press “Enter” or click on “Send” button

- click “Start a voice conversation” from “I want to...” list
- select “Other”
- enter the address of destination in “e-mail address” field
- choose “Communication Service” in “Service” select box
- click “OK”

- wait until the remote party accepts your call
- you can send also instant messages while talking by typing the message in the input field in the bottom of the new window and pressing “Send” button.
