4.2. RHN Satellite Server Installation Program
The following instructions describe how to run the RHN Satellite Server Installation Program:
Log into the machine as root.
Insert the RHN Satellite Server CD containing the installation files or download the ISO image from the RHN website.
If you are installing from CD, Red Hat Enterprise Linux may automount the CD. If it does so, it will mount the CD to the /media/cdrom/ directory.
If Red Hat Enterprise Linux does not automount the CD, manually mount it to the /media/cdrom/ directory with the following command:
mount /dev/cdrom /media/cdrom
If you are installing from an ISO, mount the file from within the directory containing it using the command:
mount -o loop iso_filename /media/cdrom
The remaining instructions assume it is mounted in /media/cdrom/.
Ensure that the RHN Entitlement Certificate has been loaded onto the Satellite. It can be named anything and located in any directory. The installation program will ask you for its location. Also, make sure your account has been granted the necessary entitlements to conduct the installation. For instance, a new Satellite will require both a Management or Provisioning entitlement for Red Hat Enterprise Linux AS and an RHN Satellite Server entitlement.

Warning Users should note that the RHN Satellite Server Installation Program updates the kernel, as well as all required packages.
From the /media/cdrom/ directory, enter the following command to start the RHN Satellite Server Installation Program:
./install.pl
This script has several options to assist with your installation process. To view these options, enter the following command:
./install.pl --help
The script first runs through a pre-requisite check. These checks make certain that all prerequisites from Chapter 2 Requirements are met before proceeding with the installation.
* Performing pre-install checks.
* Pre-install checks complete.  Beginning installation.
At the prompt, enter the email address to which you would like notifications from the Satellite to be sent. It may be a good idea to choose a general email address rather than the address of an individual, as there can be a large volume of emails.
? Admin email address? [email protected]
The Satellite is then registered with your RHN Hosted account, and all required packages are installed and updated.
* RHN Registration
* Installing updates.
* Installing RHN packages.
Next, the RHN Satellite Server Installation Program downloads and installs the RHN GPG key, including setting up the /root/.gnupg/ directory, if required.
* Setting up environment and users
** GPG: Initializing GPG and importing RHN key.
** GPG: Creating /root/.gnupg directory
The next step creates and populates the initial database, if you have opted for the RHN Satellite Server with Embedded Database. If you are installing RHN Satellite Server with Stand-Alone Database, the installer connects with the database. This step can take quite a while. If you would like to monitor the progress of the installation, use tail in a separate window to monitor the /var/log/rhn/install_db.log file.
* Setting up database.
** Database: Installing the embedded database (not the schema).
** Database: Shutting down the database first.
** Database: Installing the database first.
Once database installation is complete, or once the connection to the database is established, the Satellite is configured.
* Setting up environment and users.
In order to activate the Satellite, you must provide it with the location of your Satellite certificate.
* Activating Satellite.
Where is your satellite certificate file? /root/example.cert
The next step is to create a CA cert for the Satellite. To do so, you must answer a few questions.
- CA cert
Enter a password for the certificate.
- Organization
Enter the name of your organization
- Email Address
Enter an email address to be associated with this certificate, such as the admin email entered in the steps above.
- City
Enter the city where the Satellite resides.
- Country
Enter the country where the Satellite resides. The country code must be exactly two letters, or the certificate generation fails.
Once the CA Cert certificate is generated, the RHN Satellite Server Installation Program performs final configuration and restarts the associated services.
* Final configuration.
* Restarting services.
Installation complete.
Visit https://your-satellite.example.com to create the satellite administrator account.
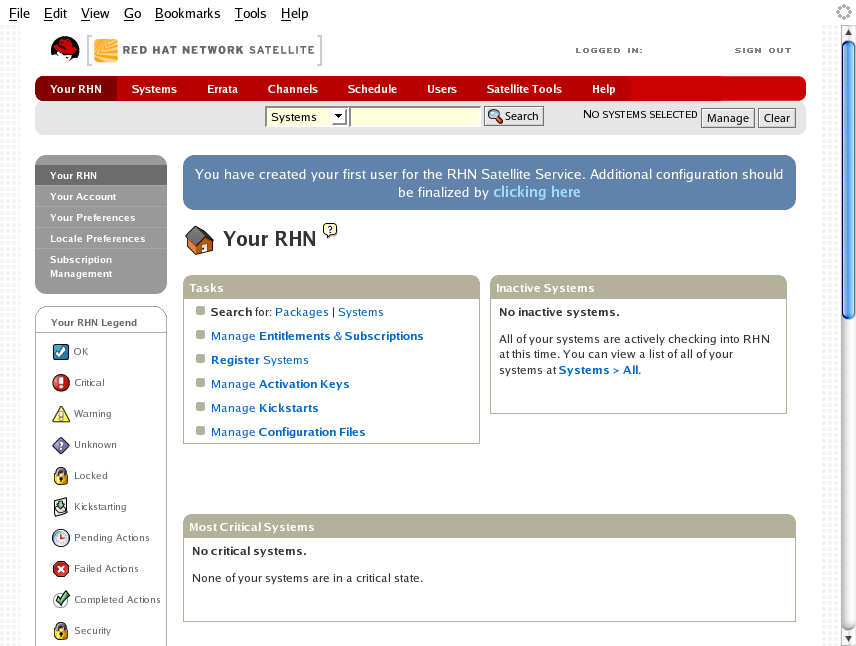
Follow the on-screen instructions and visit the FQDN of your Satellite via a web browser. Create the satellite administrator account - also referred to as the Organization Administrator - and click the Create Login button to move to the next screen, the Your RHN screen.
A blue text box appears at the top of the screen indicating that you can now custom-configure the Satellite and its behavior. To do so, click the bold clicking here text at the end.
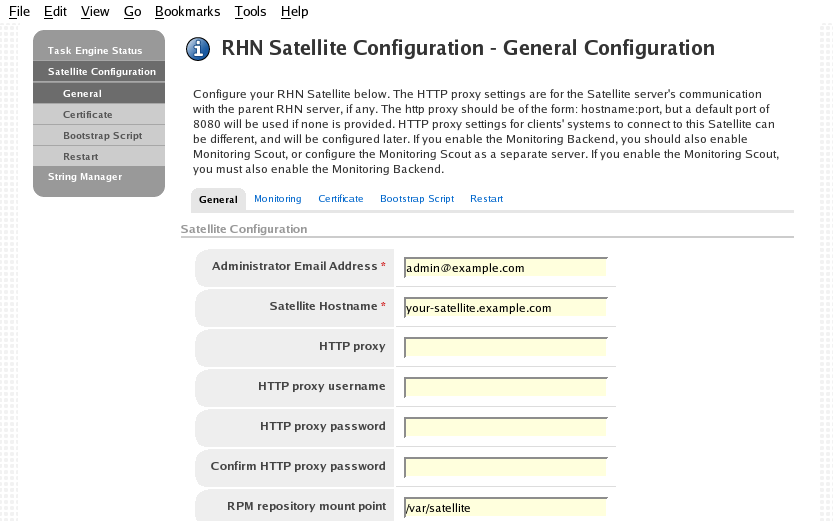
The Satellite Configuration - General Configuration page allows you to alter the most basic Satellite settings, such as the admin email address and whether Monitoring is enabled.
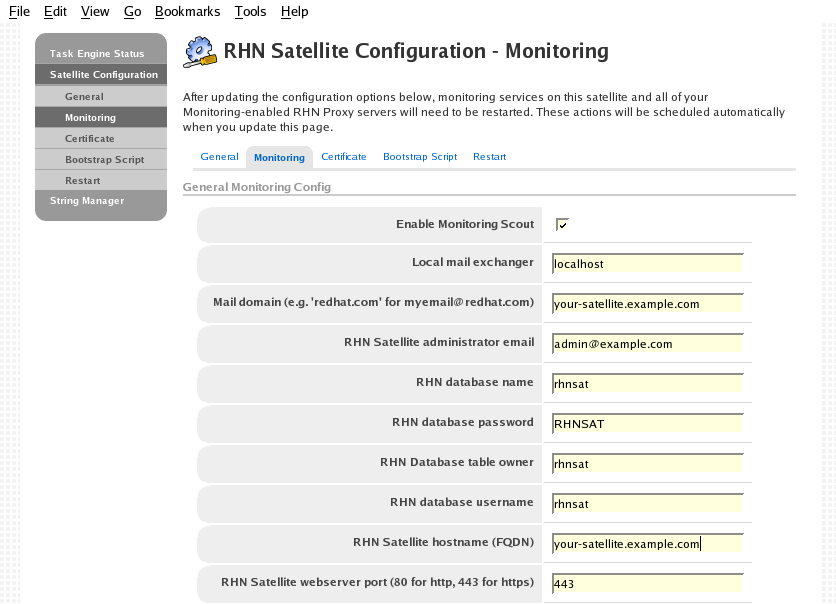
The RHN Satellite Configuration - Monitoring page allows you to configure the monitoring aspects of this Satellite. The local mail exchanger and local main domain are used to mail monitoring notification messages to administration. This is required only if you intend to receive alert notifications from probes. If you do, provide the mail server (exchanger) and domain to be used. Note that sendmail must be configured to handle email redirects of notifications. Refer to Section 4.4 Sendmail Configuration for instructions. When finished, click Continue. The RHN Registration page appears.
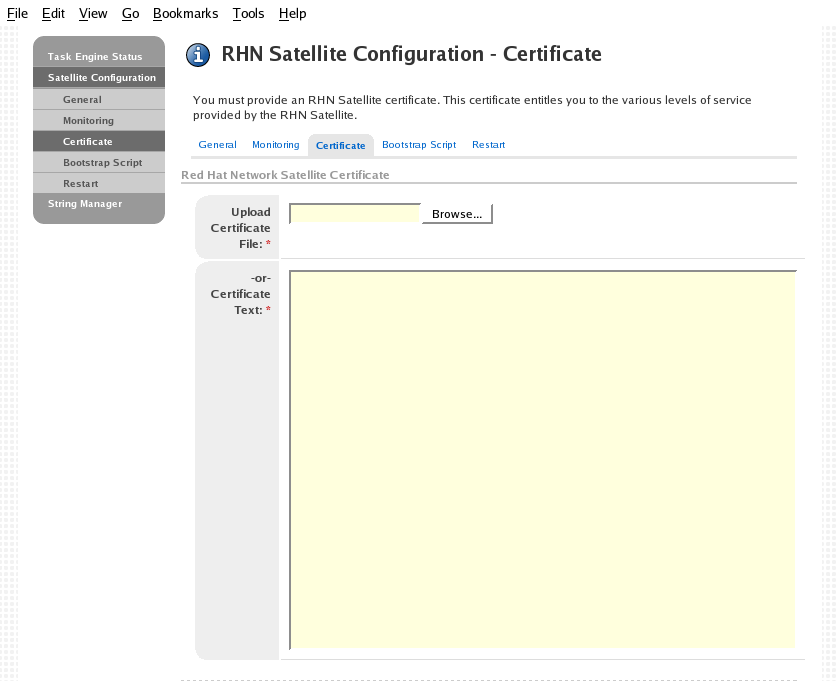
The RHN Satellite Configuration - Certificate page allows you to either upload a new Satellite certificate. To identify the certificate's path, click Browse, navigate to the file, and select it. To input its contents, open your certificate in a text editor, copy all lines, and paste them directly into the large text field at the bottom. Red Hat recommends using the file locator as it is less error prone. Click Validate Certificate to continue. If you receive errors related to DNS, ensure your Satellite is configured correctly. Refer to Section 7.3 Host Not Found/Could Not Determine FQDN.
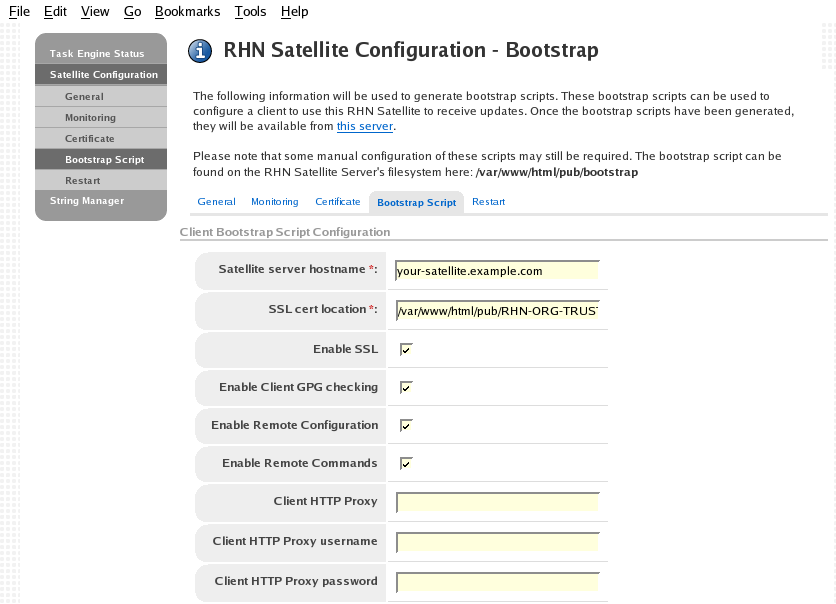
The RHN Satellite Configuration - Bootstrap page allows you to generate a bootstrap script for redirecting client systems from the central RHN Servers to the Satellite. This script, to be placed in the /var/www/html/pub/bootstrap/ directory of the Satellite, significantly reduces the effort involved in reconfiguring all systems, which by default obtain packages from the central RHN Servers. The required fields are pre-populated with values derived from previous installation steps. Ensure this information is accurate.
Checkboxes offer options for including built-in security SSL and GNU Privacy Guard (GPG) features, both of which are advised. In addition, you may enable remote command acceptance and remote configuration management of the systems to be bootstrapped here. Both features are useful for completing client configuration. Finally, if you are using an HTTP proxy server, complete the related fields. When finished, click Generate Bootstrap Script. The Installation Complete page appears.
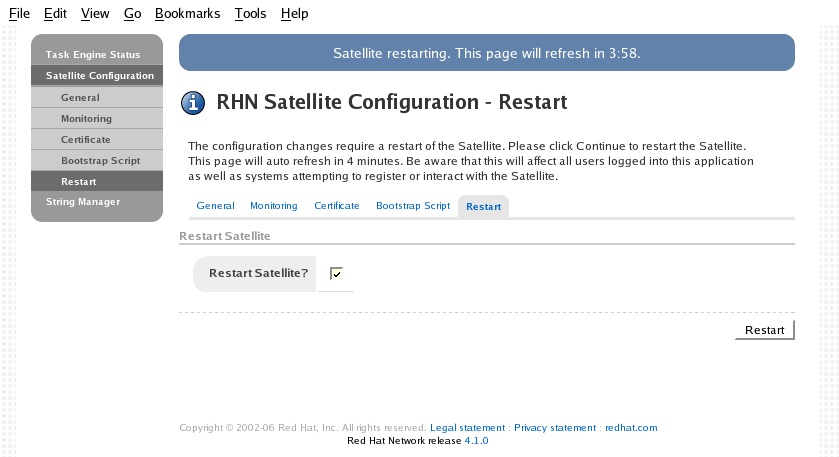
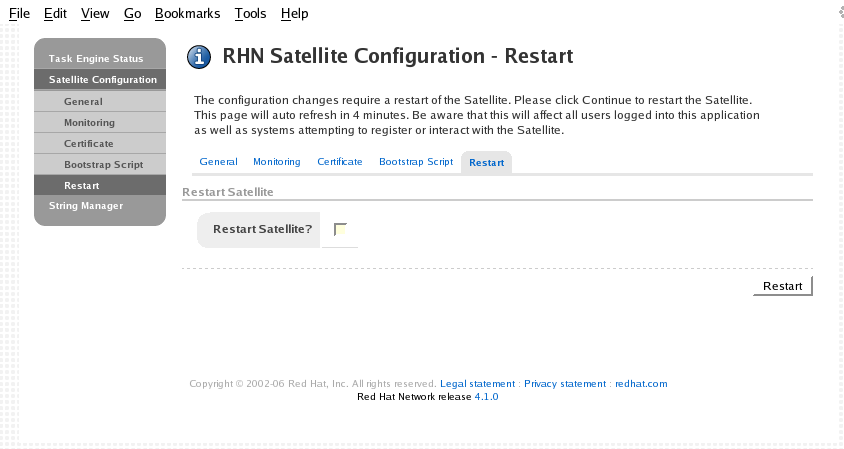
The RHN Satellite Configuration - Restart page contains the final step in configuring the Satellite. Click the Restart button to restart the Satellite in order to incorporate all of the configuration options added on the previous screens.
Once the Satellite has restarted, the countdown notice disappears. You are now free to begin using your Satellite.

4.2.1. Options to the Satellite Installation Program
The various options available for the Satellite Installation Program are included below for easy reference.
| Option | Usage |
|---|---|
| --help | Print this help message. |
| --answer-file=<filename> | Indicates the location of an answer file to be use for answering questions asked during the installation process. |
| --non-interactive | For use only with --answer-file. If the --answer-file does not provide a required response, exit instead of prompting the user. |
| --re-register | Register the system with RHN, even if it is already registered. |
| --disconnected | Install the satellite in disconnected mode. |
| --clear-db | Clear any pre-existing database schema before installing. This will destroy any data in the Satellite database and re-create empty Satellite schema. |
| --skip-system-version-test | Do not test the Red Hat Enterprise Linux version before installing. |
| --skip-selinux-test | Do not check to make sure SELINUX is disabled. RHN Satellite is not currently supported on selinux-enabled systems. |
| --skip-fqdn-test | Do not verify that the system has a valid hostname. RHN Satel- lite requires that the hostname be properly set during instal- lation. Using this option may result in a Satellite server that is not fully functional. |
| --skip-db-install | Do not install the embedded database. This option may be useful if you are re-installing the satellite, and do not want to clear the database. |
| --skip-db-diskspace-check | Do not check to make sure there is enough free disk space to install the embedded database. |
| --skip-db-population | Do not populate the database schema. |
| --skip-gpg-key-import | Do not import Red Hat's GPG key. |
| --skip-ssl-cert-generation | Do not generate the SSL certificates for the Satellite. |
Table 4-1. Installation Options