8.4. Adding a Phase
To add a phase to a lifecycle:
Click a lifecycle name in the left pane.
Click Add phase under the Phases section. The Add phase section is displayed.
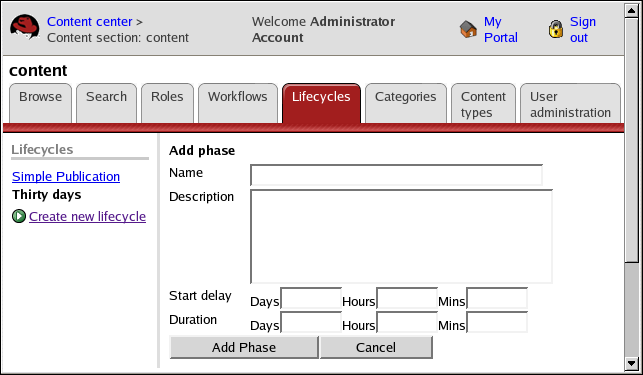
Type the name of the phase (required).
Type a description for the phase.
Enter the start delay in days, hours, and minutes. Type 0 in the Start Delay fields or leave them blank to publish the content items immediately.
Enter the duration in days, hours, and minutes to enter the default expiration time of the content item. Type 0 in the Duration fields to publish the content item indefinitely (it never expires).
Click Add Phase to save your entries.
 | Important |
|---|---|
You can indicate notification alerts when you publish the content item. The notification alert needs to be after the current time, but before the expiration. The values you enter in the Duration fields set the default expiration and you can override them when you publish the content item. |