Installing the Graphical Tools on a Client Machine
 | The instructions that follow assume that you are logged in as root, because you need to be root to run the installer. If you prefer, you can open a terminal window as root, select No if the autorun dialog appears, and manually mount the CD and run the installer as shown in the instructions that follow. |
To install the RHDB Graphical Tools:
Log in as root.
If you are not using a graphical login, start the X Window System (startx).
Insert the Red Hat Database CD into your CD-ROM drive.
If you are running the Gnome desktop, the CD should be mounted automatically and a dialog box should pop-up asking if you want to run the autorun program. Select Yes, and the installer will start.
If the autorun dialog box does not appear, you will need to manually mount the CD and start the installer:
Open a terminal window.
Mount the Red Hat Database CD:
Start the installer:
After you start the installer, you are presented with the Welcome Screen:
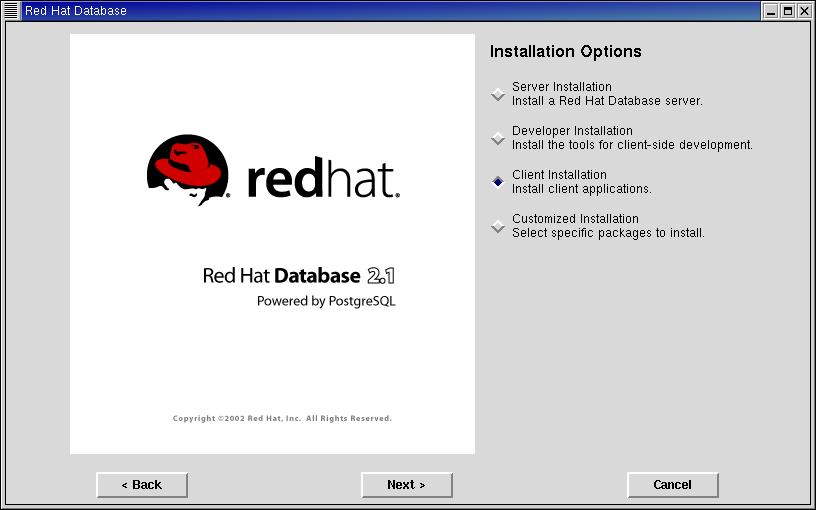
Click on the Install button to proceed.To install both RHDB Administrator and Visual Explain, from the Installation Types Screen, choose Client Installation.
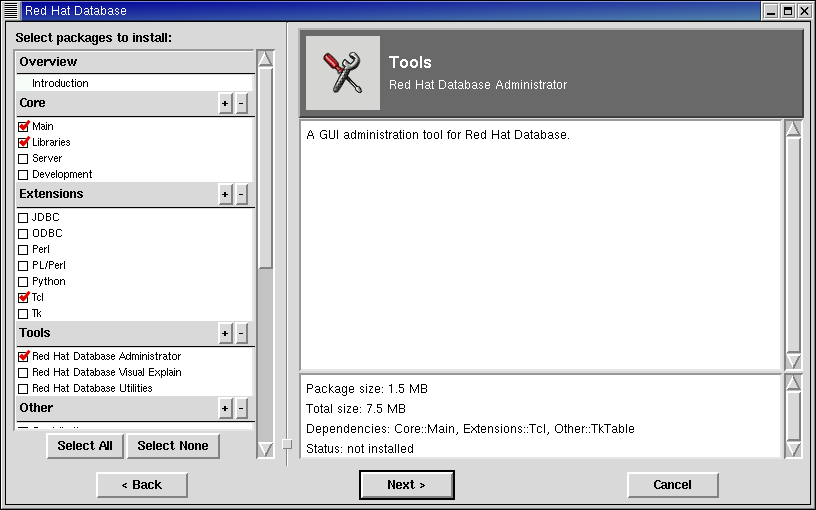
Alternatively, you can choose to install only RHDB Administrator or only Visual Explain; from the Installation Types Screen, choose Custom Installation.
To install only RHDB Administrator, select the Red Hat Database Administrator package...
...or to install only Visual Explain, select the Red Hat Database Visual Explain package...
Once you have made your selection, click Next.
When the installation is complete, the Installation Complete Screen appears:
Click on the Finish button.

After the Installation
After the installation is finished, in order to start Visual Explain you need to have a JRE. Make sure that your PostgreSQL JDBC driver, which is part of the rh-postgresql-jdbc package, is in the lib/ext directory of your JRE installation. For example, for IBM's software:
% ln -s /usr/share/pgsql/java/rh-pgsql-jdbc2.jar \ /opt/IBMJava2-131/jre/lib/ext/rh-pgsql-jdbc2.jar |
| Note that a JRE and JDBC must be set up properly for Visual Explain to work. For the JRE, this is done by default on Red Hat Linux Advanced Server 2.1, but on Red Hat Linux 7.3 and Red Hat Linux 8.0 you need to download a JRE from either Sun or IBM and install it manually. You will also need to either modify your PATH setting or set the JAVA_HOME environment variable appropriately before running Visual Explain. If you are using the tcsh and the IBMJava2-JRE-1.3.1-3 RPM, root must edit the /etc/profile.d/java_jre.csh file and change
Refer to the Red Hat Database Programmer's Guide for details on installing and configuring JDBC. Because the RHDB JDBC driver uses only TCP/IP to communicate with database servers, in order to use the driver, your database server needs to be configured to accept TCP/IP connections. |
Improving Performance
Before running RHDB Administrator, you may want to set the TCP/IP connection on the database cluster to on and increase the number of connections to your database. To allow connections from other machines, the proper permissions must be set. For information on how to do this, refer to the Red Hat Database Administrator and User's Guide.