Standard Shader
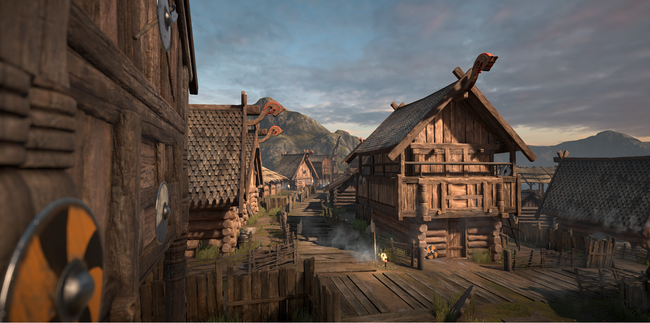
Unity 5 introduces a new type of built-in shader called the Standard Shader. This shader is designed to replace a large number of the old shaders used in previous versions of Unity - most significantly it replaces all the shaders that were used to render “real-world” objects such as stone, wood, glass, plastic, metal, etc.
When using this shader, which is always selected by default when creating a new material, you no longer need to decide from a long list of shader types that support various combinations of features (reflective, bump, transparent, etc). The Standard Shader supports them all, and its features are enabled or disabled by simply using or not using the various texture slots and parameters in the material editor.
The Standard Shader also incorporates a much more advanced lighting model called Physically Based Shading.
Physically Based Shading (PBS for short) simulates the interactions between materials and light in a way that mimics reality. PBS has only recently become possible in real-time graphics. It works at its best situations where lighting and materials need to play together intuitively and realistically.
The idea behind our Physically Based Shader is to create a user friendly way of achieving a consistent, plausible look under different lighting conditions. It models how light behaves in reality, without using multiple ad-hoc models that may or may not work.
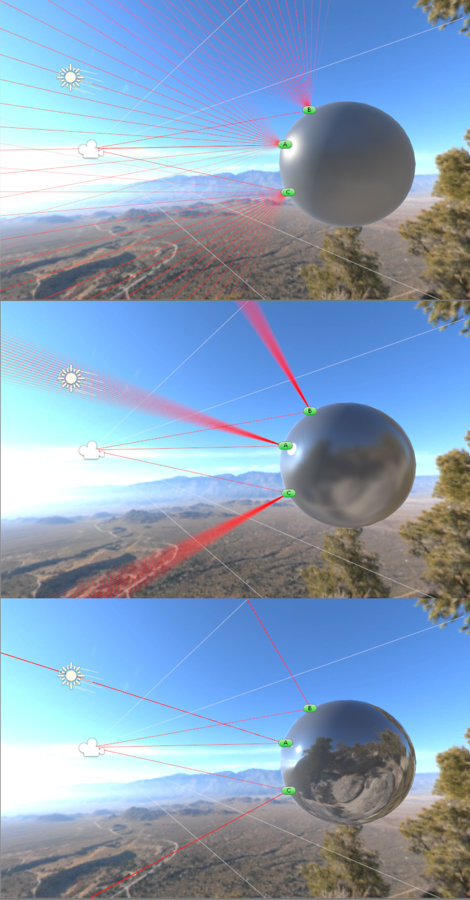
To do so it follows principles of physics, including energy conservation (meaning that objects never reflect more light than they receive), Fresnel reflections (all surfaces become more reflective at grazing angles), and how surfaces occlude themselves (what is called Geometry Term), among others.
The Standard Shader is designed with hard surfaces in mind (which are also known as “architectural” materials), and can deal with most real world materials like stone, glass, ceramics, brass, silver or rubber. It will even do a decent job with non-hard materials like skin, hair or cloth.

Unity uses PBS to create a user friendly way of achieving a consistent, plausible look under all lighting conditions. In order to do so it models how light behaves in reality and follows principles of physics.
This is in contrast to older methods of shading used in earlier versions of Unity, where there was a large range of different types of shaders available to choose from. In this older method, each type of shader had its own special purposes - such as Diffuse, Specular, Bumped Specular, Reflective, etc.
With the standard shader, all of these different requirements are combined into a single shader which is intended to be used across all material types. The benefit is that the same lighting calculations are used in all areas of your scene, which gives a realistic, consistent and believable distribution of light and shade across all models which use the shader.
Terminology
There are a number of concepts that are very useful when talking about Physically Based Shading (PBS) in Unity, You should aim to become familiar with them. These include:
- Energy conservation - Which points to the fact that objects never reflect more light than they receive. The more specular a material is, the less diffuse it should be; the smoother a surface is the stronger and smaller the highlight gets, and so on.

- HDR - High Dynamic Range, which refers to colours outside the usual 0…1 range. For instance, the sun can easily be ten times brighter than a blue sky. For an in depth discussion see the HDR manual page.
