Administration Guide
You can monitor devices remotely via SSH. To monitor devices remotely, you must install the Zenoss plugins on each remote device you want to monitor.
Follow the steps in the following sections to set up remote monitoring.
The Zenoss Plugins are packaged in two formats:
Native format (RPM) - Recommended in Red Hat-based systems that support Red Hat Package Management. By using the RPM distribution, you can easily update the package when newer versions are released.
Source distribution - Assembled using setuptools. When using the source distribution, you do not need root privileges to install the Zenoss plugins.
The RPM for the Zenoss Plugins is a noarch RPM, which means it can be installed on any architecture (such as i386, amd64, or ia_64). The only external dependency needed to install the Zenoss plugins RPM is Python. Most Linux distributions include Python in their standard loads.
To install the Zenoss plugins RPM, use the following command:
$ sudo rpm -Uvh zenoss-plugins-*.rpm
where 'zenoss-plugins-*.rpm' is the latest Zenoss plugin RPM file.
Enter these commands to install the Zenoss plugins into directories that are accessible to all users:
$ python setup.py build
$ sudo python setup.py install
If you do not have appropriate privileges to install the system software, refer to the following information about installing the plugins using a non-privileged account, at:
http://dev.zenoss.org/trac/wiki/ZenossPlugins
Alternatively, you can use setuptool's built-in easy_install command to install the plugins. To use easy_install to download and install the Zenoss plugins, run the following command:
$ sudo easy_install Zenoss-Plugins
where 'Zenoss-Plugins' is the name of the latest Zenoss plugin file.
The entry point to the Zenoss plugins is the zenplugin.py command. When run without any arguments, zenplugin.py reports the proper usage of the script, providing insight into which options should be run for troubleshooting.
The Zenoss plugins detect platform-specific, runtime values using plugins. For example, the CPU plugin for the linux2 platform uses /proc to read values. In comparison, the CPU plugin for the freebsd5 platform uses a different technique. In order to test the installation you must determine which plugins are available for your platform. To do this, run the following command:
$ zenplugin.py --list-plugins
After determining a list of supported plugins for your platform, run the zenplugin.py with the plugin name as the argument. The following command line illustrates:
$ zenplugin.py cpu
If you receive a "command not found" error when running the zenplugin.py command, make sure that the directory into which zenplugin.py was installed is included in your PATH. If you installed by using RPM, you can use the command "rpm -ql zenoss-plugins | grep zenplugin.py". If you installed via setuptools pay close attention to the "Installing..." messages to see the full directory paths.
This message indicates that Zenoss plugins may not be fully implemented for your particular platform. If you receive this message, and want to investigate support for your platform, email the output of the following command to the Zenoss team:
$ python -c 'import sys; print sys.platform'
You must edit Zenoss properties for the group where you want to collect remote information using SSH.
Navigate to the device class path you want to monitor remotely. You can apply this monitoring per device or per device class path.
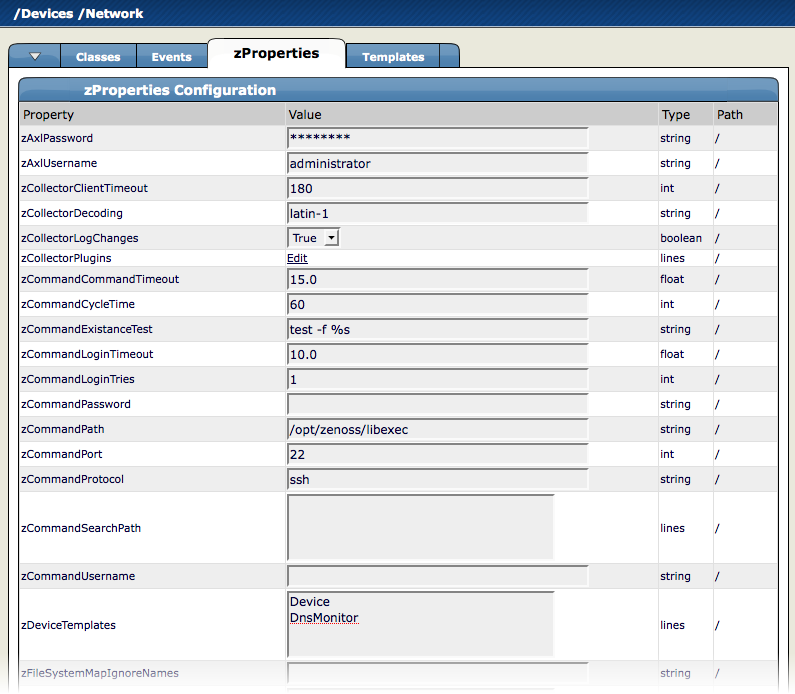
Change the zProperties value for the group. Click the zProperties tab.
The zProperties tab appears.
You must make changes to the following zProperties:
zCollectorPlugins
zCommandPassword
zCommandPath
zCommandUsername
zSnmpMonitorIgnore
zTransportPreference
The following table lists sample values set up for remote devices. These have a pre-shared key (with no password) setup from the collector to the remote boxes. (It can also use password authorization if the password is entered into zCommandPassword.)
zProperties Value zCollectorPlugins snmp|portscan zCommandPassword The SSH password for the remote machine. zCommandPath The path to zenplugin.py zCommandUsername The SSH Username for the remote machine. zSnmpMonitorIgnore True zTransportPreference command Two passes are required for full modeling. The first pass obtains the platform type (so that Zenoss knows which plugins to run). The second pass provides detailed data on interfaces and file systems.
Run the command:
$ zenmodeler run -d enter_server_name_here
Run the command a second time to use the plugins the command gathered on the first pass.
The /Server/Cmd device class is an example configuration for modeling and monitoring devices using SSH. The zProperties have been modified as described in the previous sections, and Device, Filesystem and Ethernet interface templates that gather data over SSH have been created.
You can use this device class as a reference for your own configuration; or, if you have a device that needs to be modeled or monitored via SSH/Command, you can place it under this device class to use the pre-configured templates and zProperties. You will still need to set the zCommandUsername and zCommandPassword zProperties to the appropriate SSH login information for each device.