Product SiteDocumentation Site

18.4. Migrating with virt-manager

This section covers migrating KVM based guests with virt-manager.
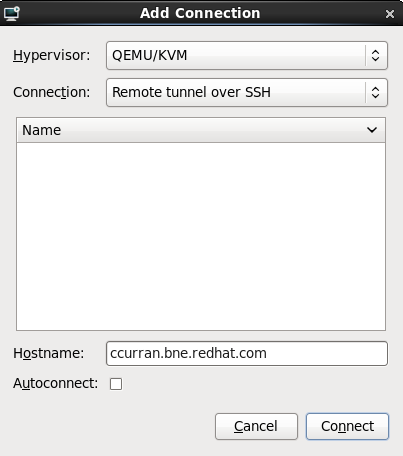
  1. Connect to the source and the target hosts

    Connect to the source and target hosts. On the File menu, click Add Connection, the Add Connection window appears.
    Enter the following details:
    • Hypervisor: Select QEMU.
    • Connection: Select the connection type.
    • Hostname: Enter the hostname.
    Press the Connect button.
    Add Connection
    Figure 18.1. Add Connection

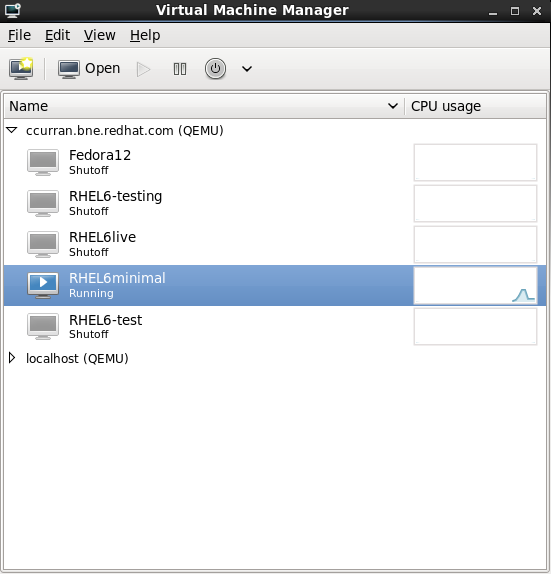
    virt-manager now displays the newly connected host in the list of available hosts.
    Connected Host
    Figure 18.2. Connected Host

  2. Add a storage pool to both hosts

    Both hosts must be connected to the same storage pool. Create the storage pool on both hosts using the same network storage device. Using a storage pool ensures both servers have identical storage configurations. This procedure uses a NFS server.
    1. Open the storage tab

      On the Edit menu, click Host Details, the Host Details window appears.
      Click the Storage tab.
      Storage tab
      Figure 18.3. Storage tab

    2. Add a storage pool with the same NFS to the source and target hosts.

      Add a new storage pool. In the lower left corner of the window, click the + button. The Add a New Storage Pool window appears.
      Enter the following details:
      • Name: Enter the name of the storage pool.
      • Type: Select netfs: Network Exported Directory.
      Add a new Storage Pool
      Figure 18.4. Add a new Storage Pool

      Press Forward to continue.
    3. Specify storage pool details

      Enter the following details:
      • Format: Select the storage type. This must be NFS or iSCSI for live migrations.
      • Host Name: Enter the IP address or fully-qualified domain name of the storage server.
      Storage pool details
      Figure 18.5. Storage pool details

      Press the Finish button to add the storage pool.
    4. Verify the new storage pool was added sucessfully

      The new storage pool should be visible in the Storage tab.
      New storage pool in the storage tab
      Figure 18.6. New storage pool in the storage tab

    Complete these steps on both hosts before proceeding.
  3. Optional: Add a volume to the storage pool

    Add a volume to the storage pool or create a new virtualized guest on the storage pool. If your storage pool already has virtualized guests, you can skip this step.
    1. Create a new volume in the shared storage pool, click New Volume.
      Enter the details, then click Create Volume.
      Add a storage volume
      Figure 18.7. Add a storage volume

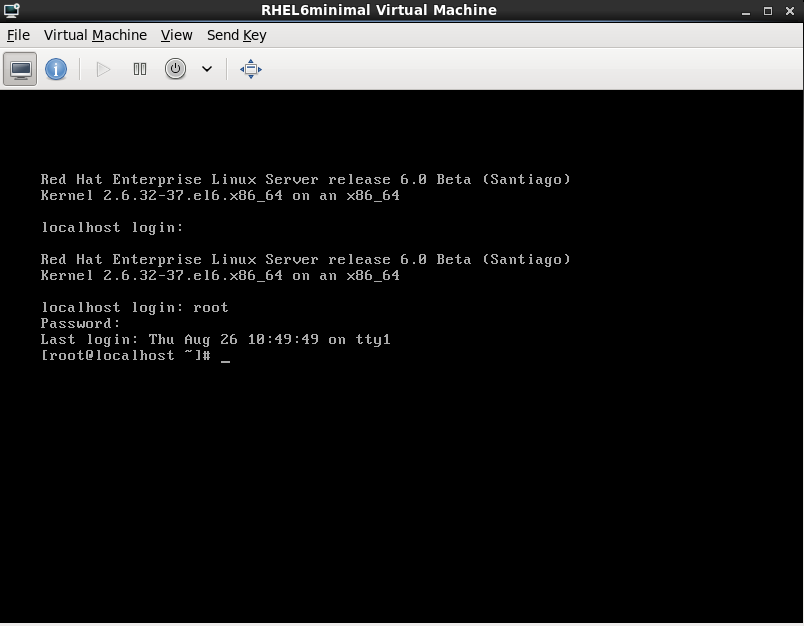
    2. Create a new virtualized guest on the new volume

      Create a new virtualized guest that uses the new volume. For information on creating virtualized guests, refer to Part II, “Installation”.
      New virtualized guest
      Figure 18.8. New virtualized guest

      The Virtual Machine window appears.
      Virtual Machine window
      Figure 18.9. Virtual Machine window

  4. Migrate the virtualized guest

    From the main virt-manager screen, right-click on the virtual machine and select Migrate.... The Migrate the virtual machine window appears.
    Migrate the virtual machine
    Figure 18.10. Migrate the virtual machine

    Select the destination host from the list.
    Select Migrate offline to disable live migration and do an offline migration.
    Select advanced options if required. For a standard migration, no of these settings should be modified.
    Press Migrate to confirm and migrate the virtualized guest.
  5. A status bar tracks the progress of the migration. Once the migration is complete the virtualized guest will appear in the list of virtualized guests on the destination.
    Completed migration
    Figure 18.11. Completed migration