Management
Temp space management offers an interface to add, disable, enable and delete a temp space. It is accessible under Configuration > Temp space management > Edit.
The screen is divided in two drop-down areas: Global Configuration and Per Node Configuration. The Global configuration manages temp spaces of standalone server or in case of a server cluster temp spaces on all its nodes. The Per Node Configuration allows to maintain temp spaces on each particular node.
| Initialization |
| Adding Temp Space |
| Using environment variables and system properties |
| Disabling Temp Space |
| Enabling Temp Space |
| Removing Temp Space |
Initialization
When CloverETL Server is starting the system checks temp space configuration:
in case no temp space is configured a new default temp space is created in the directory where java.io.tmpdir system property points. The directory is named as follows:
${java.io.tmpdir}/clover_tempin case of a standalone server${java.io.tmpdir}/clover_temp_<node_id>in case of server cluster
Adding Temp Space
In order to define new temp space enter its path into text field under last row in the table and click the Add link. If the directory entered does not exist, it will be created.
![[Tip]](figures/tip.png) | Tip |
|---|---|
| The main point of adding additional temp spaces is to enable higher system throughput - therefore the paths entered should point to directories residing on different physical devices to achieve maximal I/O performance. |
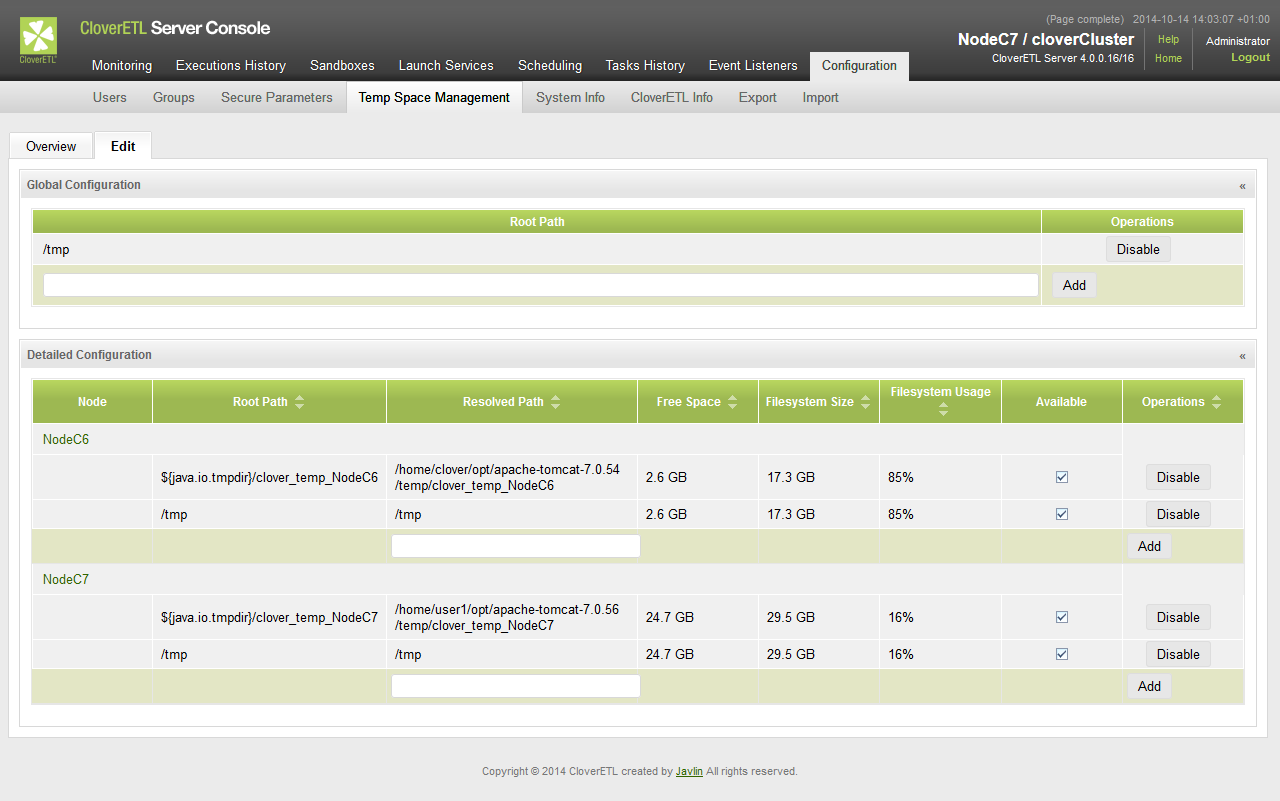 |
Figure 12.2. Newly added global temp space.
Using environment variables and system properties
Environment variables and system properties can be used in the temp space path as a placeholder; they can be arbitrarily combined and resolved paths for each node may differ in accord with its configuration.
![[Note]](figures/note.png) | Note |
|---|---|
| The environment variables have higher priority than system properties of the same name. The path with variables are resolved after system has added new temp space and when the server is starting. In case the variable value has been changed it is necessary to restart the server so that the change takes effect. |
Examples:
Given that an environment variable
USERNAMEhas a valueFilip. and is used as a placeholder in the pathC:\Users\${USERNAME}\tmp, the resolved path isC:\Users\Filip\tmp.Given that Java system property
java.io.tmpdirhas a valueC:\Users\Filip\AppData\Local\Tempand the property is used as a placeholder in the path${java.io.tmpdir}\temp_folder, the resolved path isC:\Users\Filip\AppData\Local\Temp\temp_folder.Node
node01has been started with-Dcustom.temporary.dir=C:\tmp_node01parameter. Nodenode02has been started with-Dcustom.temporary.dir=C:\tmp_node02parameter. The declared path is${custom.temporary.dir}. The resolved path is different for each node,C:\tmp_node01fornode01andC:\tmp_node02fornode02.When the declared path is
${java.io.tmpdir}\${USERNAME}\tmp_folder, the resolved path isC:\tmp\Filip\tmp_folder.
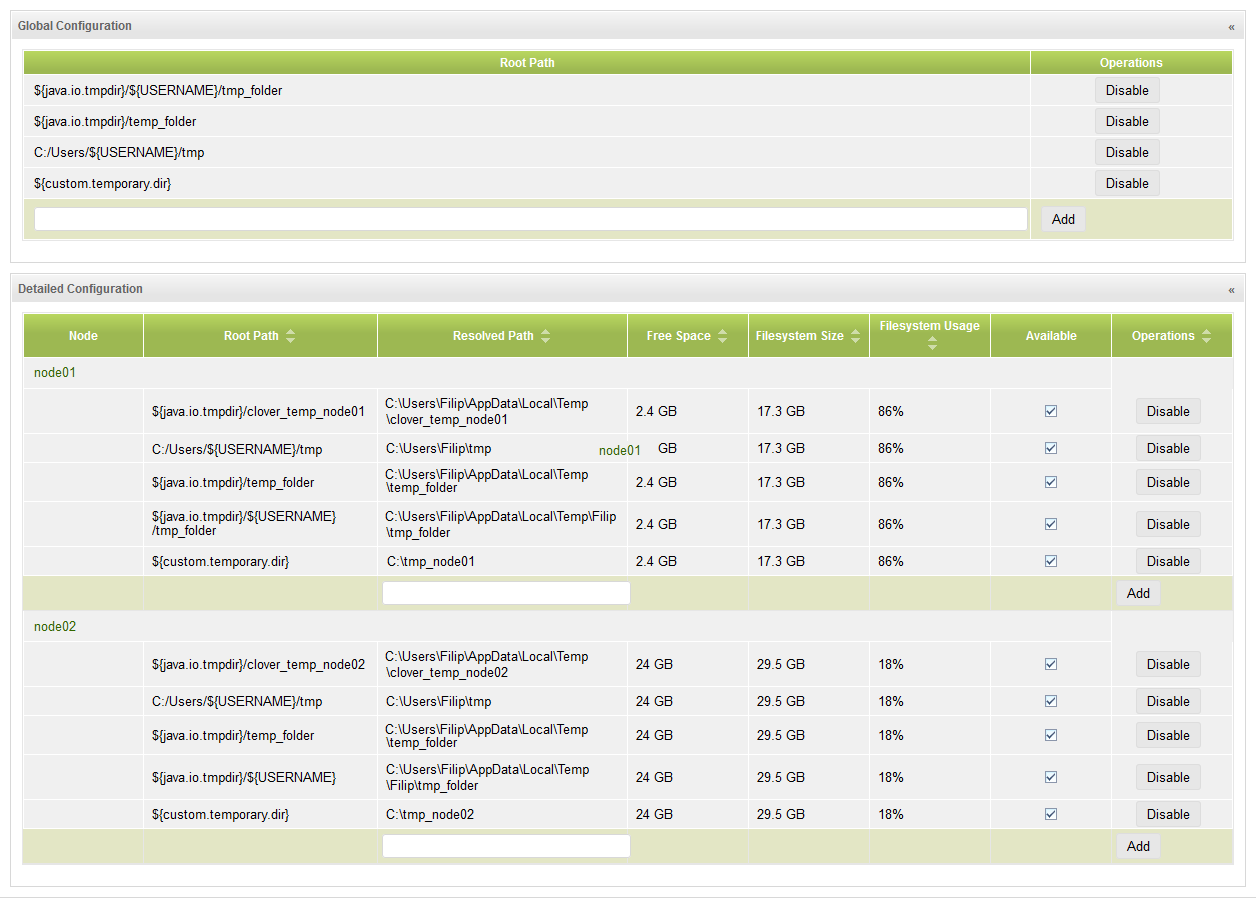 |
Figure 12.3. Temp spaces using environment variables and system properties
Disabling Temp Space
To disable a temp space click on "Disable" link in the panel. Once the temp space has been disabled, no new temporary files will be created in it, but the files already created may be still used by running jobs. In case there are files left from previous or current job executions a notification is displayed.
| Note |
|---|---|
| The system ensures that at least one enabled temp space is available. |
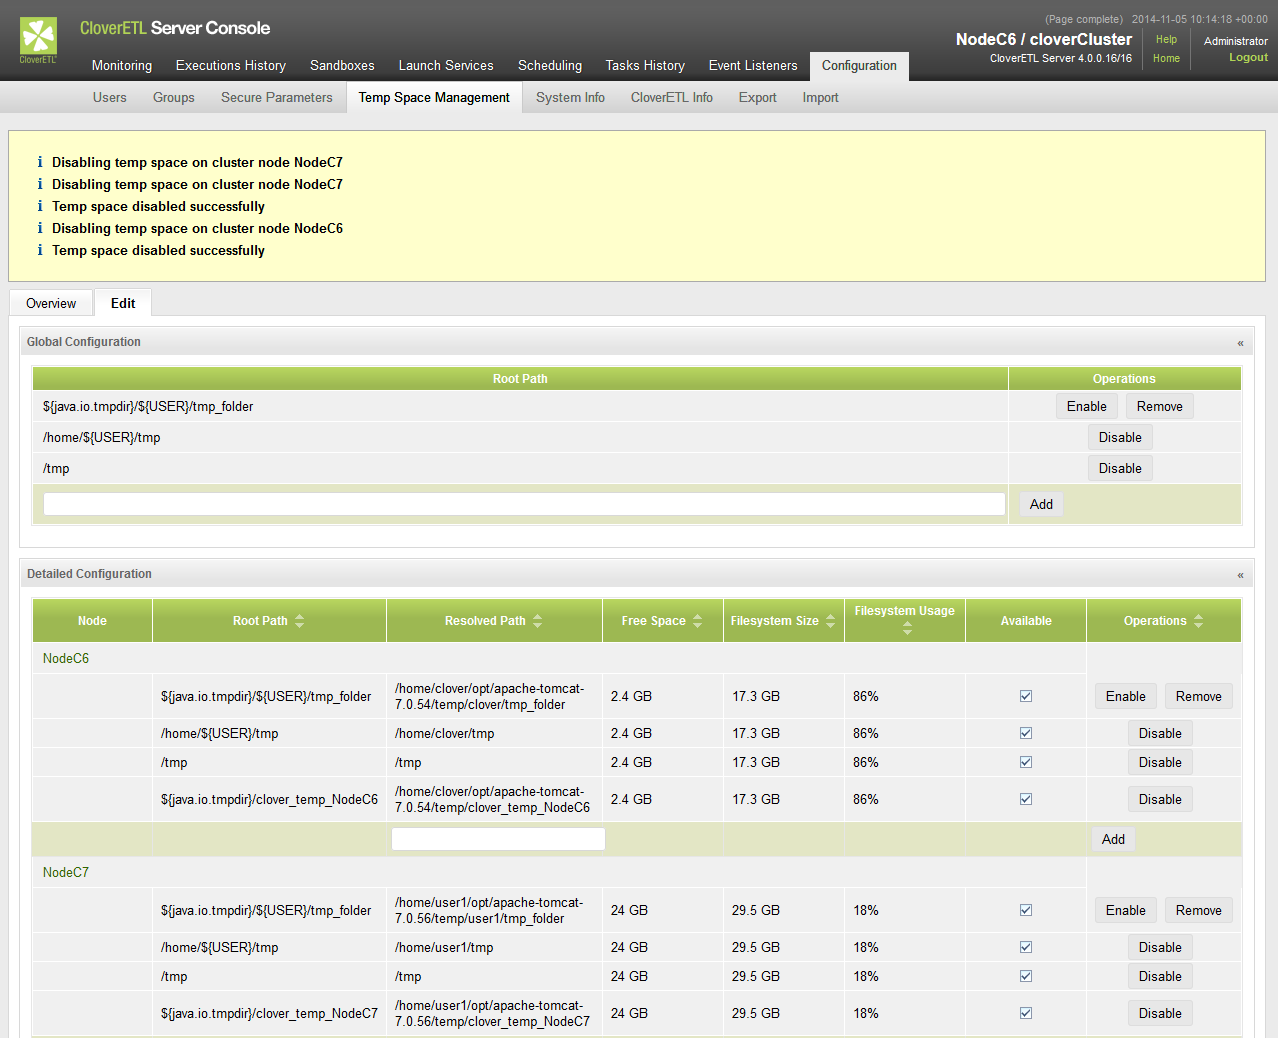 |
Figure 12.4. Disable operation reports action performed
Enabling Temp Space
To enable a temp space click on "Enable" link in the panel. Enabled temp space is active, i.e. available for temporary files and directories creation.
Removing Temp Space
To remove a temp space click on "Remove" link in the panel. Only the disabled temp space may be removed. If there are any running jobs using the temp space, the system will not allow its removal. In case there are some files left in the temp space directory, it is possible to remove them in the notification panel. The available options are:
- Remove - remove temp space from a system, but keep its content
- Remove and delete - remove the temp space from a system and its content too
- Cancel - do not proceed with operation
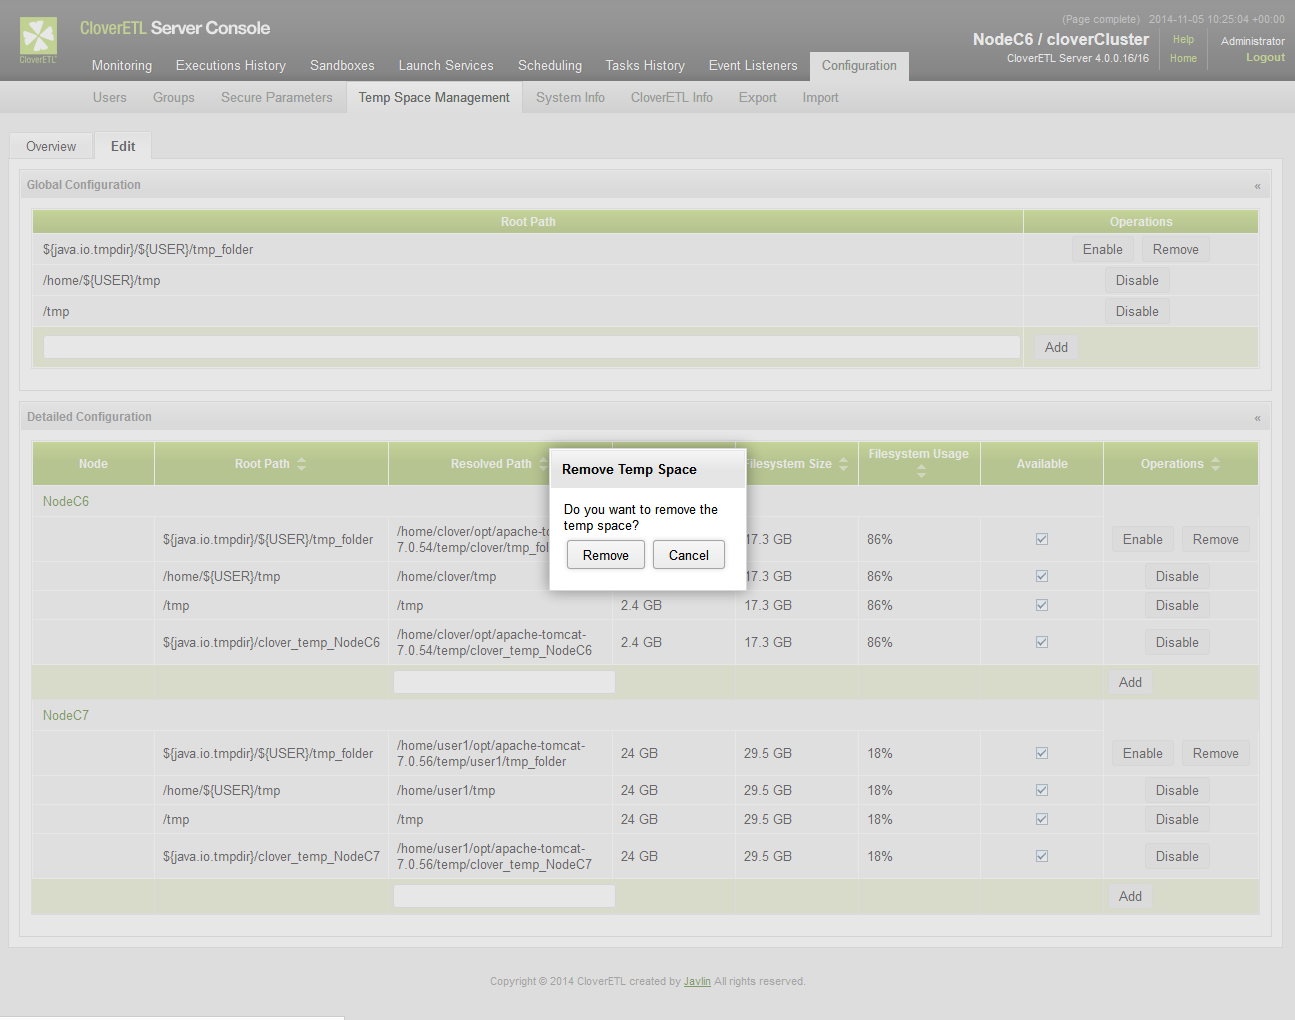 |
Figure 12.5. Remove operation asks for confirmation in case there are data present in the temp space