Apache Tomcat
| Installation of Apache Tomcat |
| Apache Tomcat as a Windows Service |
| Apache Tomcat on IBM AS/400 (iSeries) |
| Installation of CloverETL Server |
| Configuration of CloverETL Server on Apache Tomcat |
![[Important]](figures/important.png) | Important |
|---|---|
See Application Server in system requirements for currently supported Apache Tomcat versions and required Java versions. If you encounter any problems during the installation, the Possible Issues during Installation section may provide a solution. Please note that since 31 December, 2016, the Apache Tomcat team has ended Apache Tomcat 6.0.x support. See End of life for Apache Tomcat 6.0.x for more information. |
Installation of Apache Tomcat
Download the binary distribution: Tomcat 6[1], Tomcat 7 or Tomcat 8.
CloverETL Server is developed and tested with the Apache Tomcat 6.0.x, 7.0.x and 8.0.x containers. Running the Server with other versions may result in unpredictable behavior.
Extract the downloaded archive (
ziportar.gz).Set up
JAVA_HOMEto point to the correct Java version:- Unix-like systems:
Setup the path in
/etc/profileor/etc/bash.bashrc:export JAVA_HOME=/path/to/JDK(for example:
export JAVA_HOME=/usr/jdk1.8.0_121) - Windows system:
Under System Variables in Advanced System Settings, create a new variable named
JAVA_HOME. The value should contain the path to the JDK installation directory (e.g.C:\Java\jdk1.8.0_121).
- Unix-like systems:
Run Tomcat:
- Unix-like systems:
Run the
[Tomcat_home]/bin/startup.shfile. - Windows system:
Run the
[Tomcat_home]\bin\startup.batfile.
- Unix-like systems:
Check whether Tomcat is running.
Open a new tab in your browser and type http://localhost:8080/ in the address bar.
If the Apache Tomcat Information page appears (see below), the server is successfully installed:
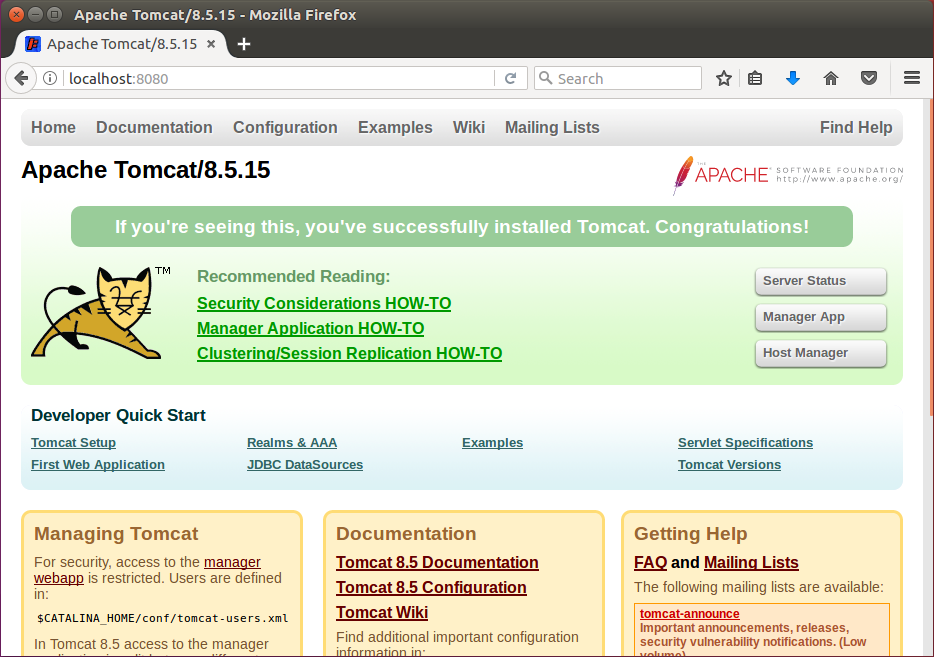
Figure 3.3. Apache Tomcat welcome page
![[Note]](figures/note.png) | Note |
|---|---|
For the installation on IBM AS/400, continue with Apache Tomcat on IBM AS/400 (iSeries). |
Continue with: Installation of CloverETL Server.
Apache Tomcat as a Windows Service
Download the 32-bit/64-bit Windows Service Installer file in the Binary Distributions section on the Tomcat 6[1], Tomcat 7 or Tomcat 8 download page.
Use the standard installation wizard to install Apache Tomcat.
Check whether Tomcat is running.
Type http://localhost:8080/ in your browser's address bar.
If the Apache Tomcat Information page appears, the server is successfully installed.
When Tomcat is installed as a Windows service, CloverETL is configured by one of the following options:
Graphical configuration utility
Run the
[Tomcat_home]\bin\Tomcat8w.exefile.In the Apache Tomcat Properties dialog box, select the Java tab and set the initial and maximum heap size in Initial memory pool and Maximum memory pool fields to 512MB and 1024MB respectively. Other configuration parameters can be defined in Java Options field, being separated by new line.
Click on Apply and restart the service.
Note The Java tab allows you to use alternative Java virtual machine by setup of path to jvm.dllfile.
Command Prompt tool
Run the
[Tomcat_home]\bin\Tomcat8.exefile.If Tomcat is running, navigate to
[Tomcat_home]\binand stop the service by typing:.\Tomcat8.exe //SS//Tomcat8
in the Command Prompt. (When using different version of Tomcat, change the number in the command to reflect the installed version.)
Configure the service by typing the command:
.\Tomcat8.exe //US//Tomcat8 --JvmMs=512 --JvmMx=1024 --JvmOptions=-Dclover.config.file=C:\path\to\clover-config.properties#-XX:MaxMetaspaceSize=256m
The parameter JvmMs is the initial and JvmMx is the maximum heap size in MB;
JvmOptionsare separated by '#' or ';'.Important If you use Java 7, change -XX:MaxMetaspaceSizeto-XX:MaxPermSize.Start the service from Windows administration console or by typing the following command in the Command Prompt:
.\Tomcat8.exe //TS//Tomcat8
![[Tip]](figures/tip.png) | Tip |
|---|---|
By default, when Apache Tomcat is run as a Windows service, it is not available for Java process monitoring tools (e.g., JConsole or JVisualVM). However, these tools can still connect to the process via JMX. In order to expose Tomcat's Java process via JMX, add the following options to the service settings:
 -Dcom.sun.management.jmxremote.port=3333
 -Dcom.sun.management.jmxremote.ssl=false
 -Dcom.sun.management.jmxremote.authenticate=false
Once the service is run with these options, you can connect to port 3333 using JMX and monitor the server. |
| Note |
|---|---|
The instructions can be applied to Tomcat 6 and Tomcat 7, simply replace the number 8 in the file name with the number 6 or 7. |
More information about running Java applications as Windows Service can be found at Apache Commons.
Continue with: Installation of CloverETL Server.
Apache Tomcat on IBM AS/400 (iSeries)
Additional settings are required to run CloverETL Server on the iSeries platform:
Declare you are using Java 7.0 32-bit.
Run Java with parameter
-Djava.awt.headless=true.
To configure the settings, modify (or create) the
[Tomcat_home]/bin/setenv.sh file to contain:
JAVA_HOME=/QOpenSys/QIBM/ProdData/JavaVM/jdk70/32bit
JAVA_OPTS="$JAVA_OPTS -Djava.awt.headless=true"
Continue with: Installation of CloverETL Server
Installation of CloverETL Server
Check if you meet the prerequisites:
Oracle JDK or JRE is installed (See Java Virtual Machine for the required Java version.)
JAVA_HOMEorJRE_HOMEenvironment variable is set (see Setting up JAVA_HOME).A supported version of Apache Tomcat[1] is installed.
It is strongly recommended to adjust the default limits for Memory allocation (see the Memory Settings section).
You can set the minimum and maximum memory heap size by adjusting the "Xms" and "Xmx" JVM parameters:
Unix-like systems:
Create the
[Tomcat_home]/bin/setenv.shfile.Type or paste in the following lines:
export CATALINA_OPTS="$CATALINA_OPTS -XX:MaxMetaspaceSize=512m -Xms128m -Xmx1024m"
export CATALINA_OPTS="$CATALINA_OPTS -Dderby.system.home=$CATALINA_HOME/temp -server"
echo "Using CATALINA_OPTS: $CATALINA_OPTS"
Windows systems:
Create the
[Tomcat_home]\bin\setenv.batfile.Type or paste in the following lines:
set "CATALINA_OPTS=%CATALINA_OPTS% -XX:MaxMetaspaceSize=512m -Xms128m -Xmx1024m"
set "CATALINA_OPTS=%CATALINA_OPTS% -Dderby.system.home=%CATALINA_HOME%/temp -server"
echo "Using CATALINA_OPTS: %CATALINA_OPTS%"
Important If you use Java 7, change -XX:MaxMetaspaceSizeto-XX:MaxPermSize.Tip For performance reasons, it is recommended to run the container in the "server" mode by setting the -serverswitch, as seen in the settings above.Go to the download section of your CloverETL account and download the
clover.war(web archive) file containing CloverETL Server for Apache Tomcat.Copy
clover.warto the[Tomcat_home]/webappsdirectory.Note Please note, that copying is not an atomic operation. If Tomcat is running, mind the duration of the copying process! Too long copying might cause a failure during deployment as Tomcat tries to deploy an incomplete file. Instead, manipulate the file when the Tomcat is not running. Tomcat should automatically detect and deploy the
clover.warfile.Check whether CloverETL Server is running:
Run Tomcat.
Open a new tab in your browser and type http://localhost:8080/clover/ in the address bar.
Use the default administrator credentials to access the web GUI: username: clover, password: clover.
Continue with: Configuration of CloverETL Server on Apache Tomcat
Configuration of CloverETL Server on Apache Tomcat
| Tip |
|---|---|
| Default installation (without any configuration) is only recommended for evaluation purposes. For production use, at least a dedicated database and SMTP server configuration is recommended. |
For detailed configuration of CloverETL Server, use a properties file. Here you can configure various properties, including the connection to the database, username and password, path to the license file, private properties, number of active threads, clusters and much more (see Chapter 9, List of Properties and Chapter 30, Cluster Configuration). The file can be placed either on a default, or specified location.
Content of such a file (example with MySQL database):
jdbc.driverClassName=com.mysql.jdbc.Driver
jdbc.url=jdbc:mysql://127.0.0.1:3306/clover?useUnicode=true&characterEncoding=utf8
jdbc.username=yourUsername
jdbc.password=yourPassword
jdbc.dialect=org.hibernate.dialect.MySQLDialect
Properties File in Specified Location
The properties file is loaded from a location specified by a system property or by an environment variable
clover_config_file or clover.config.file.
Create the
cloverServer.propertiesfile in a directory readable by Apache Tomcat. (If you need an example of connection to any of supported databases, see Chapter 8, Examples of DB Connection Configuration.)Edit the
[Tomcat_home]/bin/setenv.shfile (if it does not exist, you may create it).Set the system property by adding the following line into the file:
JAVA_OPTS="$JAVA_OPTS -Dclover_config_file=/path/to/cloverServer.properties".
| Note |
|---|---|
|
[1] Please note that support for Apache Tomcat 6.0.x has ended on 31 December, 2016. See End of life for Apache Tomcat 6.0.x for more information.