| Note |
|---|---|
This section begins a tutorial that will continue throughout this book. At the end of each chapter, you will see a Putting It All Together section that walks you through examples to illustrate concepts discussed in that section. Each Putting It All Together section builds on the previous one, so be sure to save your file for easy access. | |
Let’s get started!
First, let’s create a file to store your real data. Open
GnuCashand select → from the Menubar. This will start the New Account Hierarchy Setup assistant that allows you to create several accounts at once.Note If you are running
GnuCashfor the first time, you will be presented with the Cannot find default values screen which is described in details in theGnuCashmanual.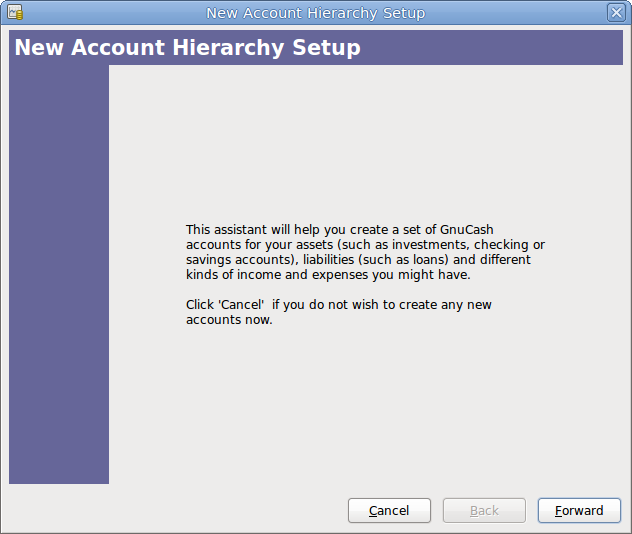
This image shows the first screen of the New Account Hierarchy Setup assistant.
The first screen of the assistant gives you a description of what the assistant does. Click the button to proceed to the next screen.
In the second screen, select the currency to use for the new accounts from the dropdown list. Then press the button.
Note The currency you select here, will be assigned to all the accounts created in this assistant.
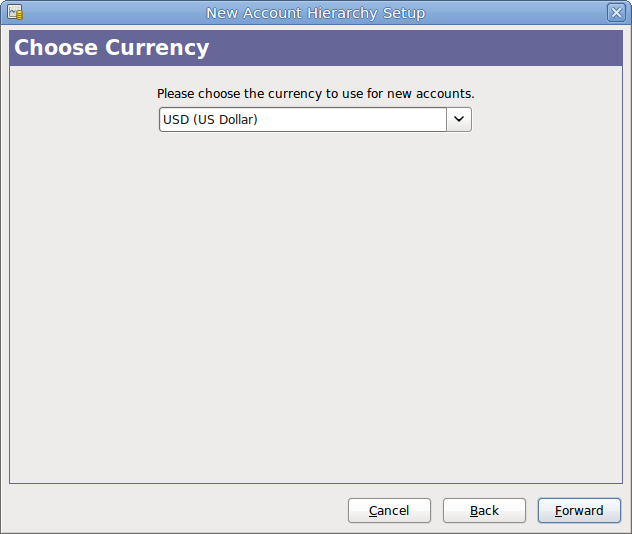
This image shows the second screen of the New Account Hierarchy Setup assistant where you select the currency.
In the third screen select the Common Accounts group in the Categories pane. Then press the button to proceed.
Note If you want, you can select one or more of the predefined account-groups here. For more information on account types, see Section 3.2, “
GnuCashAccounts”.
This image shows the third screen of the New Account Hierarchy Setup assistant where you choose the various accounts.
In the fourth screen you will be able to set an Opening Balance on each of the accounts, as well as indicate if the account should be a Placeholder. As these features will be described in next chapters, leave all as configured by
GnuCashand click to open the last screen of the assistant.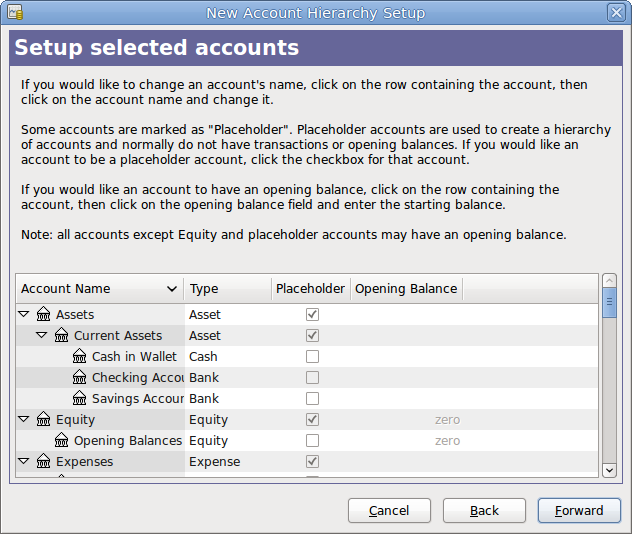
This image shows the fourth screen of the New Account Hierarchy Setup assistant where you can set Opening Balance.
In the last screen of the assistant, click to create all the accounts and leave the assistant.
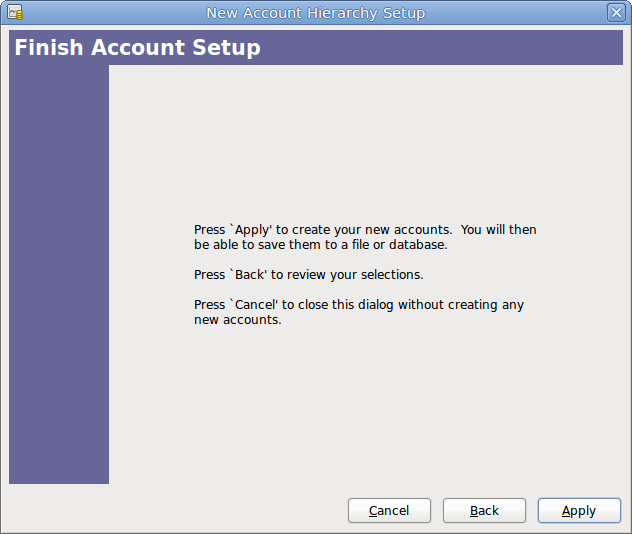
This image shows the last screen of the New Account Hierarchy Setup assistant.
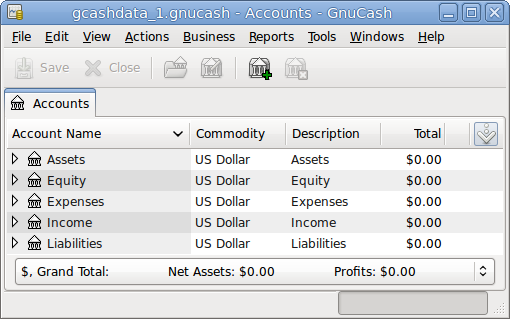
After pressing in the previous window, you will be presented with the save dialog. Select the XML Data Format, Name the file as
gcashdata_1, select the folder where to save the file (remember it as the data file will be used in the tutorials throughout this manual), and finally press the button.Your main window should now look something like this: