For all install media IPCop will automatically continue with its installation, by setting up its initial configuration.
Warning
If you cancel out of the initial configuration before setting the root password you will not be able to log in as root to complete setup. In this case, you can reboot your machine and enter what is called “single user” mode to add your root password. Please see Loss of the Root Password.
After reboot, log in as root and enter the setup command. You will be able to verify and setup all remaining IPCop parameters by going to each menu item and filling the parameters.
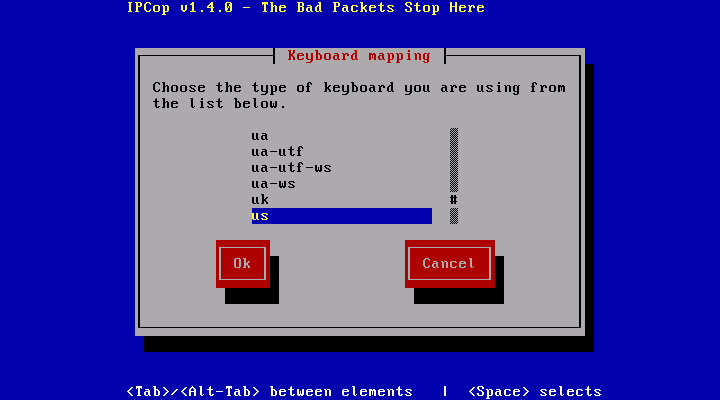
The first screen allows you to configure your keyboard.
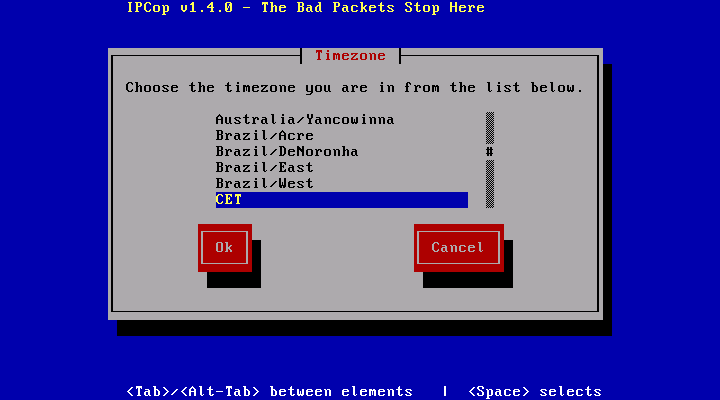
The next screen, above, asks for your time zone.
Some people leave the time zone as London or UTC. This allows you to leave your PC's hardware clock set to the local time. There are a couple of disadvantages to this setting:
You will not be able to use a network time server to accurately set your PC's time, via the Time Administrative Web Page.
If your local time zone changes from Winter to Summer or Daylight Savings to Standard time, you will have to remember to manually change the IPCop PC's clock. If you set the time zone to your correct time zone, IPCop will automatically change the time for you.
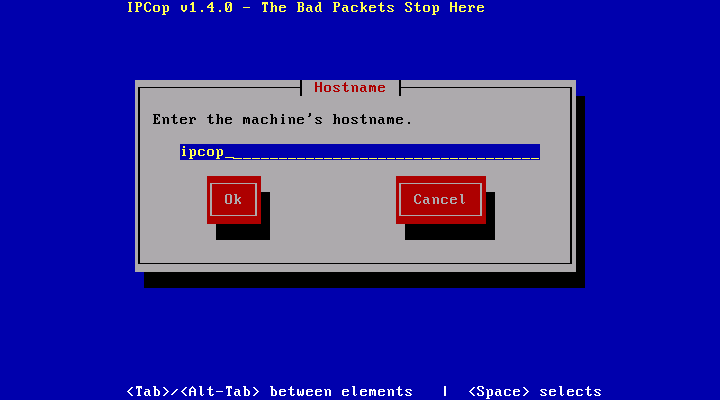
You must then configure your IPCop machine's hostname.
The default of “ipcop” is fine. You may want to change this if you are planning on setting up a VPN and allowing administration across your VPN. In this case you may want to give each IPCop machine a unique hostname, such as “ipcop1”, “ipcop2”, “millie”, “steve”, “bob”, etc.
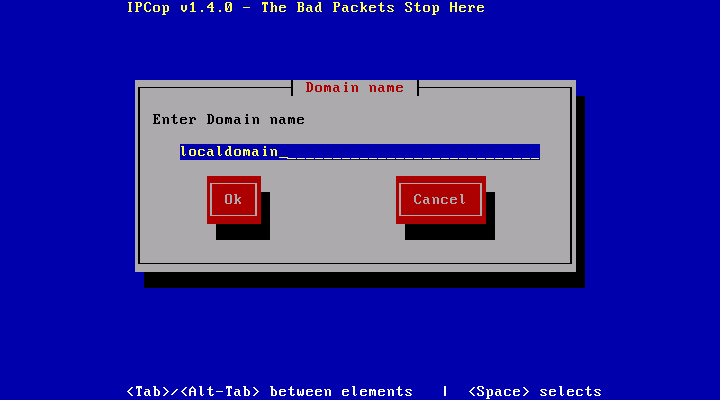
You must then configure your IPCop machine's domain name.
If you have a domain name then enter it here. If you do not have one or do not wish to use it then just accept the default “localdomain”. If you plan on using a VPN, you may wish to add additional qualifiers in front of “localdomain” such as “x.localdomain” and “y.localdomain”.
It may also be a bad idea to use your real domain name for this purpose, unless you will use your official name server instead of IPCop's domain name server.
This domain name will be automatically set as IPCop's DHCP server's “domain name suffix”. Please see the DHCP server discussion.
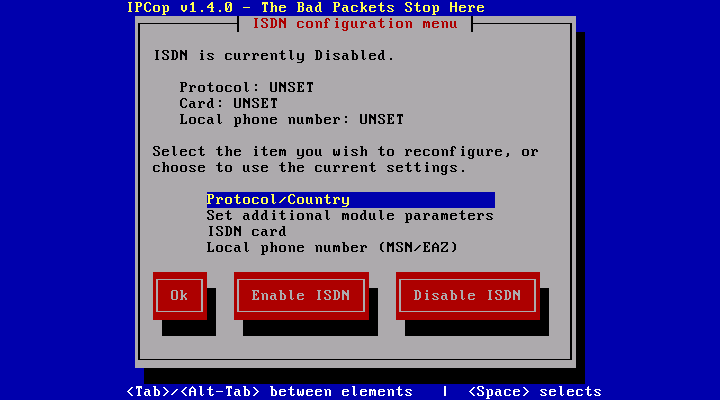
Setup will continue with the ISDN configuration menu.
The next screen starts a series of dialogs that will help you set up your ISDN card. If you do not have an ISDN card, select , and setup will continue with network setup.
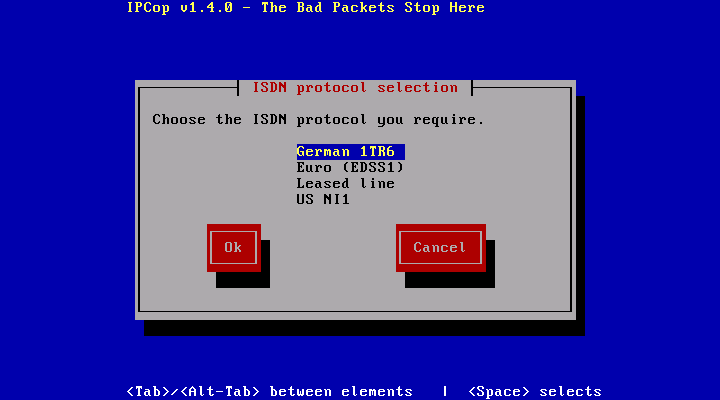
If you do have an ISDN modem, select the protocol and country.
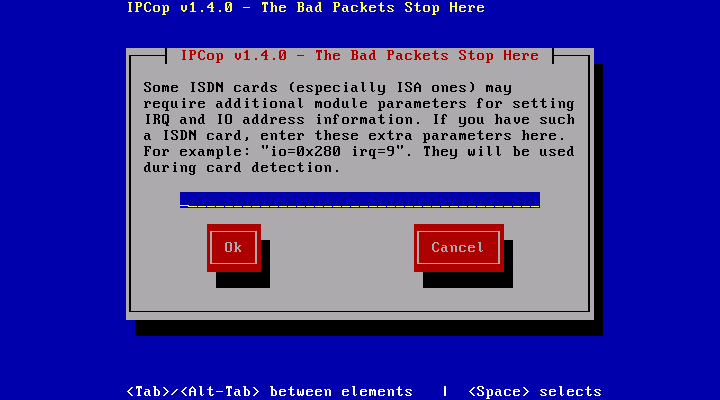
After setting protocol and country, you may need to set driver parameters for your card, especially if it's an ISA card. If so, select .
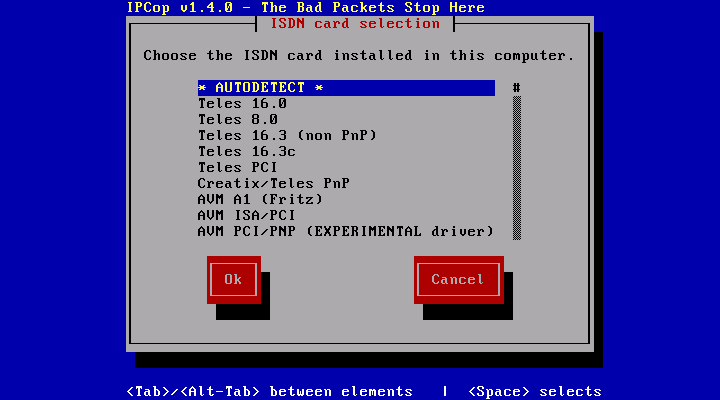
Next you must select the type of ISDN card you have.
IPCop will probe for the card type, if you select . If necessary, you can manually select the card you have.
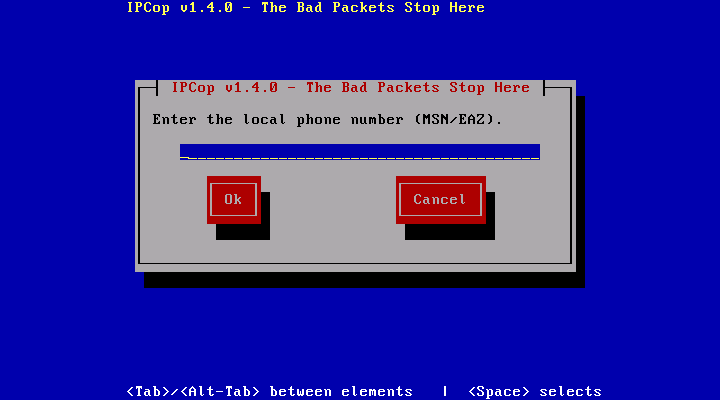
The final step in setting up your ISDN card is setting its local phone number.
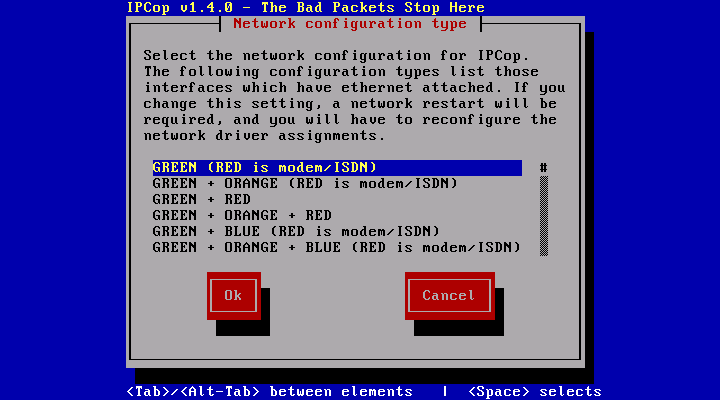
As mentioned, above, there are four network interfaces supported by IPCop, RED, GREEN, BLUE and ORANGE.
The RED interface is considered the hostile network and can connect via Ethernet, ISDN, analog or ADSL modem. This dialog lets you choose your network configuration type.
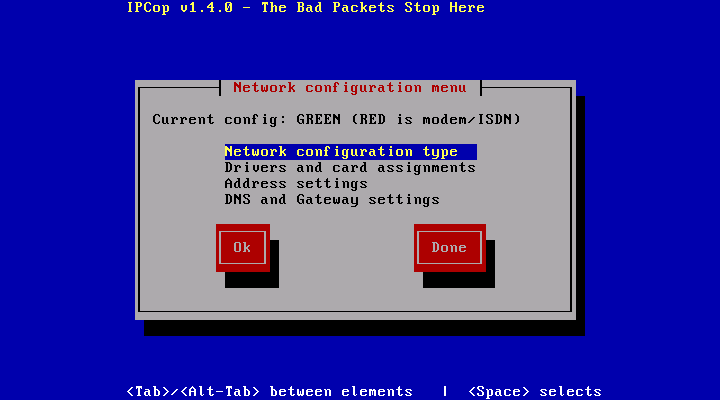
When you select , you will be returned to the , above. Tab to the line, select it and press the Enter key.
If you have ORANGE and/or BLUE networks, repeat the driver configuration steps you used to configure your GREEN interface. If your RED interface uses an Ethernet connection, configure it, too.
If your RED interface does not use an Ethernet connection, skip to the discussion about configuring additional network interfaces.
After configuring your Ethernet card and driver information for the other interfaces, return to the by selecting the button.
Configure the network addresses of the other networks.
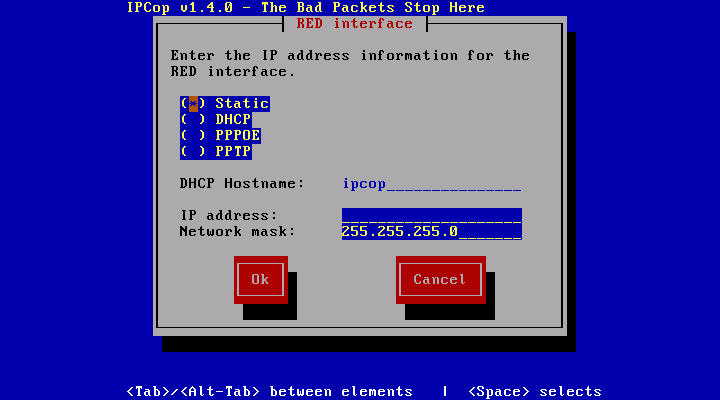
Finally, if your RED network is connected via an Ethernet NIC, you will have to configure the way your interface gets its IP address information. This is dependent on your ISP and connection.
Static addressing is used when your ISP has supplied you with a permanent IP address. Enter it in the IP address box of the dialog. IPCop will automatically choose a Network mask. You may modify the network mask as needed.
Your RED network must have a static address if you wish to use IPCop's aliasing feature.
DHCP is used when your ISP has indicated you are to use automatic addressing.
Some ISP's, require you to provide a hostname to their DHCP server. This probably is not IPCop's hostname. If it's needed, you can probably use the first part of the fully qualified domain name you noted while gathering the network parameters, above.
If your connection is via PPPOE, your ISP will supply all necessary information during the initial connection, so you won't have to do anything, after selecting it.
If your connection is via PPTP, you will have to supply your RED network IP address and Network mask, just like the static addressing case. This address is almost always 10.0.0.150 with a network mask of 255.255.255.0.
You may choose to configure an ORANGE or BLUE interface. Their configuration is identical to the way you configured your GREEN interface, above. All three network addresses must be on different networks, i.e. 192.168.1.1, 192.168.2.1, and 192.168.3.1.
You can even reconfigure your GREEN interface at this time, by selecting it from the interface menu.
When you are done, select the button, to return to the .
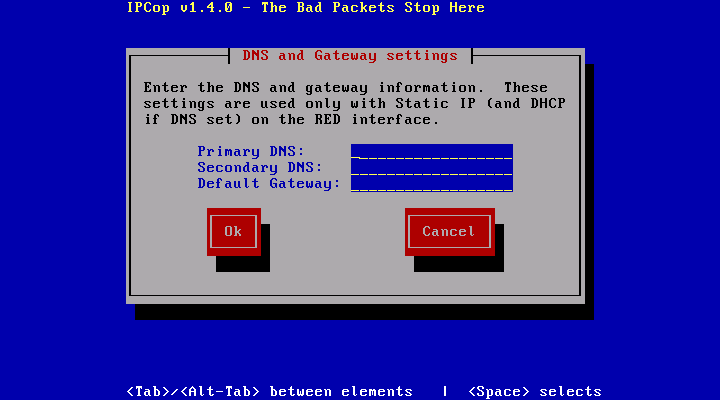
Configuring DNS Servers and Gateways
The next item in the allows you to configure your ISP's DNS servers and your default gateway. You will only need to use this dialog if you are using a static IP address configuration for your RED interface.
Warning
If you configure IPCop with a static IP address, then you add DNS servers or a default gateway using this dialog. If you subsequently change your RED network to use another method for obtaining its address, the servers in this dialog will override those supplied by your ISP. On one hand, this is a good way to override parameters. On the other hand, this can cause endless confusion. When switching from static IP addressing remember to clear these values.

If you are planning to run a DHCP server on IPCop you can configure it at this time. Otherwise, do not enable the server, and continue with setting passwords, below.
Dynamic Host Configuration Protocol allows computers to configure their network interfaces when they are booted.
You can delay setting up IPCop's DHCP server until after the installation completes. See the Administration Manual for a description of the web based method of enabling and configuring the DHCP server.
You must select to enable the DHCP server.
The Start address and End address define a range of addresses that IPCop's DHCP server will assign to computers when they ask for an address. Do not use your full network range for DHCP. At a minimum leave out IPCop's address. As a practical matter, at some future point in time you may wish to run servers that are only accessible from within your GREEN network. Whether they run FTP servers, web servers, sendmail or any other service that needs a permanent address. These servers should be assigned IP addresses outside the dynamic DHCP range. A good range might be from 192.168.1.200 to 192.168.1.250. This will allow 51 concurrently connected computers on your GREEN network.
DHCP will pass out one or two DNS server addresses in addition to IP addresses. If you wish to run IPCop's DNS proxy, the first should be IPCop's IP address. You can enter a second DNS address as well. If you do not want to use IPCop's DNS proxy and are using Static IP addresses, use the DNS servers you specified while setting up your RED interface.
DHCP works by passing out leases on dynamic addresses that expire after a certain amount of time. Default lease time specifies the default lease time in minutes that DHCP will offer. After the default lease time, the client computer will attempt to ask for a new lease time for its acquired address. When the Max lease time has expired, the client computer is no longer allowed to ask for the acquired IP address, but the server may still pass out a lease on the acquired address.
Finally, the Domain name suffix allows you to specify a suffix that is automatically appended to DNS requests if the initial name can't be found. This will default to the domain name you set earlier. Many ISPs set up a domain name suffix, and then tell users to enter “mail”, “news”, or “www” to get to services. What really happens under the hood is that a DNS request is sent out for “mail” first. When the DNS servers indicate that they don't know an IP address for mail, the next request is sent out with the domain name suffix appended, i.e. “mail.xxx.yyy.zzz.com” To make life easier, you may wish to add this suffix in the Domain name suffix line.
Unfortunately, space does not permit enough room on this line for some domain name suffixes. Please check the Administration Manual for another way to specify the suffix, which allows for a virtually unlimited length domain name suffix.
When you are done with the DHCP server configuration select the button.
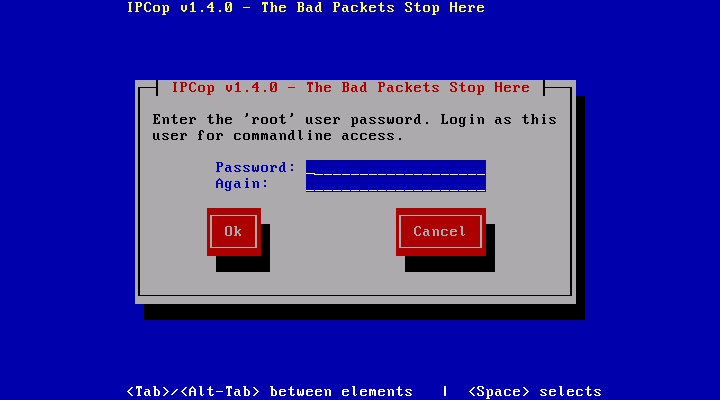
The next steps will set up IPCop's root, web administrator and backup passwords.
If you are familiar with Linux you may wish to login to the IPCop machine to carry maintenance tasks. The only user id configured is the “root” user. Enter the root password twice. Be careful, the root userid has the “keys to the kingdom” of your firewall. If someone gets its password they can cause all sorts of mischief. By default root is only allowed to log in via the local console, though.
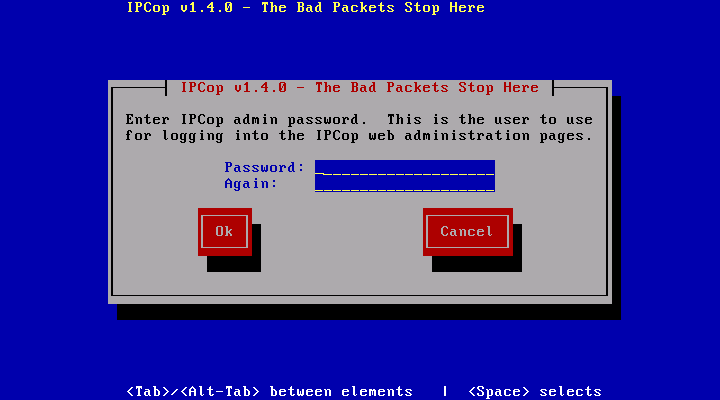
Next, you will be prompted for your web admin password.
The IPCop web pages will prompt you for the “admin” user and password when you use the IPCop web pages to administer IPCop. Unlike the “root” user password, web browsers do not handle special characters in passwords very well. Limit your admin password to upper lower case alphanumeric characters.
Finally, you will be prompted for a “backup” password, which is used when restoring system backup files from usb sticks, or other filesystems, as described in the Backup AW section of the Administration Manual.
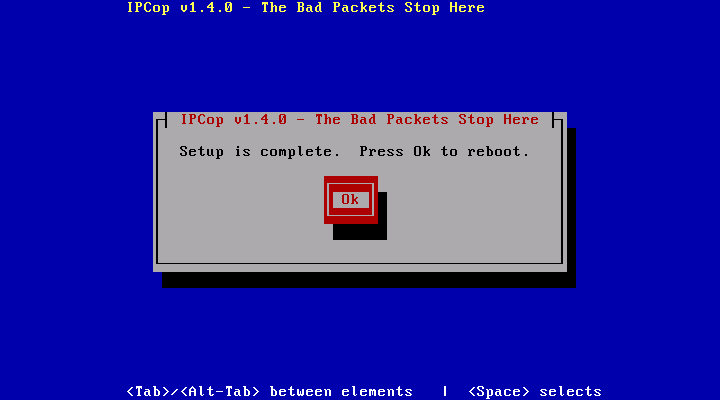
Congratulations!
You've completed your IPCop installation. Press to reboot. After the reboot is completed, you will undoubtedly need to perform some administrative tasks to complete your setup.
For a complete description of how to administer IPCop, please check the Administration Manual.