Let's add a portlet from Portletswap to the JBoss Portal we have running. Open a browser to the following URL: http://www.portletswap.com (Figure 39).
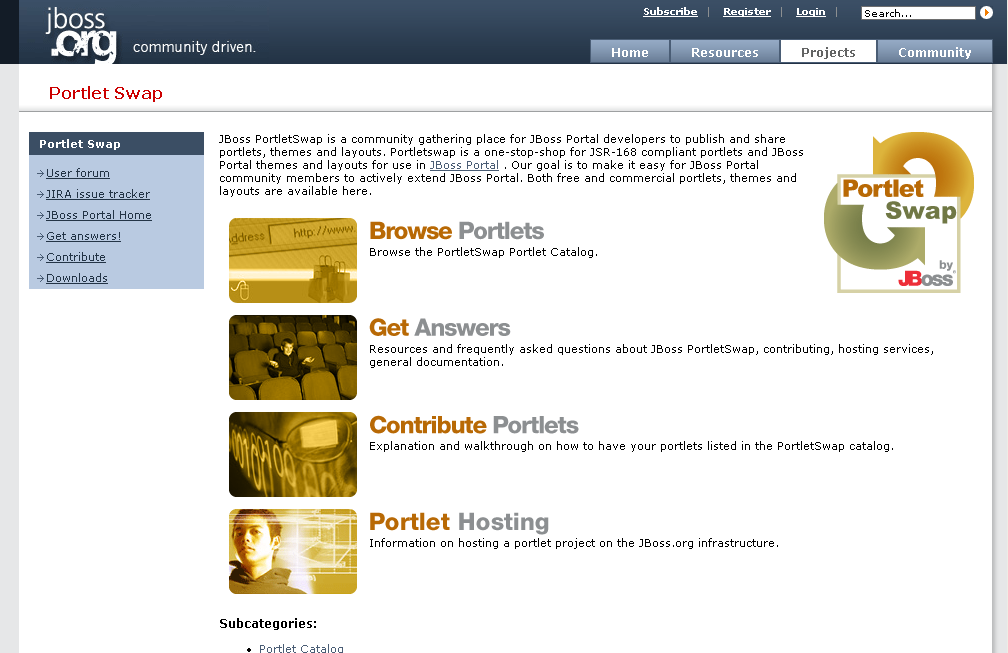 |
Figure 39. Portletswap website
Click on the "Browse Portlets" link to see the categories of portlets available (Figure 40).
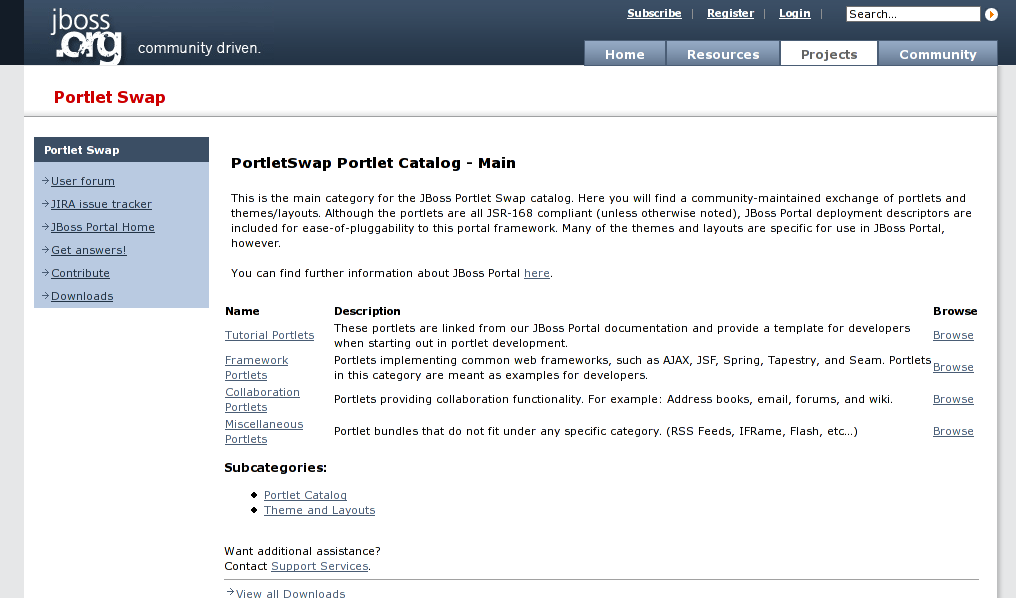 |
Figure 40. Portlet categories on portletswap.
Click on the Miscellaneous Portlets browse link to see a list of portlets (Figure 41).
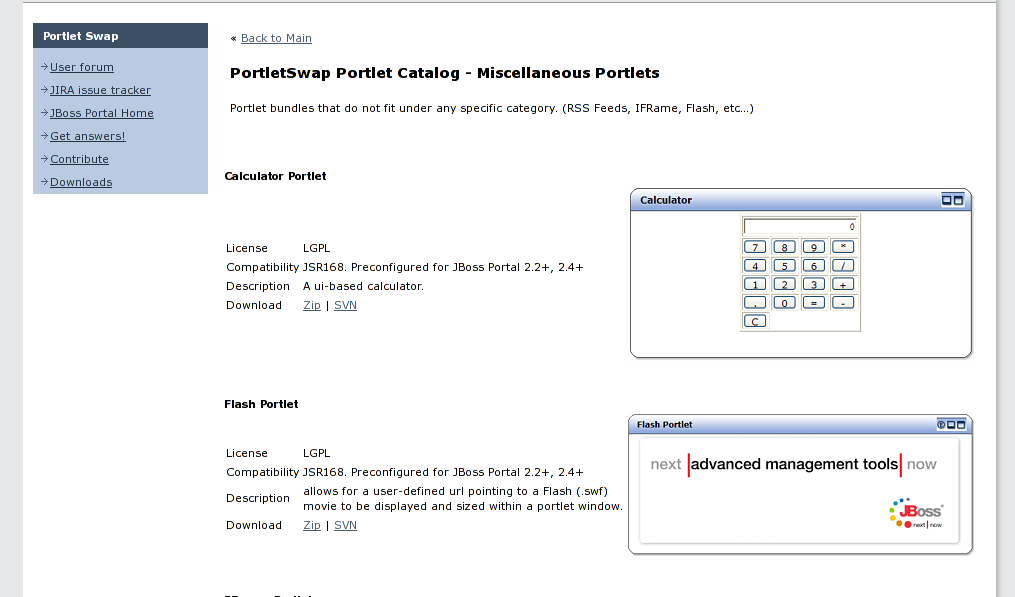 |
Figure 41. List of portlets on portletswap.
Click on the "Zip" link below the description for the Flash Portlet. The download dialog will appear (Figure 42).
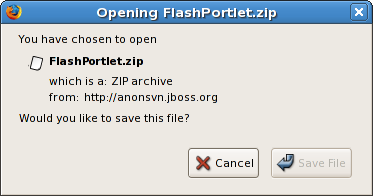 |
Figure 42. Download dialog.
This ZIP file contains both the binary and the source for the portlet. Open the zip and extract the flash.war file. Place this file in the $JBOSS_HOME/server/default/deploy directory. The console for the JBoss Portal will show the portlet being deployed (Figure 43).
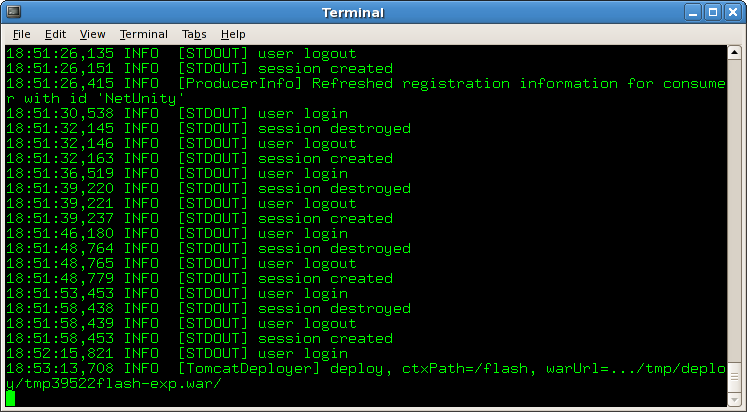 |
Figure 43. Flash Portlet deployed.
To see the deployed portlet, we need to add it to our Starter portal page. First, we need to create an instance of the portlet. Go to the Management Portlet and click "Portlet Definitions" tab (Figure 44).
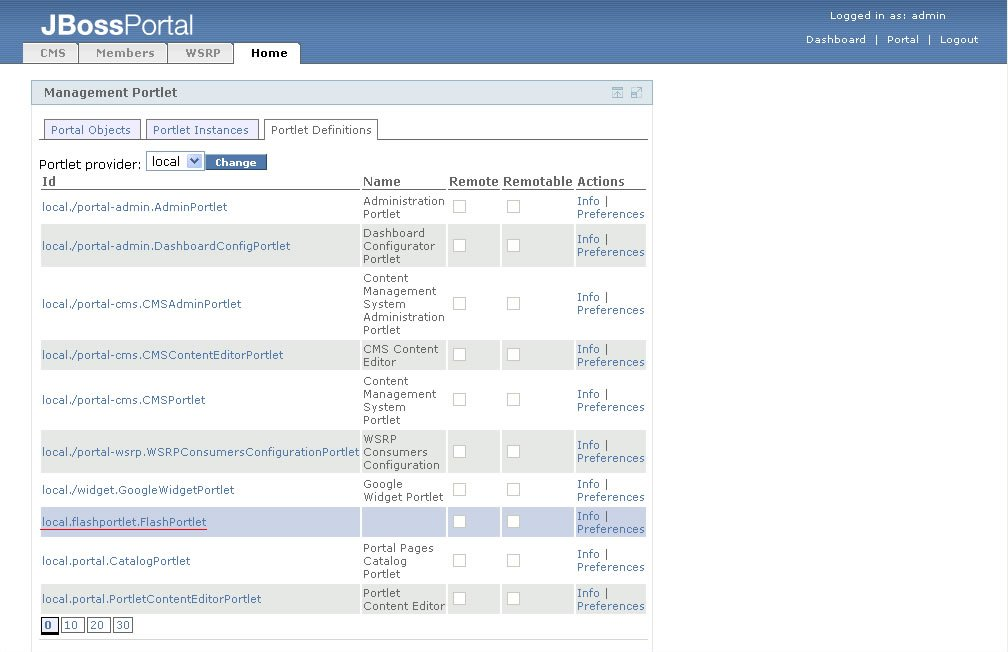 |
Figure 44. Admin portal page.
A list of all portlets will be displayed. Click on the local.flashportlet.FlashPortlet link. Once the portal page refreshes, scroll to the bottom of the page to see a dialog to create a new instance of the Flash Portlet (Figure 45).
 |
Figure 45. Portlets admininstration.
Type in "Flash Portlet" as the instance name in the textbox at the bottom of the page, and click on the "Create Instance" button. The "Portlet Instances" tab page will be displayed automatically, with the new "Flash Portlet" portlet instance that we created selected. (Figure 46).
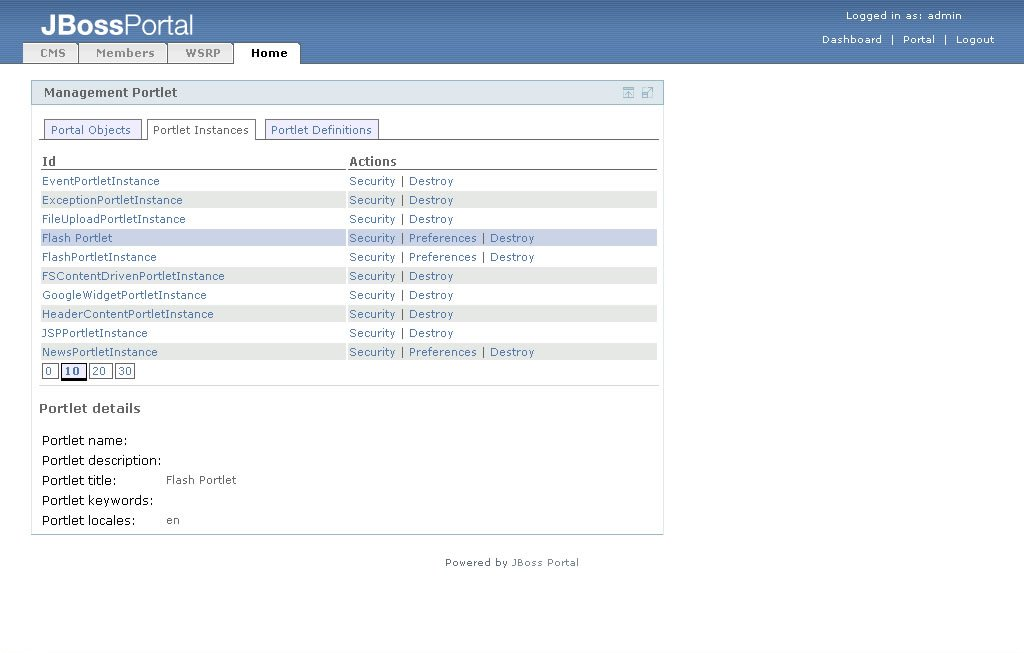 |
Figure 46. Portlet instances admininstration.
Now you can add this portlet instance to the Starter portal page. Click on the "Portal Objects" tab and navigate to the "Page layout" page of "Starter" portal page as we did in the last section. Select "Flash Portlet" from the portlet list, click the "Select" button, and add it to center of the "Starter" portal page with a name of "flash" (Figure 47).
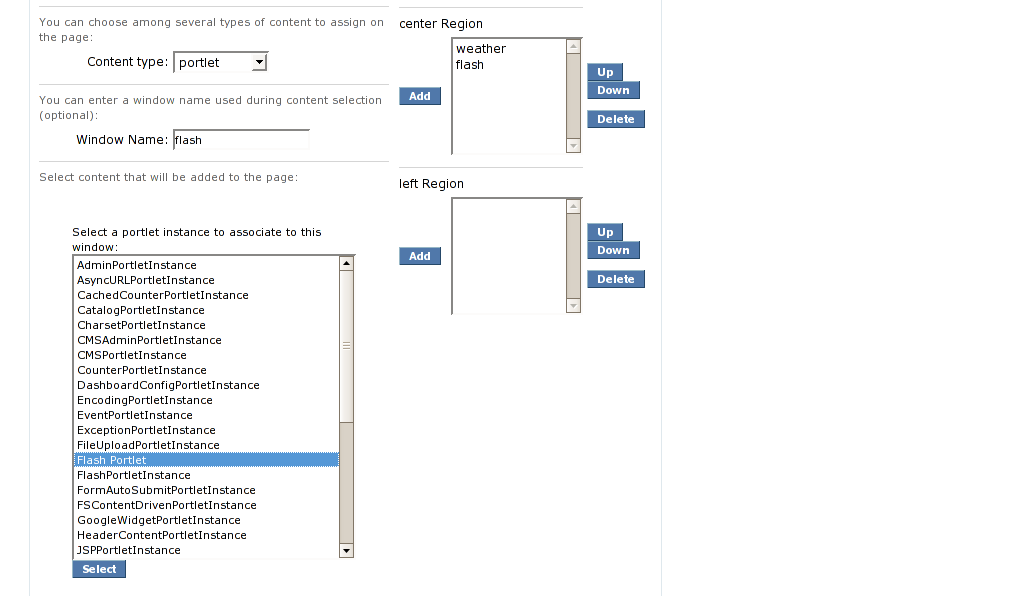 |
Figure 47. Starter portal page with "flash" portlet added.
Click on the "Portal" link in the upper right of the page. Click on the Starter portal page, and the "flash" portlet is displayed (Figure 48).
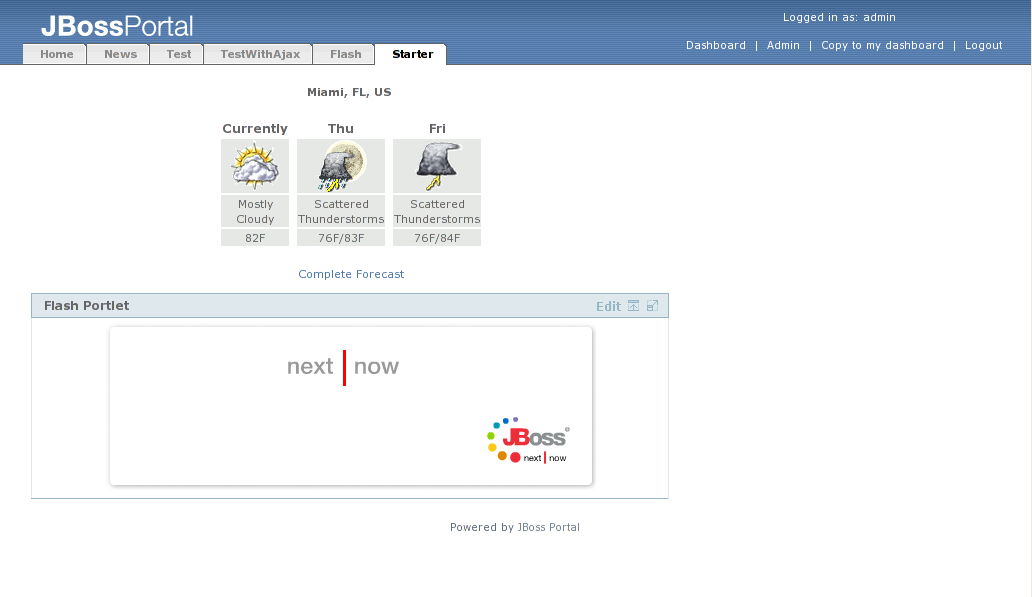 |
Figure 48. Starter portal page with "flash" portlet.