Employee Management
With MixERP, managing your employees is an easy, natural, and continuous task.
Adding a New Employee
To create a new employee, press the "Add New" button.
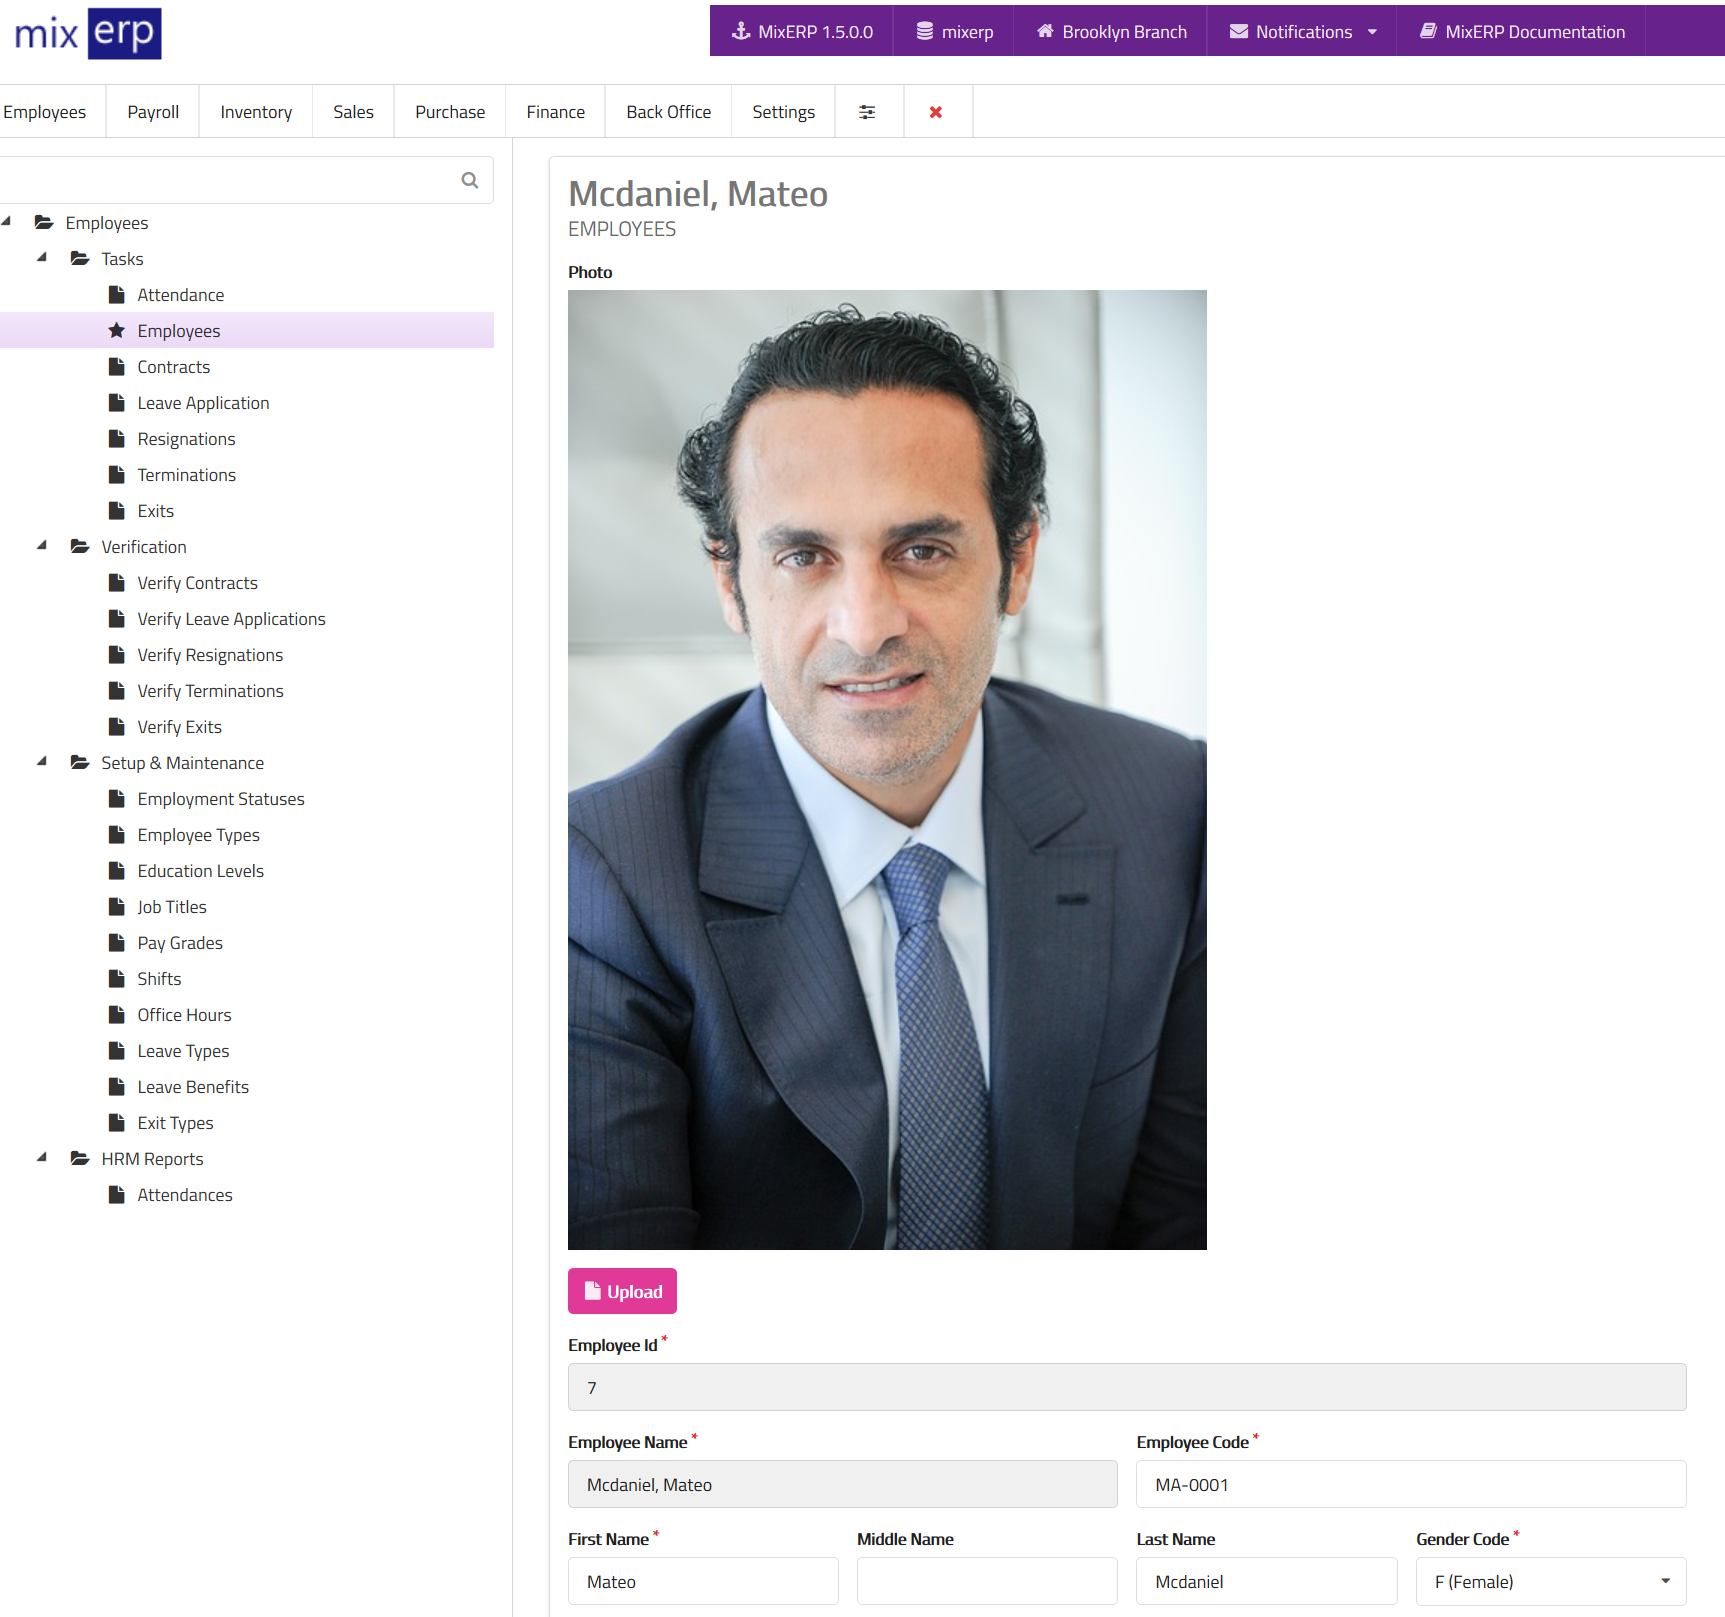
Fields
| Employee Id | This will be automatically generated. |
|---|---|
| Employee Name | This will be automatically generated. |
| Employee Code | Enter the alpha-numeric code of this employee. |
| First Name | The first name of this employee. |
| Middle Name | The middle name of this employee, if applicable. |
| Last Name | The last name of this employee, if applicable. |
| Gender Code | Select a gender from the list. |
| Marital Status Id | The current marital status of the employee. Example: married, single, divorced. |
| Joined On | Enter the date when employee joined (or will join) the service. |
| Office Id | Select the office where this employee will be working. |
| User Id | Select the user associated with this employee. You can leave this field empty. However, if you provide a user for this employee, the employee will be able to use Employee Self Service feature. |
| Employee Type Id | Select employee type from the list. |
| Current Department Id | Select the current department this employee works under. |
| Current Role Id | Select the current role of this employee. |
Employment Information
| Current Employment Status Id | Select the current employment status of this employee. Example: On contract, permanent job, internship, etc. |
|---|---|
| Current Job Title Id | Select the current job title of this employee. Example: CEO. |
| Current Pay Grade Id | Select the current pay grade of this employee. |
| Current Shift Id | Select the current shift employee work on. Example: morning shift, day shift, night shift. |
| Nationality Code | Select the nationality of this employee. |
| Date of Birth | Enter the date of birth of this employee. |
Bank Details
| Bank Account Number | Enter the bank account number of this employee's bank account. |
|---|---|
| Bank Name | Enter the name of the bank on which this employee has account. |
| Bank Branch Name | Enter the name of the bank's branch office which operates this employee's bank account. |
| Bank Reference Number | Enter the reference number provided by the employee's bank which is related to the bank account. |
| Account Id | Select the account on which salary and/or wage will be posted to. If you leave this empty, the salary will be posted to payroll account id instead. |
Address Information
Enter employee address:
Zip Code, Address Line 1, Address Line 2, Street, City, State, and Country.
Contact Information
Enter contact information:
Phone (Home), Phone (Cell), Phone (Office Extension), Phone (Emergency), Phone(Emergency2), Email Address, Web Site, and Blog.
Personal Information
| Is Smoker | Indicates that the employee is addicted to smoking. |
|---|---|
| Is Alcoholic | Indicates that the employee is addicted to alcohol. |
| Low Vision | Indicates that the employee has a low vision. |
| Uses Wheelchair | Indicates that the employee uses wheelchair. |
| Hard of Hearing | Indicates that the employee has difficulty hearing. |
| Is Aphonic | Indicates that the employee does not speak. |
| Is Cognitively Disabled | Indicates that the employee is cognitively disabled. |
| Is Autistic | Indicates that the employee is autistic. |
Mangaing Your Employees
As soon as you create a new employee, he/she goes to the board named "Untitled". Using the Kanban (+) button, you can define unlimited number of boards.
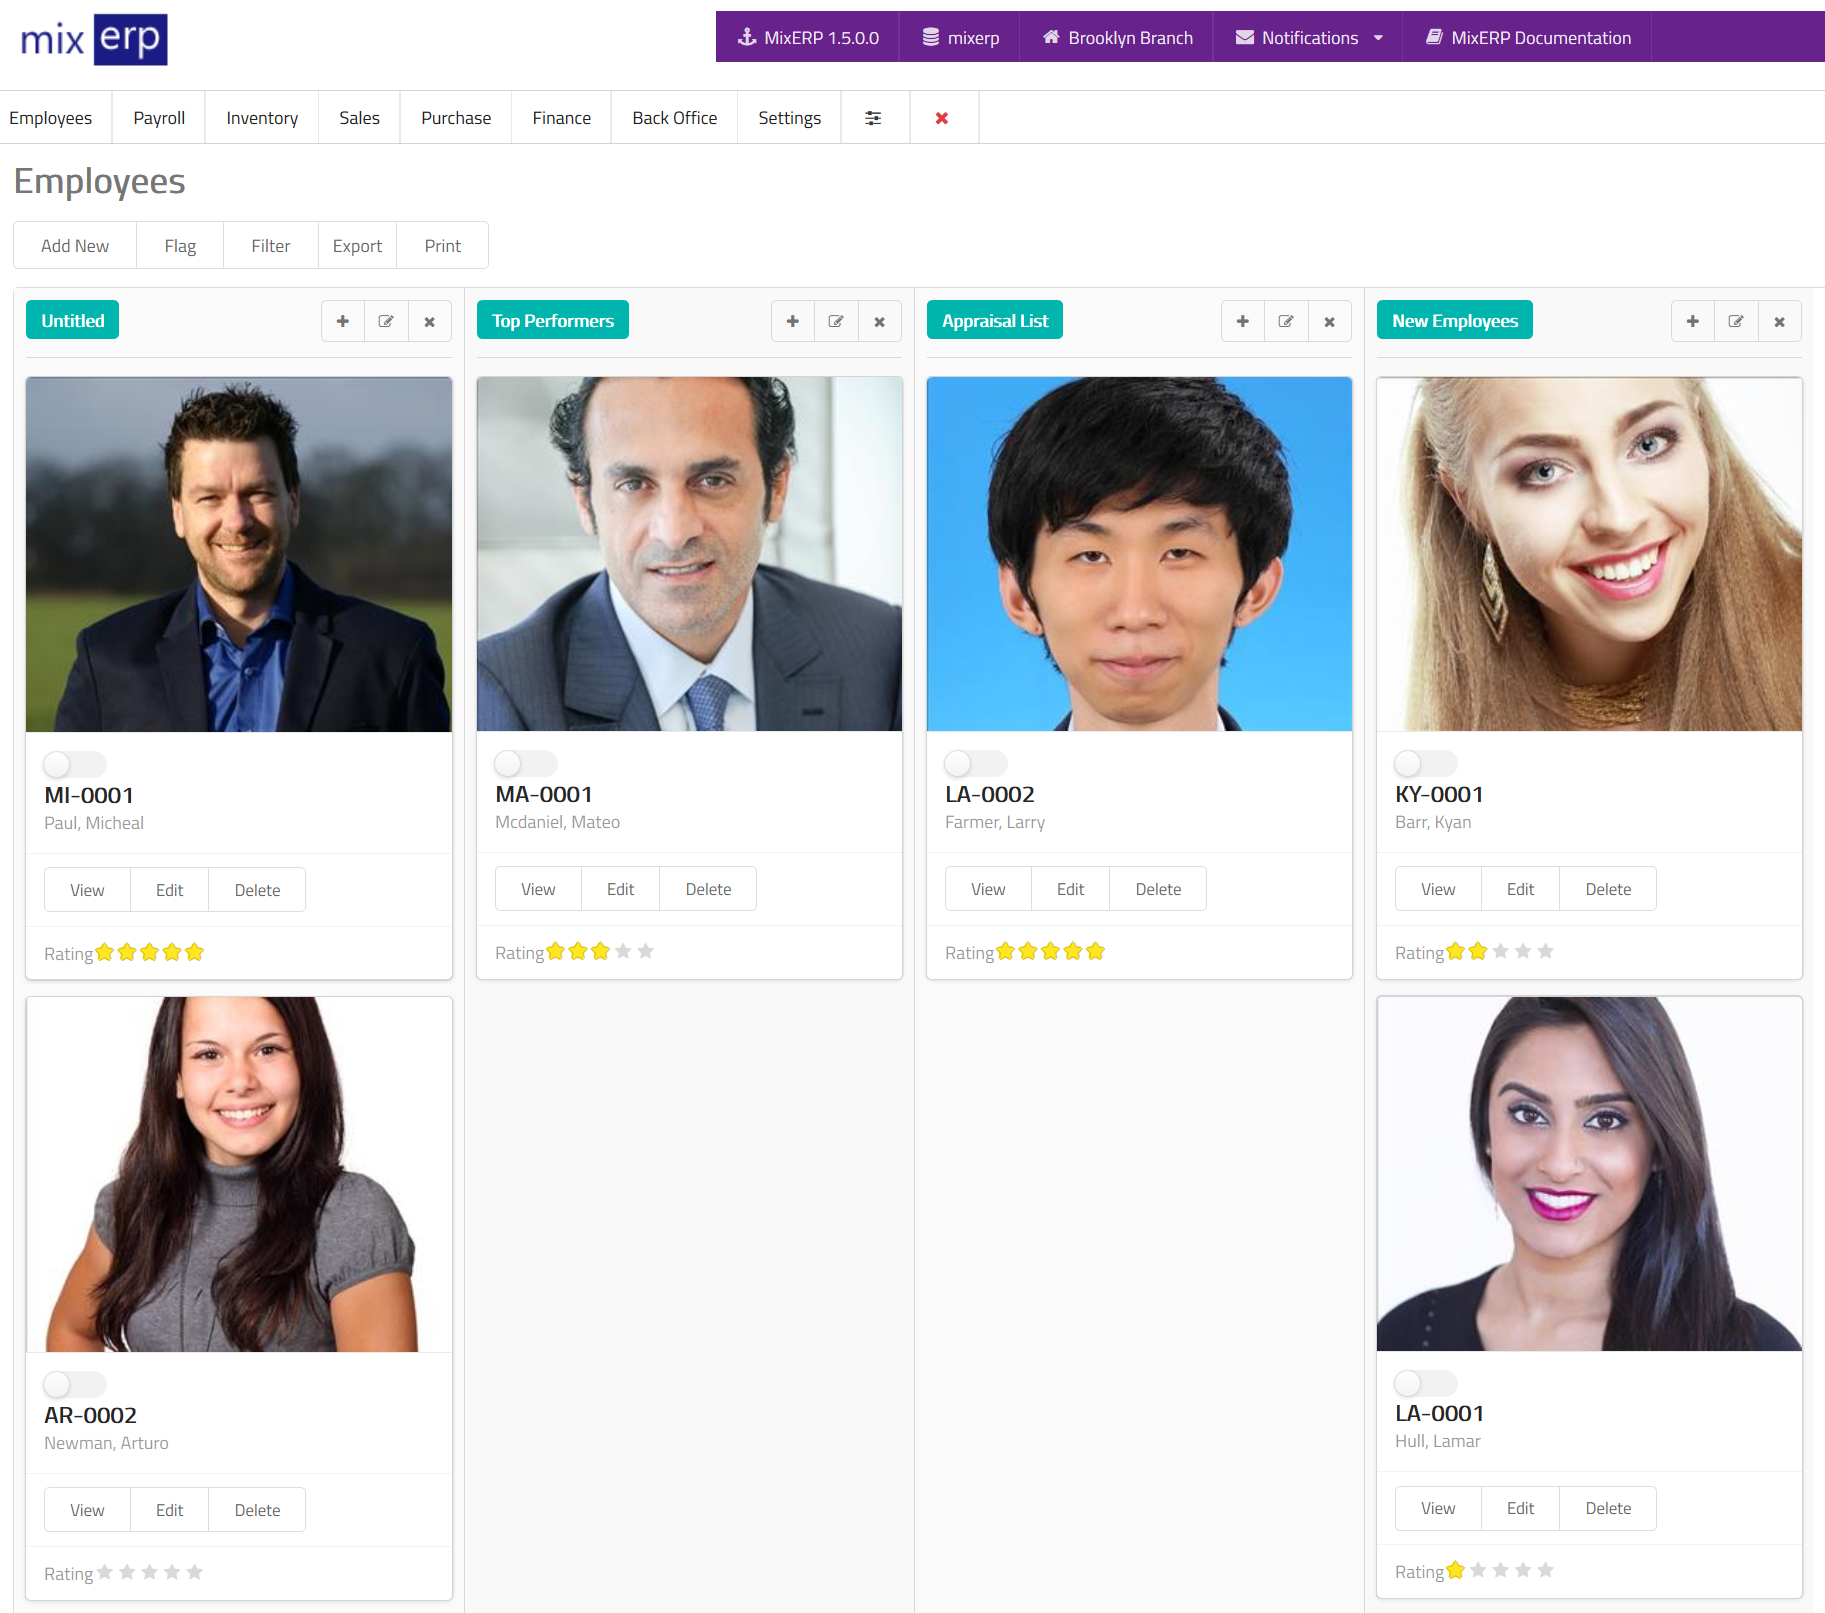
You can now move your employee left or right, back and forth, depending on whatever seems meaningful to you.
Employee Information
To view information of an employee, click on the view button.
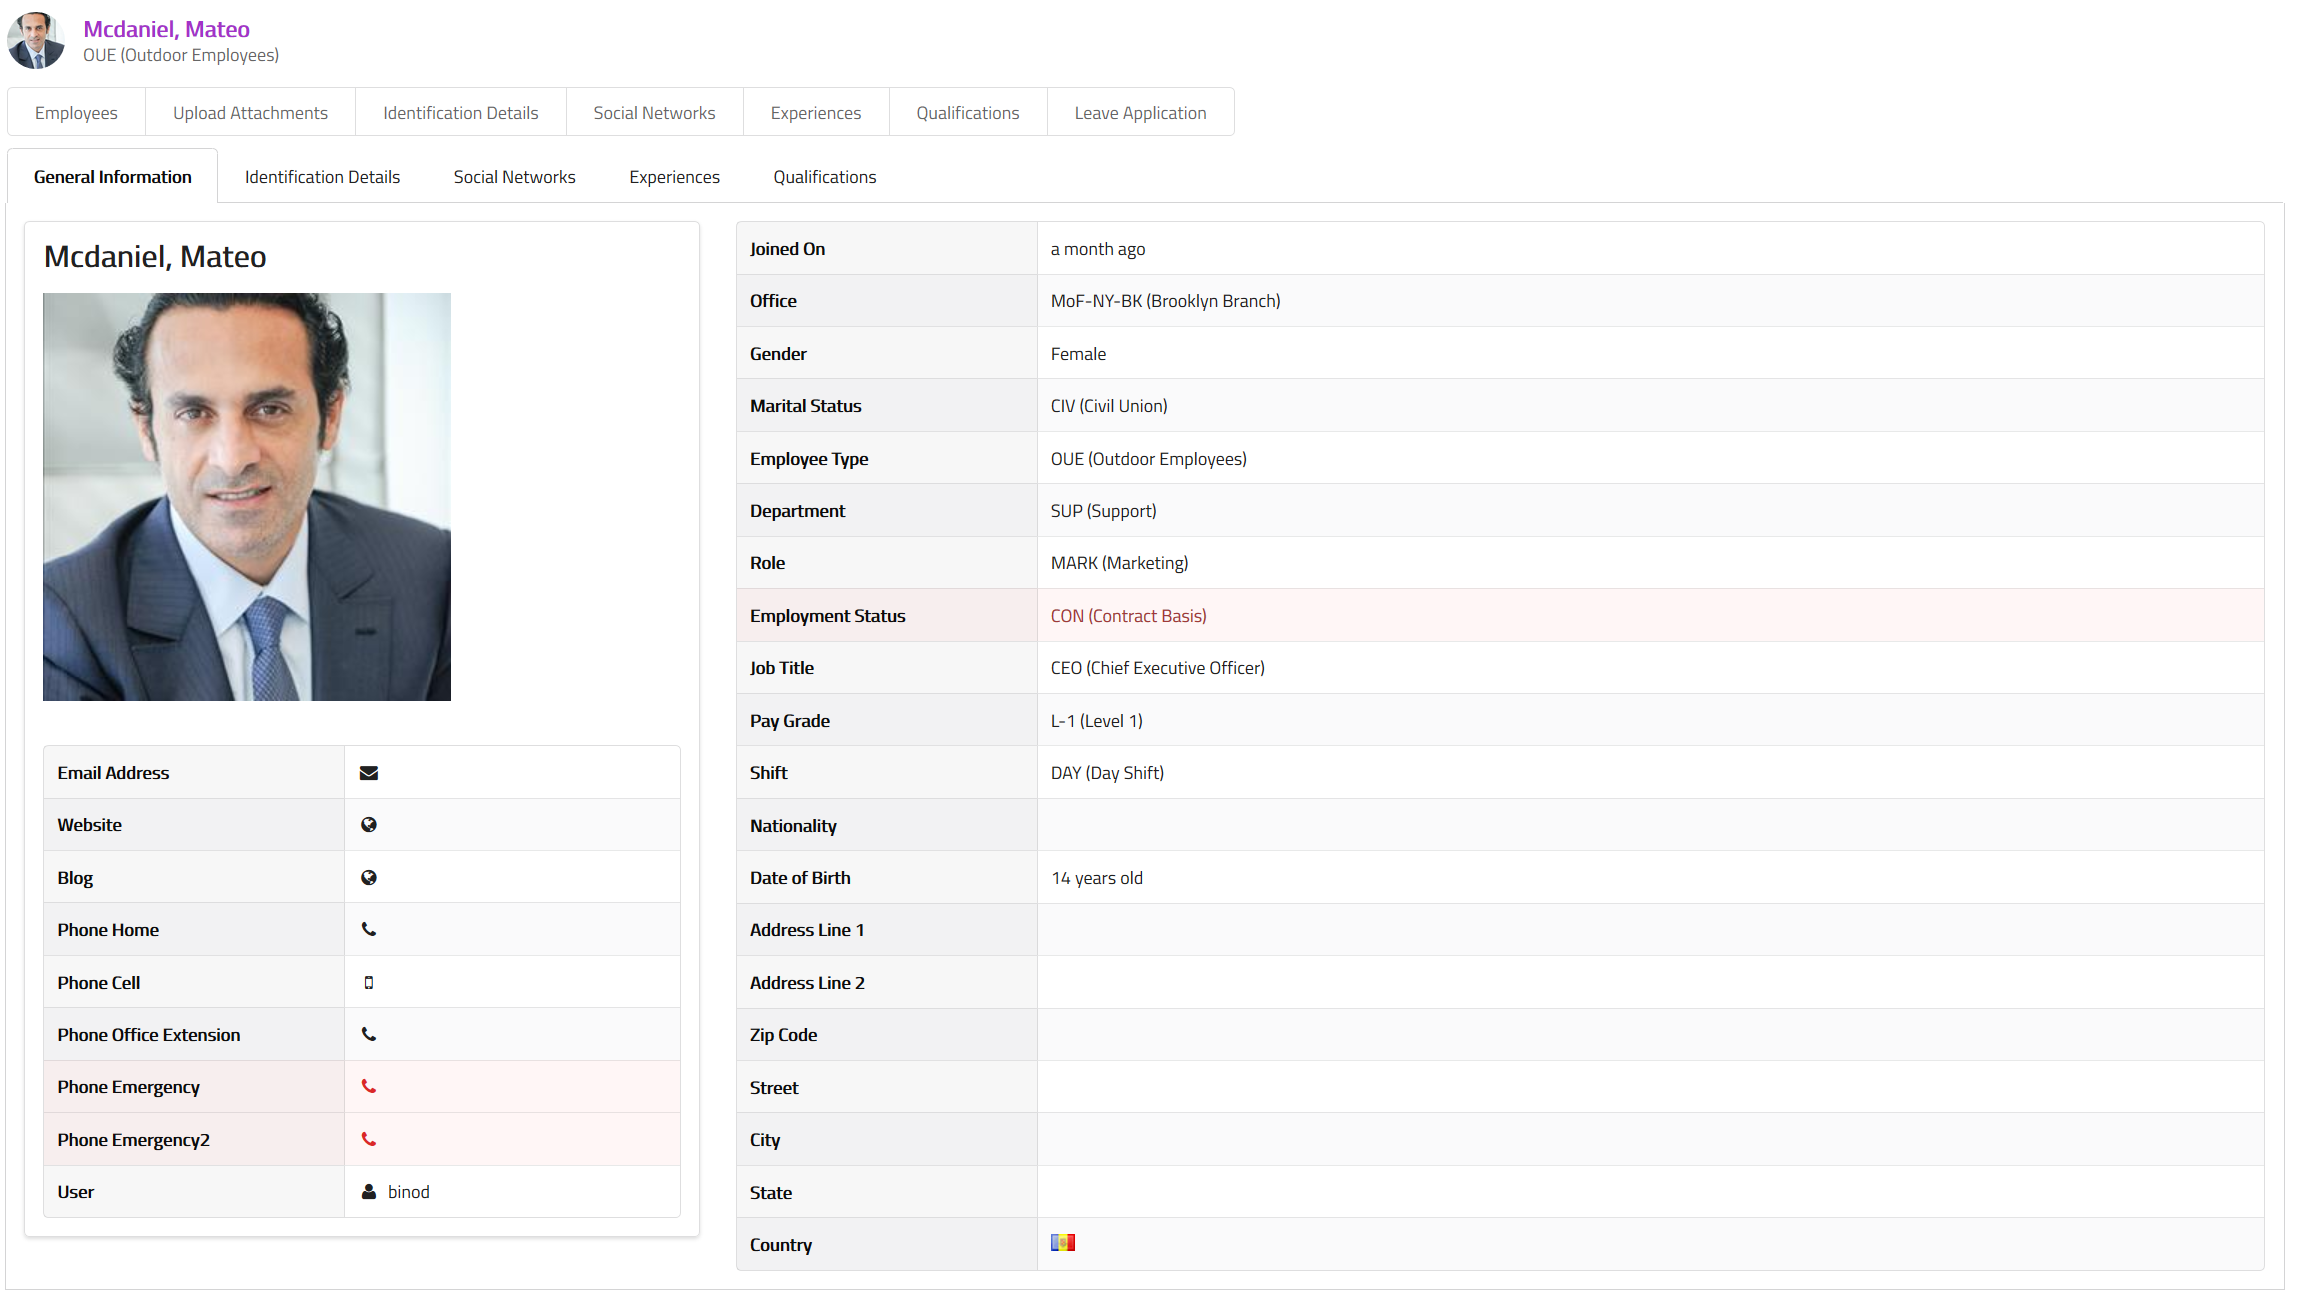
The employee information view enables you to manage the following information related to the employee :