Contents

Contributed by Brian Leonard
November 2007 [Revision number: V6.0-5]
This tutorial describes how to create a Ruby on Rails application that searches the Flickr database.
Note: This tutorial requires direct connection to the Internet and does not work if you are working behind a proxy.
This tutorial requires the following technology:
flickr in the Search field and press Enter.
Type Flickr in the Project Name field and click Finish.
environment.rb.Add the following code at the bottom of the environment.rb file. Be sure to enter your Flicker API Key in the MY_KEY variable.
You need the key to access the Flickr APIs.
| Code Sample 1: Adding Your Flickr API Key |
require 'rubygems'
require 'flickr'
MY_KEY='Enter your Flicker API Key'
class Flickr
  alias old_initialize initialize
  def initialize(api_key=MY_KEY, email=nil, password=nil)
    puts "new_initialize " + MY_KEY
    old_initialize(api_key, email, password)
    @host="http://api.flickr.com"
    @activity_file='flickr_activity_cache.xml'
  end
end
|
application and click Finish.Replace the existing code in application.rhtml with the following code:
Code Sample 2: Code for application.rhtml |
<!DOCTYPE HTML PUBLIC "-//W3C//DTD HTML 4.01//EN">
<html>
    <head>
    <title>Flickr</title>
      <%= javascript_include_tag :defaults %>
      <%= stylesheet_link_tag 'flickr' %>
    </head>
<body>
      <%= yield %>
</body>
</html>
|
Other and the File Type to Cascading Style Sheet. Click Next.Name the file flickr and click Finish.
flickr.css opens in the editing area.Add the following styles to flickr.css:
| Code Sample 3: Style Code |
body {
background-color: #888;
font-family: Lucida Grande;
font-size: 11px;
margin: 25px;
}
|
In the Rails Generator dialog box, type flickr in the Name field and index in the Views field, and then click OK.
flickr_controller.rb and opens the file in the editing area.index.rhtml.Replace the existing code in index.rhtml with the following code:
Code Sample 4: Code for index.rhtml |
<% form_remote_tag :url => {:action => 'search'}, :update => 'photos' do %>
<fieldset>
<label for="tags">Tags:</label>
<%= text_field_tag 'tags' %>
<%= submit_tag 'Find' %>
</fieldset>
|
flickr_controller.rb.Edit the code by deleting the index method and replacing it with the search method shown in bold:
Code Sample 5: Code FlickrController Class |
class FlickrController < ApplicationController
  def search
    flickr = Flickr.new
    render :partial => 'photo', :collection =>
      flickr.photos(:tags => params[:tags], :per_page => '24')
  end

end
|
Under the Views node, right-click the flickr node and choose New -> RHTML file. Name the file _photo and click Finish.
Replace the contents of the file so that the file includes the following line only:
<img class='photo' src="<%= photo.sizes[0]['source'] %>">
If the WEBrick server is running, stop the server by clicking the red X icon in the Output window, as shown in the following figure:
Figure 1: Stopping the WEBrick Server

index.html.
Under the Configuration node, open routes.rb. Find the line:
# map.connect '', :controller => "welcome"
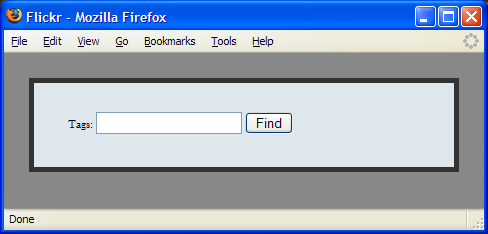
welcome to flickr.Click the Run Main Project button in the toolbar to start the WEBrick server and launch the browser, as shown in the following figure.
Figure 2: Flickr Application

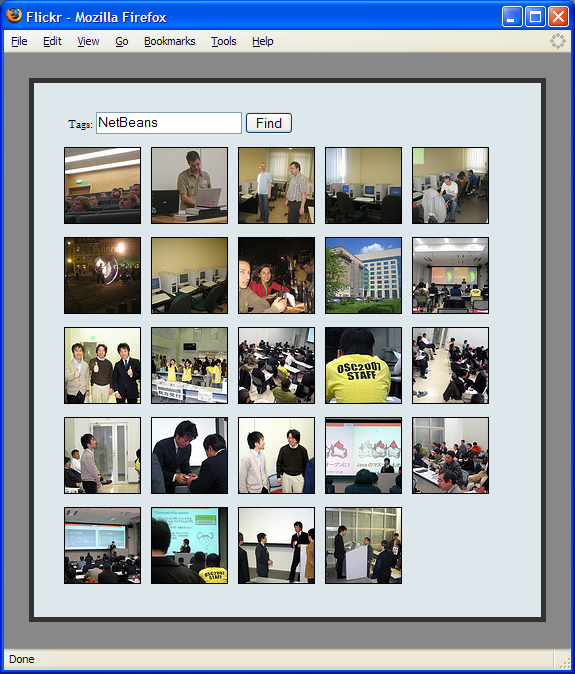
Enter a search string, such as NetBeans, and click Find. Give the images a couple of seconds to load.
Figure 3: Loading Images

Open Views > flickr > index.rhtml. Delete the existing code, and replace it with the code shown in the following sample:
Code Sample 6: Code for index.rhtml |
<% form_remote_tag :url => {:action => 'search'}, :update => 'photos',
    :complete => visual_effect(:blind_down, 'photos'),
    :before   => %(Element.show('spinner')),
    :success  => %(Element.hide('spinner')) do %>

    <%= image_tag 'spinner.gif', :id => 'spinner', :style => 'display: none' %>
    <fieldset>
        <label for="tags">Tags:</label>
        <%= text_field_tag 'tags' %>

        <%= submit_tag 'Find' %>
    </fieldset>

    <div id="photos" style="display: none"></div>

<% end %>
|
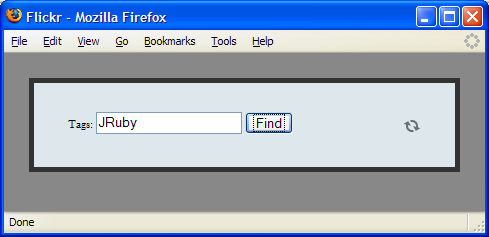
From the main menu, choose File > Save All. Refresh your browser and try another search string, such as JRuby.
Figure 4: Adding Animation

To obtain support and stay informed of the latest changes to the NetBeans Ruby development features, join the [email protected] and [email protected] mailing lists.