Using Cross Project References
Contributed by Michael Nazarov, maintained by Irina Filippova
December 2007
This tutorial describes how to create a project reference to an XML file in another project.
Expected duration: 30 minutes
top
Tutorial Requirements
Before you proceed, review the requirements in this section.
Prerequisites
This tutorial assumes that you have basic knowledge of the following technologies:
- Composite Applications and Service-oriented Architecture (SOA)
- Web Services
Software Needed for This Tutorial
Before you begin, you need to install the following software on your computer: NetBeans IDE 6.0 with SOA and the GlassFish application server.
top
Overview
This tutorial illustrates the basic steps to create a project that references an XML file that belongs to another project. Use the principals in this tutorial to streamline the reuse of XML files within a set of project.
In the tutorial you create two projects. The first project is one of the SOA Blue Print Sample projects provided with NetBeans 6.0. The second is a BPEL Module project. From the BPEL Module project, you reference an XML schema file from the Blue Print Sample project.
top
Create The Projects
To create the Blue Print Sample project:
- In the NetBeans IDE, select the Projects tab to display the Projects window.
- From the File menu, select New Project.
-
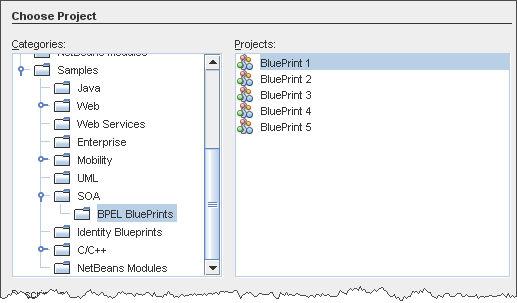
In the Categories list of the New Project window, select Samples > SOA > BPEL BluePrints > BluePrint1 and click Next.
- Accept the default name and location (or specify an alternate location using the Browse button).
- Click Finish to create the project.
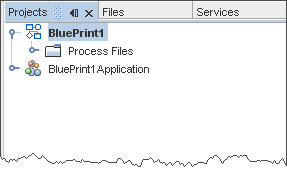
The following projects appear in the Projects window:
BluePrint1, the BPEL project
BluePrint1Application, the composite application project
To create the BPEL module project:
- From the File menu, select New Project.
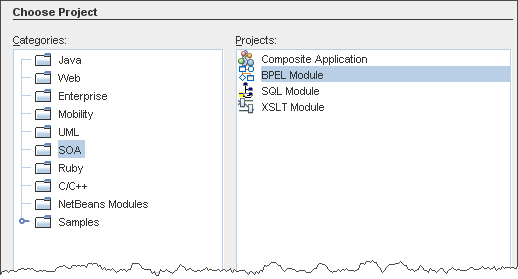
- In the Categories list of the New Project window, select > SOA > BPEL Module and click Next.
- Accept the default project name and location (or specify an alternate location using the Browse button).
-
Click Finish to create the project.
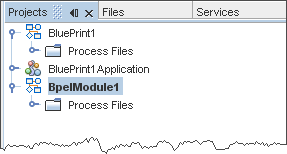
The following project appears in the Projects window:
BpelModule1
top
Establish a Reference Between the Projects
This sections shows how to create a reference to the BpelModule1 project from the BluePrint1 project. Once the reference is created, resources in the Blue Print project can be accessed by the BPEL Module project.
To establish a reference between the projects:
- In the Projects window, right-click the BluePrint1 project and select Properties.
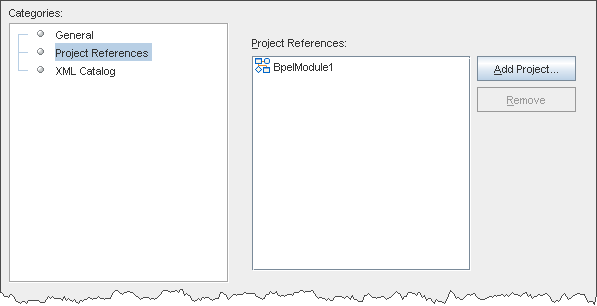
- In the Project Properties dialog, under Categories, select Project References.
- Select Add Project.
-
In the Add Project dialog, select the BpelModule1 project and click Add Project.
- Click OK.
top
Import an XML Schema File Using a Project Reference
In this section you add an XML schema file to the BPEL Module project. You then modify the XML schema file using the XML schema structures referenced from a file in the Blue Print Sample project.
To add an XML schema file to the BPEL Module project:
-
In the Project Window, right click BpelModule1 node and select New > Other to open the New File wizard.
-
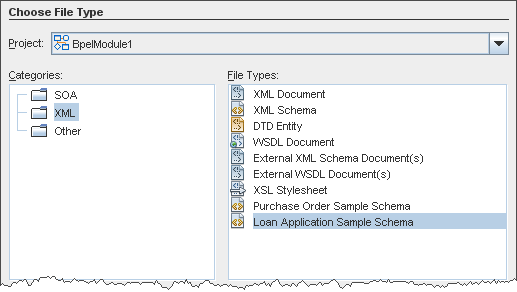
With BpelModule1 as the selected project, make the following selections and then click Next:
Categories: XML
File Types: Loan Application Sample Schema
-
Accept the default Name and Location, and click Finish.
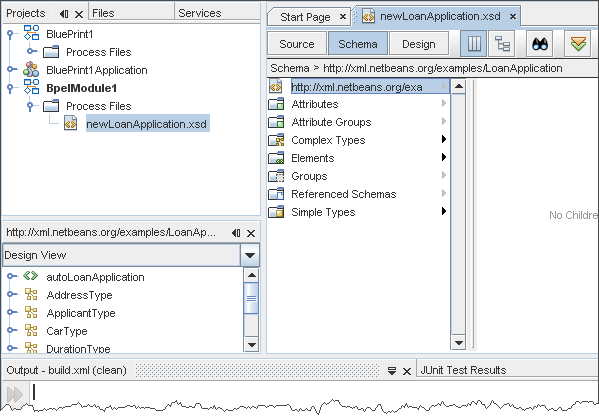
The NetBeans IDE adds the new file to the BpelModule1 project and opens the file in the Schema View of the XML Editor.
To import the Loan Application Schema File into the Blue Print Sample project:
-
In the Project Window, expand the BluePrint1 > Process Files node and select purchaseOrder.xsd.
-
Double-click purchaseOrder.xsd to open this file for editing.
If the Schema View is not selected in the editor, select Schema.
- In the leftmost column of the editor, right-click Referenced Schemas and choose Add > Import.
-
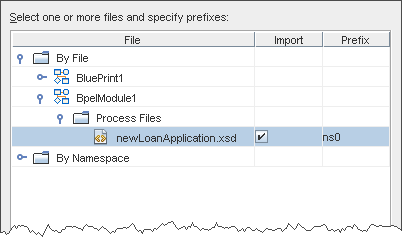
In the Add Import Dialog expand the following node:
By File > BpelModule > Process Files
-
Select newLoanApplication.xsd for importing and click OK.
top
Use the Imported Schema File
In this section you choose the CarType element in the imported file.
To select an element from an imported file:
- In the Schema View of the editor for purchaseOrder.xsd, right-click the Elements in the leftmost column and select Add Element.
- In the Add Element window, accept the default name for the element and select Use Exiting Type.
-
Expand the following node:
Referenced Schemas > import {http://xml.netbeans.org/examples/LoanApplication} > Complex Types
-
Select the CarType type and click OK.
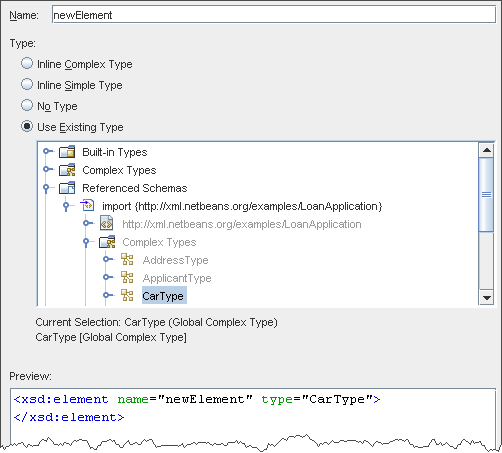
- Click OK.
- From the File menu, select Save All to save your work.
top
Check the Usage of the Imported Schema File
In this section you check that the newLoanApplication.xsd file is imported into the BluePrint1 project.
To find the usage of an imported XML schema file:
-
In the Project window, expand the following node:
BpelModule1 > Process Files
-
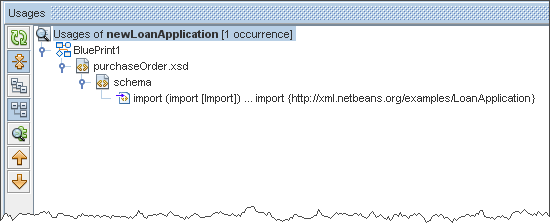
Right click newLoanApplication.xsd and select Find Usages.
The Usages window for the XML schema file opens in Logical View.
-
In the Usages window, note that the XML schema is used by the BluePrint1 project.
top
Deploy the Blue Print Sample Composite Application
In this section you deploy the Blue Print Sample composite application, which contains the cross project reference.
To deploy the Blue Print Sample composite application:
-
In the Projects window, right-click BluePrint1Application and select Deploy.
This to verify that the application builds and deploys with the referenced XML schema file.
top


