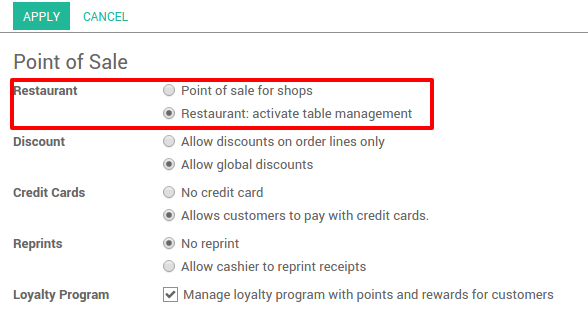
Go to the Point of Sale application,

Enable the option Restaurant: activate table management and click on Apply.
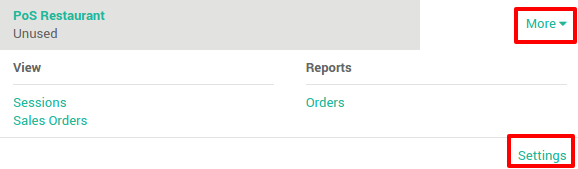
Then go back to the Dashboard, on the point of sale you want to use in restaurant mode, click on .
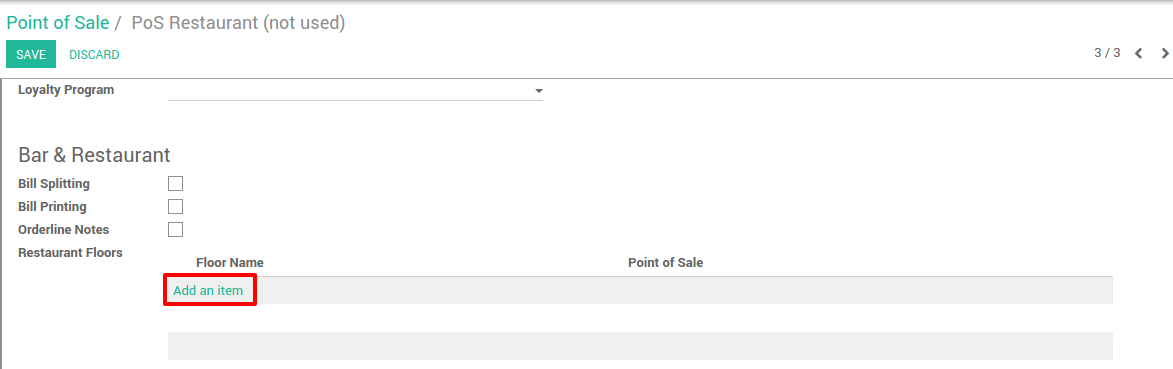
Under the Restaurant Floors section, click on add an item to insert a floor and to set your PoS in restaurant mode.
Insert a floor name and assign the floor to your point of sale.
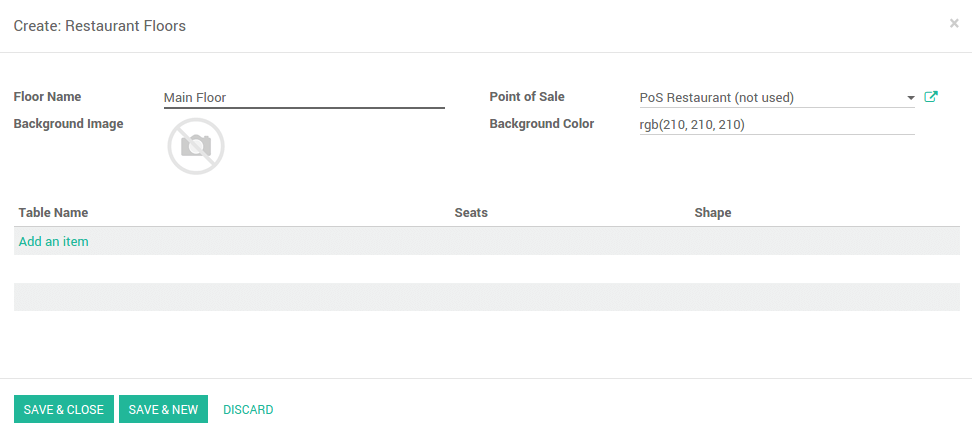
Click on Save & Close and then on Save. Congratulations, your point of sale is now in Restaurant mode. The first time you start a session, you will arrive on an empty map.
Voir aussi