1.10.2. Five Steps to Your Content Package
The following helps you to create a Content Package in no time before embedding it in your course and activating it for your participants.
| Step 1: Start course editor and insert CP course element | ||
|---|---|---|
| 1 | Search for your course in «Learning resources,» section «My entries,» and open it. | 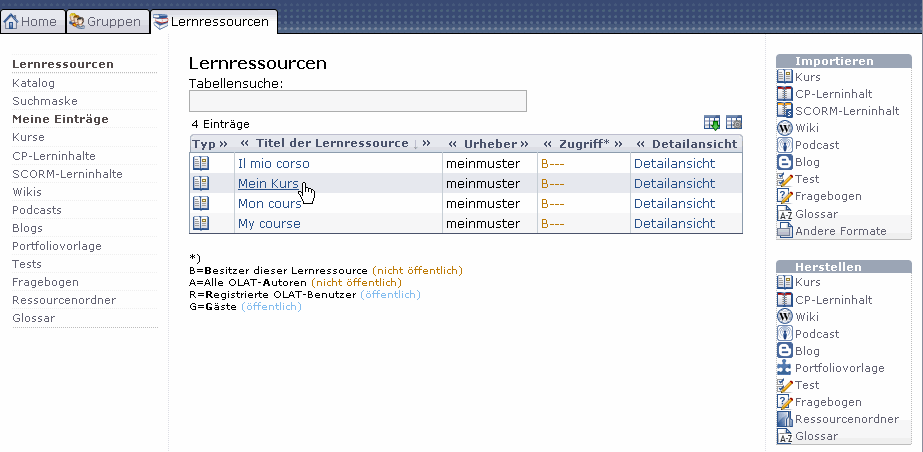 |
| 2 | Click on «Course editor» in the toolbox «Course tools» on your right. | |
| 3 | Select «CP learning content» in the toolbox «Insert course elements» on your right. | |
| 4 | Select position at which your CP course element should be inserted and save your settings. | |
| 5 | Indicate a short title for your course element in the tab «Title and description» and save your settings. | |
| Step 2: Creating CP learning content | ||
|---|---|---|
| 1 | Click on «Select, create or import CP learning content» in the tab «Learning content.» | 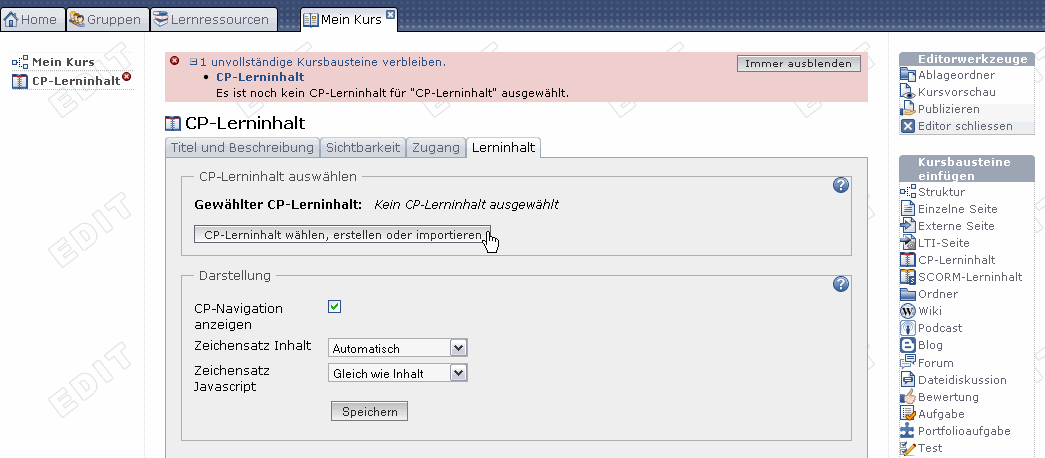 |
| 2 | Click on «Create.» | |
| 3 | Indicate title and description of your CP and save your settings. | |
| 4 | Click on «Next.» | |
Now you are within the editor. A new CP usually consists of one chapter («CP learning content») and one page («New page»).
| Step 3: Edit CP | ||
|---|---|---|
| 1 | Click on «Edit.» | 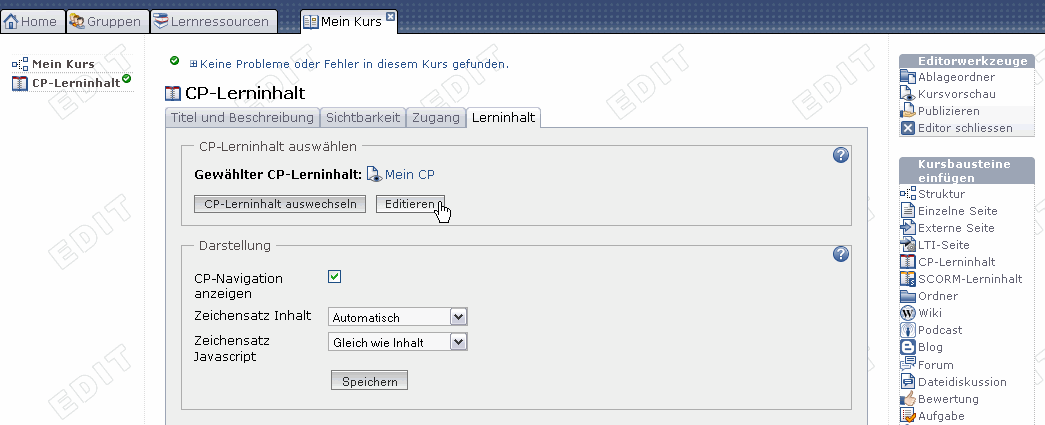 |
| 2 | Edit title: Double-click on the title and insert a new one. | 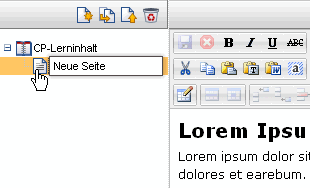 |
| 3 | Edit content: Edit page in the provided field and format before saving it. | |
| 4 | Insert new page: Click on icon «Add page.» Your new page will be inserted underneath the highlighted element. | 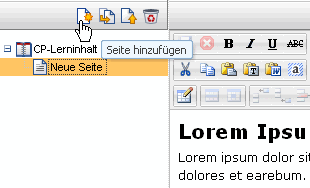 |
| 5 | Copy page: Click on icon «Copy page.» Your copied page will be inserted underneath the highlighted element. | 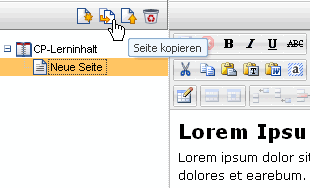 |
| 6 | Import page: Click on «Import page.» Then click on «Select file» before selecting a HTML page. Click on «Import.» | 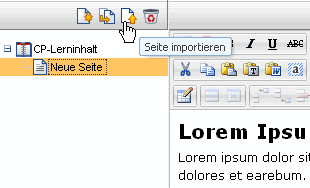 |
| 7 | Delete page: Click on icon «Delete page» and confirm. | 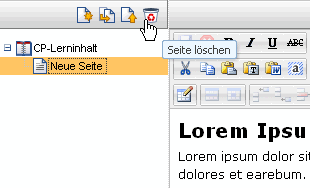 |
Now you can insert more pages following the same pattern.
You can import several HTML pages at once by zipping them before uploading the resulting ZIP file.
Click on the icon «Preview» on your top right to have a look at your CP before saving it.
| Step 4: Save CP | |
|---|---|
| 1 | Click on «Save» in the lower center. |
| 2 | Close CP tab and navigate back to your course. |
| Step 5: Publish and activate your course | ||
|---|---|---|
| 1 | Select «Publish» in the toolbox «Editor tools» on your right. | 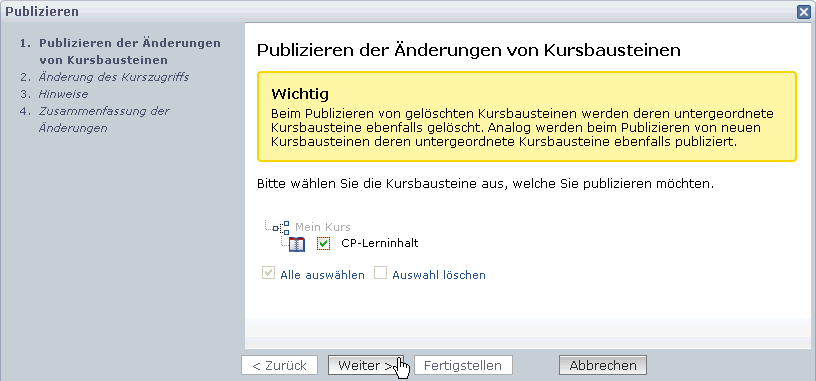 |
| 2 | Click on course element and then go «Next.» | |
| 3 | Select «All registered OLAT users» from the pull-down menu in «Modification of course access.» | |
| 4 | Click on «Finish.» | |
The CP is now embedded in your course and course participants can read its content. In order to edit this CP just click on «Edit» in the tab «Learning content.»