1.17.2. Five Steps to Your Test, Self-test or Questionnaire

Just follow the instructions below to create a simple test or questionnaire in no time before embedding it in your course and activating it for your participants.

Step 1: Open course editor and insert course element
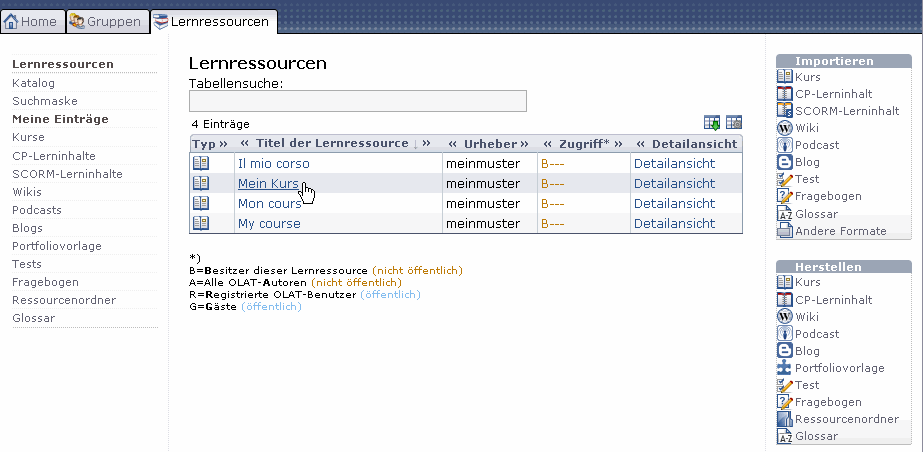
1 Search for your course in the tab «Learning resources» and open it.
2 Click on «Course editor» in the toolbox «Course tools» on your right.
3 Select «Test,» «Self-test» or «Questionnaire» in the toolbox «Insert course elements» on your right.
4 Select position at which your course element should be inserted and save your settings.
5 Indicate a short title for your course element in the tab «Title and description» and save your settings.
Step 2: Create a test or questionnaire file
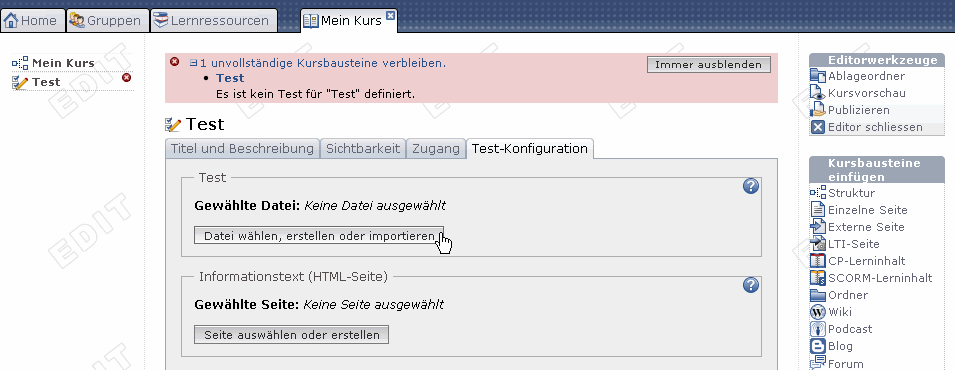
1 Click on «Choose, create or import file» in the tab «Configuration test/self-test/questionnaire.»
2 Click on «Create.»
3 Indicate title and description of your test and save your settings.
4 Click on «Next.»

Your file is now created and consists of one section as well as one single-choice question by default. If there are no such questions in your test you can delete that default single-choice question as soon as you have added any other question.

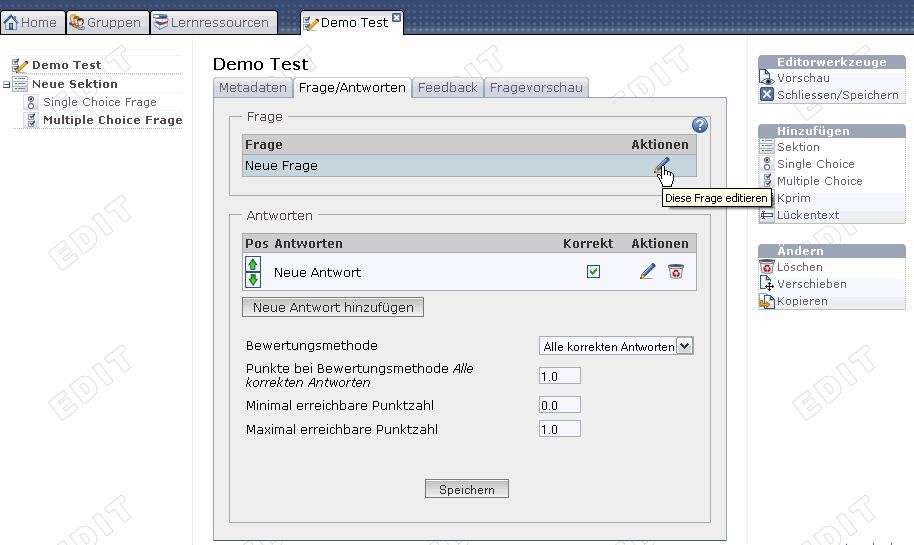
Step 3: Edit test or questionnaire and add new question (e.g. multiple choice)
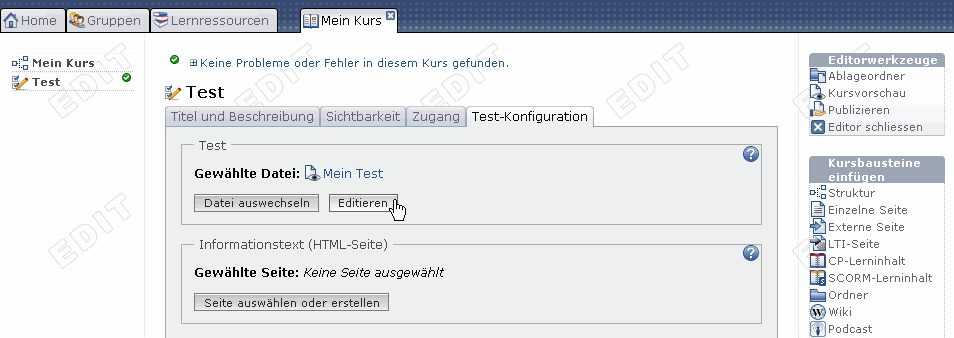
1 Click on «Edit.»
2 Select your type of question (e.g. multiple choice) in the toolbox «Add» on your right.
3 Select position at which your new question should be inserted and save your settings.
4 Indicate title and configuration (optional) in the tab «Meta data» and save your settings.
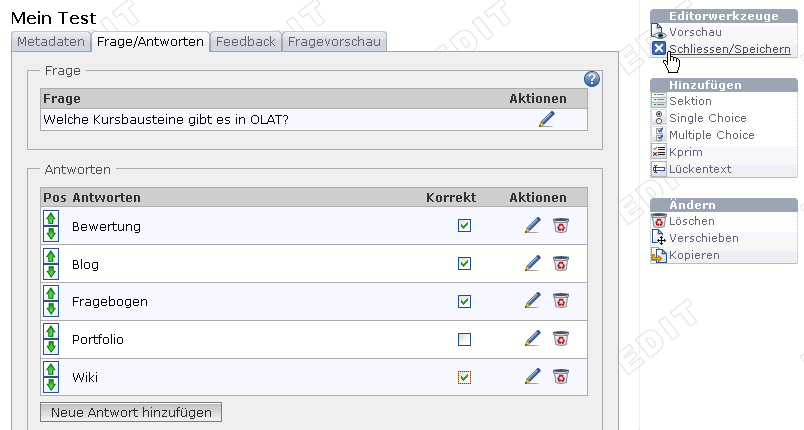
5 Click on the pencil icon next to «New question» in the tab «Question/answers» before editing your question and saving your settings.
6 Select «Add new answer» several times (number depending on possibilities) before editing your answers and saving your settings.
7 In your test check all answer options that are correct and save your settings.
8 Modify assessment method (optional) and save your settings.
9 Indicate feedback in the next tab (optional) and save your settings.

In following the same pattern you can now add additional questions of your favored type. Use sections to organize your questions.

Step 4: Save test or questionnaire
1 Click on «Close/Save» in the toolbox «Editor tools» on your right.
2 Save your settings.
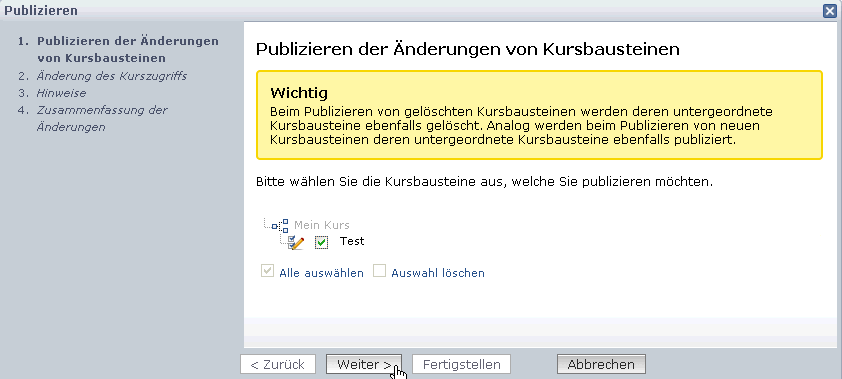
Step 5: Publish and activate your course
1 Navigate back to your course editor.
2 Click on «Publish» in the toolbox «Editor tools» on your right.
3 Click on course element before clicking on «Next.»
4 Select «All registered OLAT users» from the pull-down menu, section «Modify course access.»
5 Click on «Finish.»

Your test or questionnaire is now embedded and can be used by your course participants.