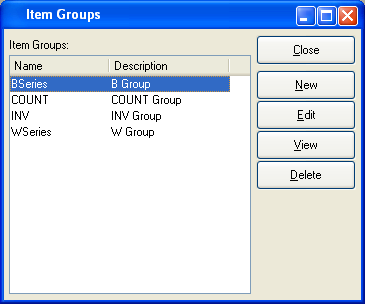
Item Groups provide an alternate means for sorting Items into categories. The advantage to Item Groups is that a single Item may belong to multiple Item Groups. This is in contrast to Class Codes and Product Categories, in that single Items may belong to only one of each of these categories. To access the master list of Item Groups, select the "Items Groups" option. The following screen will appear:

The "Item Groups" screen displays an alphabetical list of all existing Item Groups and their description.
To the far right of the list, the following buttons are available:
- CLOSE
Closes the screen, returning you to the application desktop.
- NEW
Opens screen for creating a new Item Group.
- EDIT
Enables you to edit highlighted Item Groups. The edit screen is the same as that for creating a new Item Group—except that when editing, the fields will contain Item Group information. Double-clicking on an Item Group will also bring you to the editing screen.
- VIEW
Highlight an Item Group and then select this button to reach a read-only view of the "Edit" screen.
- DELETE
Highlight an Item Group and then select this button to remove the Class Code from the list.
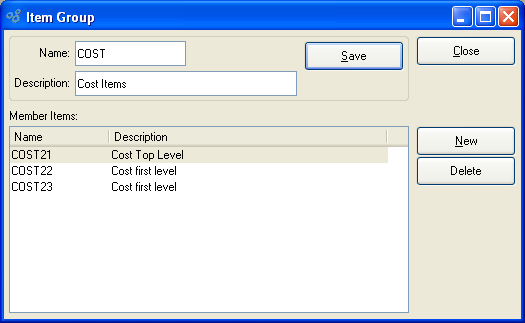
To create a new Item Group, select the NEW button. The following screen will appear:

Tip
Create your Item Groups using a logical, hierarchical structure. This will make it easier to retrieve Item Group information in the future.
When creating a new Item Group, you are presented with the following options:
- Name
Enter a unique name for the Item Group.
- Description
Enter a description to further identify the Item Group.
- Member Items
Display lists member Items of the Item Group.
To the far right of the list, the following buttons are available:
- SAVE
Creates the Item Group and adds it to the master list of Item Groups.
- CLOSE
Closes the screen, returning you to the application desktop.
- NEW
Opens a searchable Item list. Select an Item from the list to have the Item added to the Item Group
- DELETE
Highlight an Item Group and then select this button to remove the Item Group from the list.