2.2. Registration
Before you begin using Red Hat Network, you must create a username, password, and System Profile. Upon launch, the Red Hat Update Agent senses whether these tasks have been accomplished. If not, it guides you through the registration process.
If you ever need to force the Red Hat Update Agent into registration mode, such as to re-register an existing system, you may do so by issuing the following command at a shell prompt:
up2date --register |
 | Important |
|---|---|
If your username is part of a larger organizational account, you should take caution when registering systems. By default, all systems registered with the Red Hat Update Agent end up in the Ungrouped section of systems visible only to Organization Administrators. To ensure you retain management of these systems, Red Hat recommends that your organization create an activation key associated with a specific system group and grant you permissions to that group. You may then register your systems using that activation key and find those System Profiles within RHN immediately. Refer to Section 2.5 Registering with Activation Keys for instructions. |
After installing the Red Hat GPG Key, the screen shown in Figure 2-3 appears. It appears each time you start the Red Hat Update Agent. Click Forward to continue.

2.2.1. Registering a User Account
Before you create a System Profile, you must create a user account. Red Hat recommends that you do so through the website at https://rhn.redhat.com/newlogin/, but you may also do so via Red Hat Update Agent (up2date).
| Important |
|---|---|
Users may access and read Red Hat's privacy statement from this screen. Click the Read our Privacy Statement button to do so. Red Hat is committed to protecting your privacy. The information gathered during the registration process is used to create a System Profile, which is essential to receiving update notifications about your system. When finished, click OK |
Those users that have created a Red Hat login previously may enter their username and password and click the Forward button to continue.
Users that have registered at least one system with Red Hat Network can add new machines to the same account. To do so, run the Red Hat Update Agent on the new machine and enter the existing Red Hat username and password at this screen.
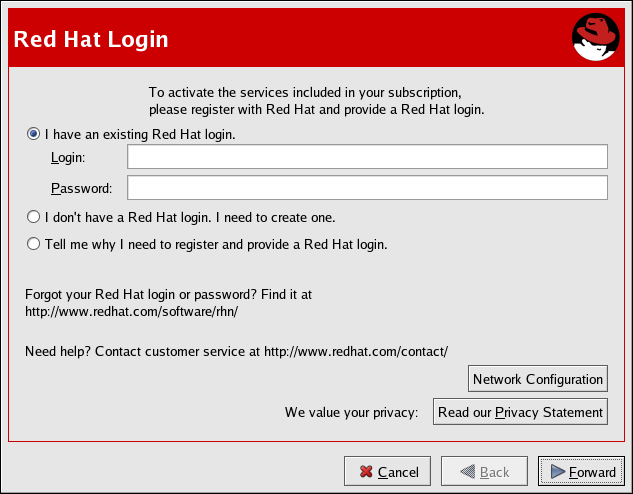
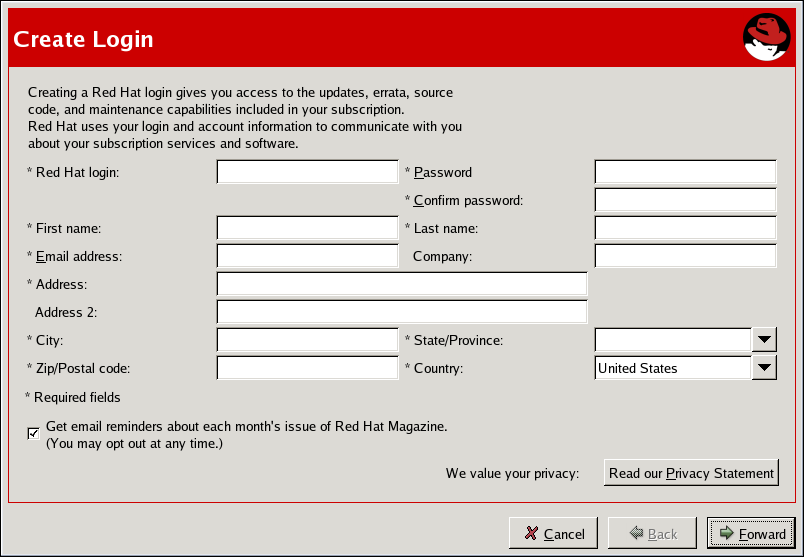
New users must select the I don't have a Red Hat login. I need to create one. radio button and click the Forward button. Add details about yourself and your business to the screen shown in Figure 2-5, and identify the methods by which you may be reached.
Your username has the following restrictions:
Cannot contain any spaces
Cannot contain the characters &, +, %, or '
Is not case-sensitive, thereby eliminating the possibility of duplicate usernames differing only by capitalization
In addition, the following restrictions apply to both your username and password:
Must be at least four characters long
Cannot contain any tabs
Cannot contain any line feeds
Passwords are case-sensitive for obvious reasons.
 | Note |
|---|---|
You must choose a unique username. If you enter one already in use, you will see an error message. Try different usernames until you find one that has not been used. |
Complete all fields marked by an asterisk (*). The address and email addresses are required so that Red Hat may communicate with you regarding your account. You may select to receive monthly copies of Red Hat Magazine, a valuable source of tips, insights, and Red Hat news.
When finished, click Forward.
2.2.2. Activate
The Activation screen allows you to select various details of your registration. If you have a subscription number, enter it in the appropriate field. If not, select the Use one of my existing, active subscriptions radio button.
In the Connect Your System option group, select whether to send a hardware or software profile.
After creating a username and password for your Red Hat Network account, the Red Hat Update Agent probes your system for the following information:
Red Hat Enterprise Linux version
Hostname
IP address
CPU model
CPU speed
Amount of RAM
PCI devices
Disk sizes
Mount points
The software System Profile consists of a list of RPM packages for which you wish to receive notifications. The Red Hat Update Agent displays a list of all RPM packages listed in the RPM database on your system and then allows you to customize the list by deselecting packages.
To see the details of the information gathered from your system, click the Details button next to the profile. When finished, click OK. If you uncheck the box to the left of the profile, that information is not sent to RHN.
| Note |
|---|---|
If you do not send a Software Profile, this system will receive no Errata Updates. |
Click Forward to send the information to RHN.
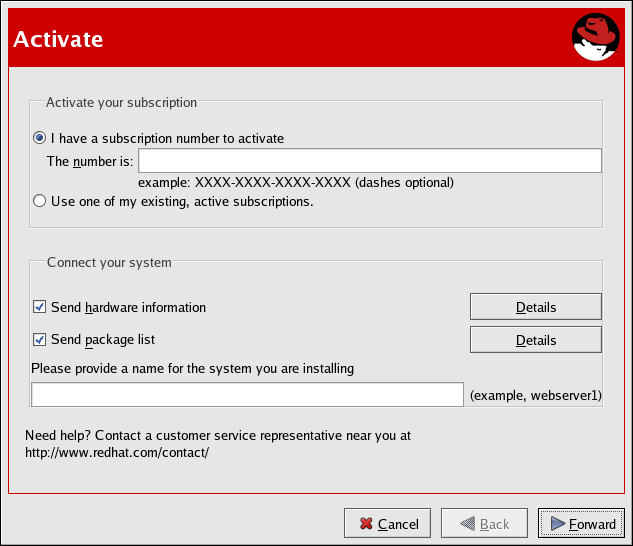
Figure 2-7 shows the progress bar displayed as the System Profile is sent.
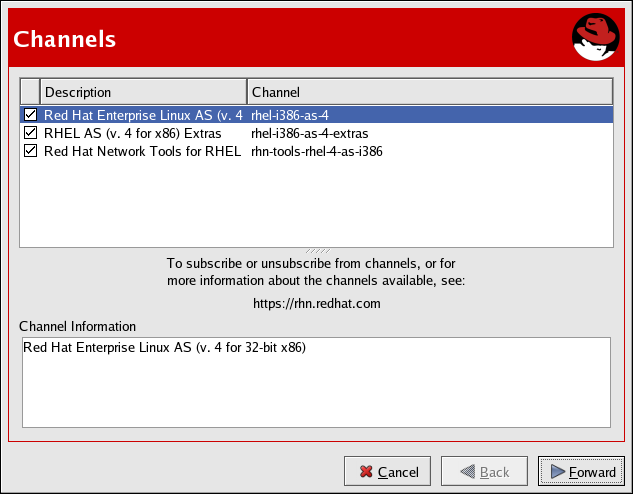
2.2.3. Channels
Red Hat Update Agent next displays all package channels to which you have access. The channels you select from this screen must match the base operating system of the system you are registering. if any child channels are available, such as the RHEL AS (v.4 for x86) Extras channel in the figure, you may select them as well. Additional information regarding the selected channel is displayed in the Channel Information pane. When finished, click Forward to continue.
Red Hat Update Agent now compares the packages in your RPM database with those available from the Channel you selected. The progress bar shown in Figure 2-9 is displayed during this process.

| Note |
|---|---|
If the version of up2date on your system is older than the one in your selected channel, the Red Hat Update Agent asks whether you would like to update it. If you agree, the only package that will be updated is the up2date package. This is equivalent to executing the up2date up2date command from a shell prompt. Once the updated process has completed, the Red Hat Update Agent restarts and completes the initial update of the system. |
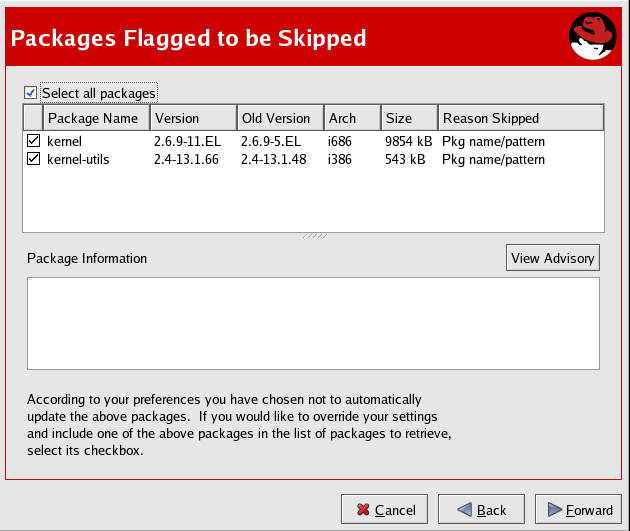
2.2.4. Packages Flagged to be Skipped
The next step in the initial update is the selection of files to be skipped. Any packages checked here will not be downloaded and updated by the Red Hat Update Agent. This screen is displayed whenever packages are available that are currently selected to be ignored. You may change these settings at any time from the Red Hat Network Alert Notification Tool. Refer to Chapter 4 Red Hat Network Alert Notification Tool for addition information.
Make your selections and click Forward to continue.
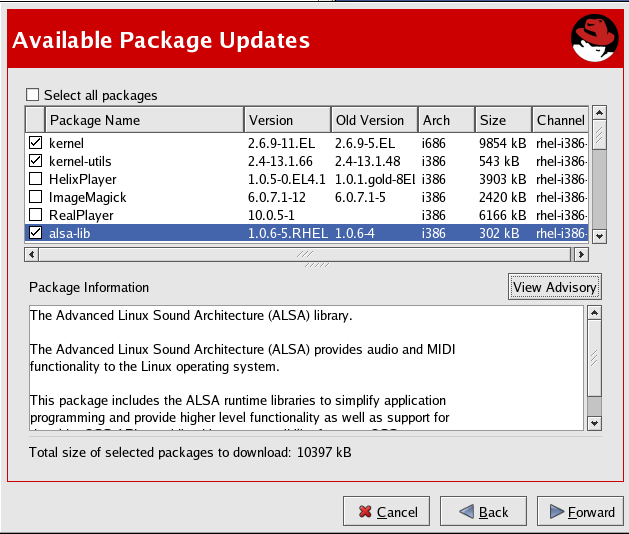
2.2.5. Available Package Updates
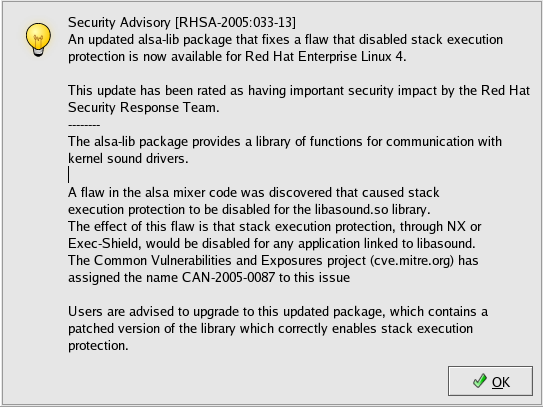
The Red Hat Update Agent next displays all available updates except those you chose to skip in the previous screen. Select those you wish to download and click Forward to continue.To view the complete Errata Advisory text for an update, highlight the relevant package and click the View Advisory button. When finished, click OK.
Select those you wish to download and click Forward to continue.
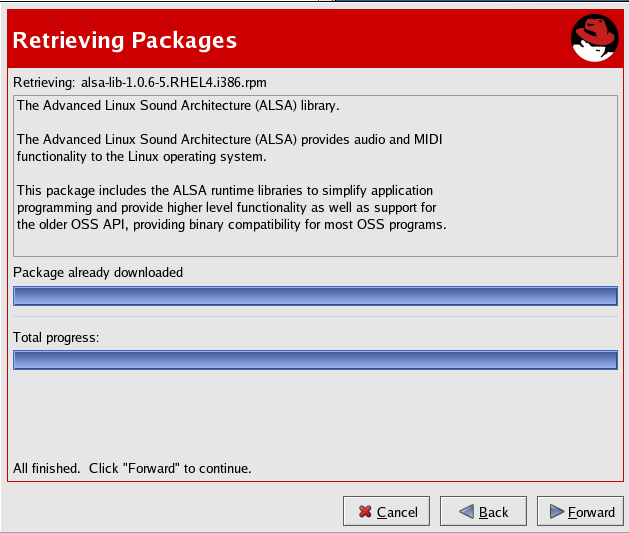
2.2.6. Retrieving Packages
The Red Hat Update Agent tests the packages you selected to be certain that the requirements of each RPM are met. If any additional packages are required, Red Hat Update Agent displays an error message. Click OK to continue.
Once all dependencies are met, Red Hat Update Agent retrieves the packages from RHN. As the packages are downloaded, they are temporarily stored in /var/spool/up2date/.
When all packages have been downloaded, click Forward to continue.
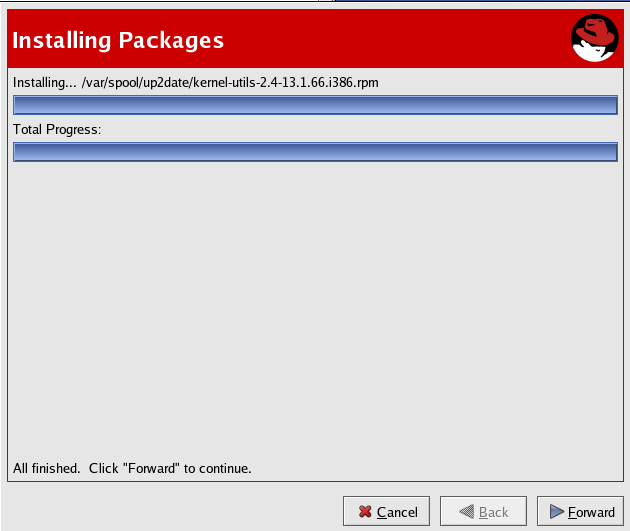
2.2.7. Installing Packages
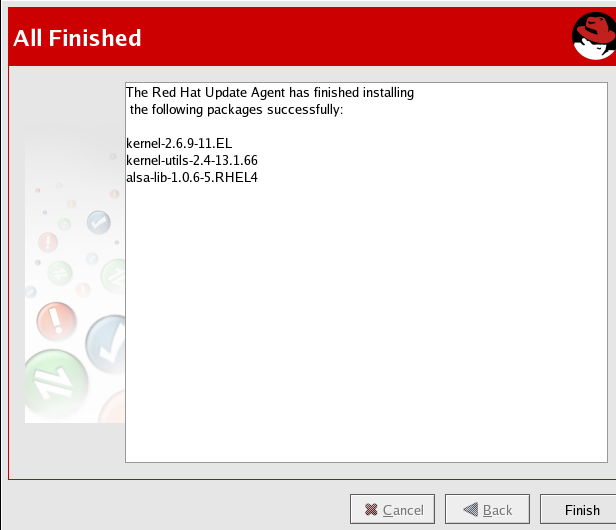
The packages must be installed after downloading them via the Red Hat Update Agent. If you chose not to install the packages via the Red Hat Update Agent, skip to Section 2.3.2 Manual Package Installation for further instructions. If you configured the Red Hat Update Agent to install the packages (the default setting), the installation process begins. The progress of installing each package, as well as the total progress, is displayed. When the packages have been installed, as seen in Figure 2-14, click Forward to continue.
When the Red Hat Update Agent has finished downloading the desired packages (and installing them if you chose the install option), it displays the screen in Figure 2-15. Click Finish to exit the Red Hat Update Agent.