Using RHDB Administrator
You can navigate within RHDB Administrator in a number of ways. The quickest way to get started is by use of the Tree View, which shows the overall structure of the database clusters. Click the + to the left of any object to view its sub-objects and - to hide them again.
Objects in the Tree View are cached for quick access, thus making refreshes necessary when you add new objects.
Navigating RHDB Administrator
The Menu Bar

There are four menus in the menu bar at the top of the main window:
- File
File contains three items:
Add Cluster opens the Add Cluster dialog
Refresh Tree collapses all objects in all clusters
Exit closes RHDB Administrator.
- Edit
Edit contains Cluster Configuration, which enables you to add, modify, or delete clusters.
- View
View contains three items:
Show System Objects causes RHDB Administrator to display both user-created and system-created objects, instead of user-created objects, only. Turning this option off somewhat increases performance, but hyperlinks to a system objects will take you to the parent cluster of that system object instead. (This option is on by default.)
Ask For Confirmations controls whether you are asked for confirmation when you attempt to perform certain actions that are potentially dangerous and irreversible, such as dropping database objects. (This option is on by default.)
If Show SQL Log Window is enabled, a separate window displays a running log of all backend SQL queries that are made by the tool. This option is primarily for debugging and is off by default.
- Help
Help contains information about RHDB Administrator in the About menu item.
 | Some menu-bar functions can be activated from the keyboard.
Hold |
The Tool Bar

Once an object in the Tree View has been clicked on or a hyperlink has been followed, the left-pointing arrow in the Tool Bar becomes active. This button functions just like a Back button in web browsers—it takes you to the previously visited location. Once the Back button has been used, the Forward button becomes active and functions as the inverse of the Back button. To complete the hyperlink-traversing functions, there is a Home button that moves the current location to the parent cluster of the currently selected object.
To the right of the Home button is the Refresh button, which refreshes the View Pane contents. Beside the Refresh button is the final button on the navigation bar: the Stop button. Pressing this during the expansion of an object in the Tree View or during the display of a detailed view stops the current action. The RHDB cube at the end of the Tool Bar is the progress indicator. The background of each cube alternates black and red as operations are being performed.
 | To refresh the nodes under an object, right-click on it and select Refresh (this level). To refresh the View Pane contents, click again on the selected object or click the Refresh button on the Tool Bar. |
The Tree View and View Pane
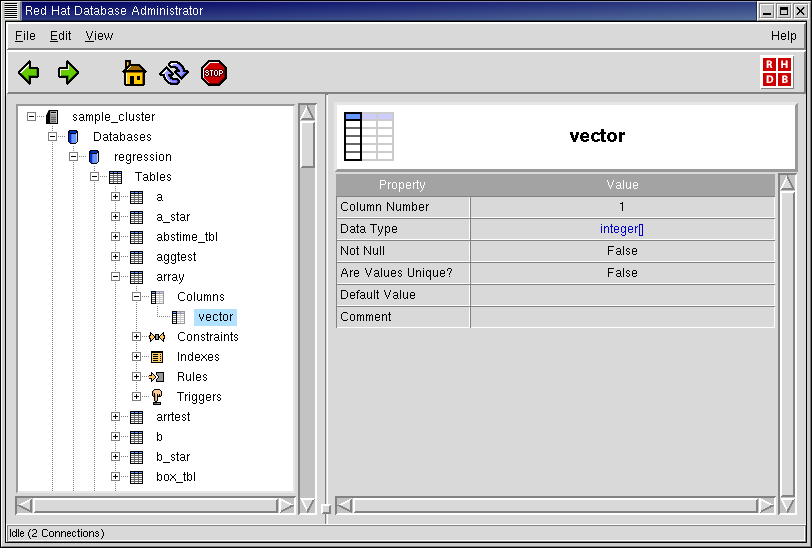
Clicking on an object in the Tree View displays its information in the View Pane. In the detailed view of certain database objects, some text is in blue. This indicates that text functions as a hyperlink, taking you to the detailed view for that particular object.
In addition to mouse-based movement, you can use the keyboard to traverse the
Tree View. For this type of movement to function, the Tree View
must be "in focus". You can accomplish this by pressing the
Once the
focus is on the Tree View, you can traverse the tree with presses of the
arrow keys.
The current location in the Tree View is denoted by a dashed
rectangular outline. This location can move independently of the object for
which the detailed view is selected, which is highlighted in blue.
To bring up the detailed view for the object at the current location, press
Both the Tree View and the View Pane may have contents that are of such length or width that scroll bars need to be used to adjust the view. In addition to moving under direct mouse or keyboard control, the scroll bars will respond to a mouse scroll wheel.