Chapter 2. Installing Red Hat Database
Red Hat Database offers two installation options. You can either use an X Window System based GUI installer, or a text-mode installer. If you want to use the GUI installer, see the Section called Performing the Installation Using the GUI. If you do not wish to use the GUI installer, or if you are not using the X Window System, you can use the text-mode installer. See the Section called Performing the Installation Using the Text-Mode Installer for the text mode installation instructions.
Performing the Installation Using the GUI
This section explains how to install Red Hat Database from the CD-ROM using the graphical, mouse-based installation program for users with the X Window System.
To install Red Hat Database:
Log in as root.
If you are not using a graphical login, start the X Window System.
Insert the Red Hat Database CD into your CD-ROM drive.
If you are running the GNOME desktop, the CD should be mounted automatically and a dialog box should pop-up asking if you want to run the autorun program. Select "Yes", and the installer will start.
If the autorun dialog box does not appear, you will need to manually mount the CD and start the installer:
Open a terminal window.
Mount the Red Hat Database CD:
Start the installer:
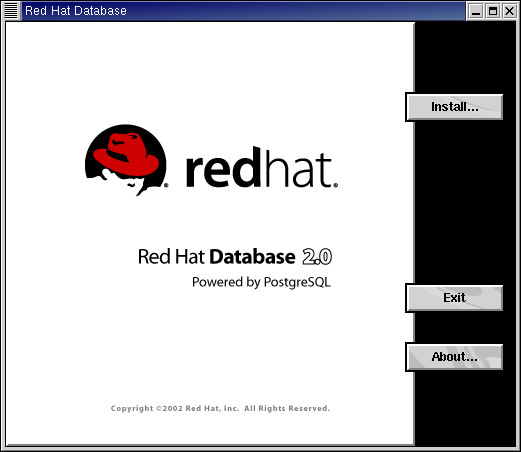
After you start the installer, you are presented with the Welcome Screen:
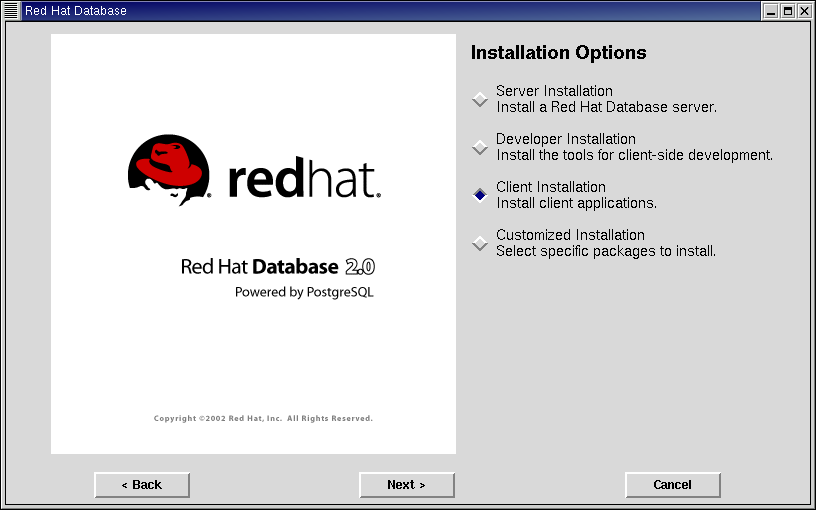
Click on the Install button to proceed.From the Installation Types Screen, choose the installation class that best suits your needs:
Once you have made your selection, click on the Next button.If you need more information about the different installation classes, see the Section called Step 7 – Choose the Type of Installation in Chapter 1.
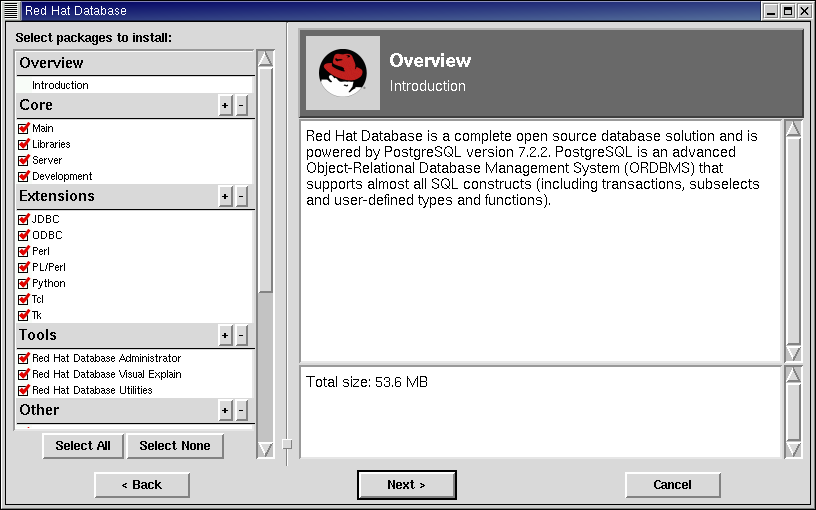
About the Customized Installation Option. If you choose to do a Customized installation, you are presented with a list of packages:
You can select or deselect packages by clicking the checkbox beside the package name. The installer provides information about the size, dependencies, and description of the selected package in the right panel.
If you wish to select a group of packages, such as Core, you can click on the "+" button beside the package group heading. Clicking the "-" button deselects a package group.
When you select a package, several other packages may be selected. This occurs because various packages depend on each other. The installer makes sure that all dependencies are satisfied in the package set selected for installation to ensure that all the components you install will work correctly.
The "Select All" and "Select None" buttons are a good way to get a "clean slate" in the package selection list. In particular, the "Select All" button resets the package list to the original state.
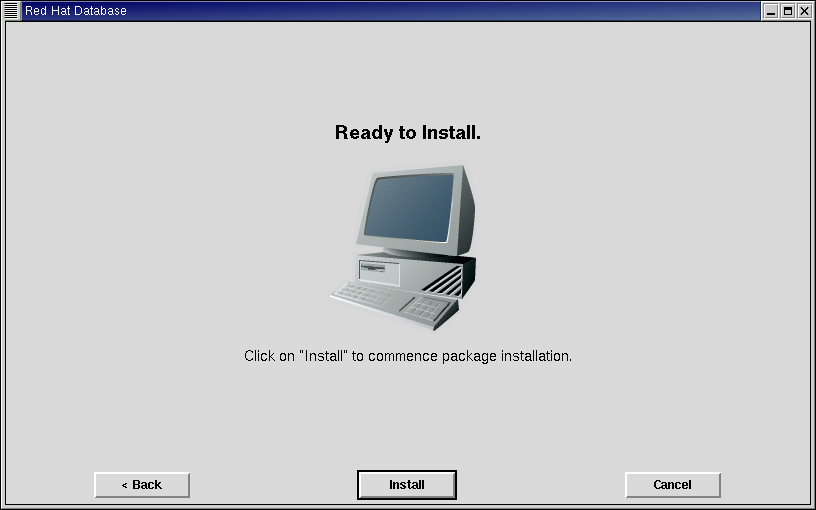
Next, the Ready to Install Screen appears:
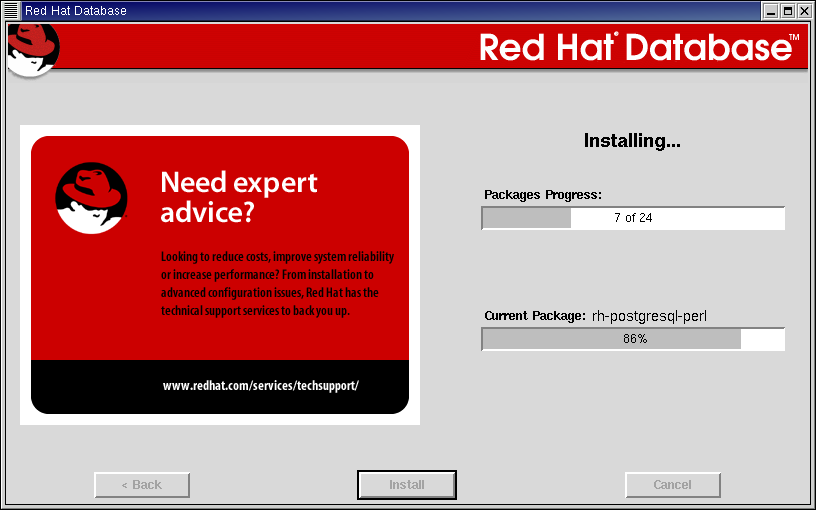
This is your last chance to exit before the installation. To stop the installation, click the Cancel button. To proceed, click on the Install button.When you click Install, the Installation Progress Screen appears:
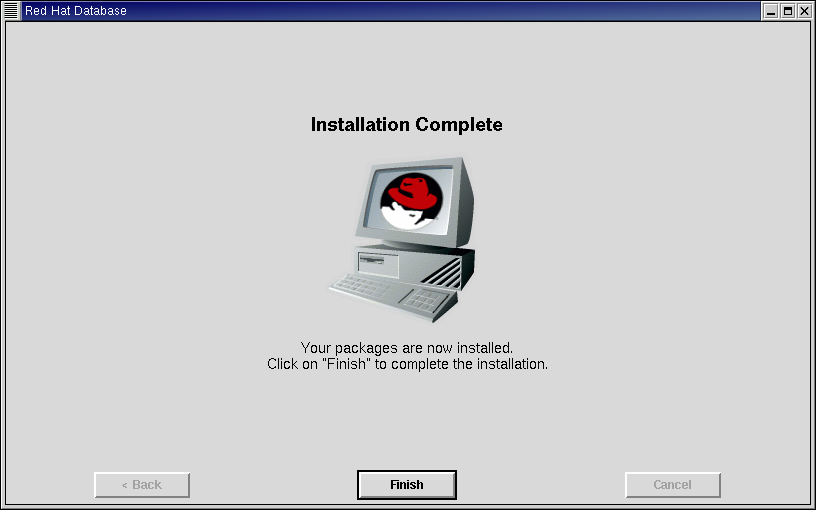
When the installation is complete, the Installation Complete Screen appears:
Click on the Finish button. Proceed now to Chapter 3 section.