If you do not have a network device, physical LAN, or virtual LAN, this screen does not appear during your installation and you should advance to Section 12.21, “Time Zone Configuration”.
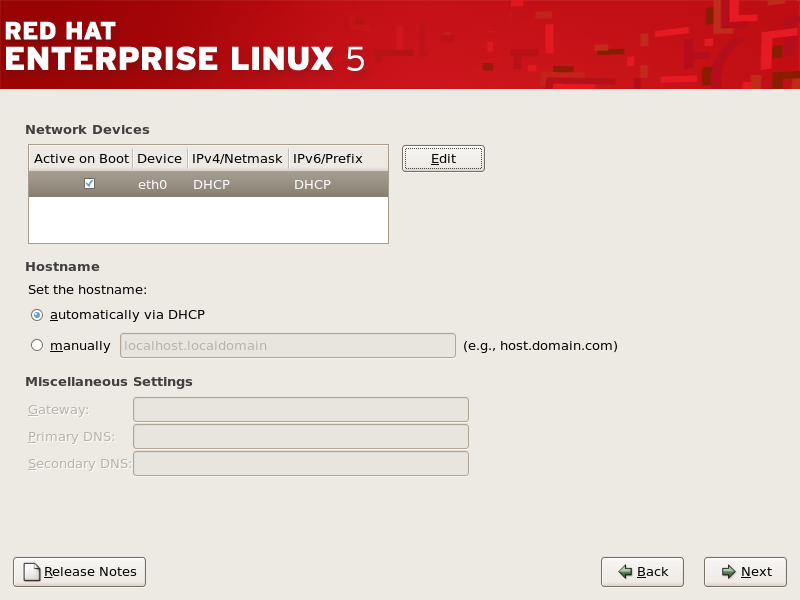
The installation program automatically detects any network devices you have and displays them in the Network Devices list.
Once you have selected a network device, click Edit. From the Edit Interface pop-up screen, you can choose to configure the IP address and Netmask (for IPv4 - Prefix for IPv6) of the device via DHCP (or manually if DHCP is not selected) and you can choose to activate the device at boot time. If you select Activate on boot, your network interface is started when you boot. If you do not have DHCP client access or you are unsure what to provide here, please contact your network administrator.

Note
Do not use the numbers as seen in this sample configuration. These values will not work for your own network configuration. If you are not sure what values to enter, contact your network administrator for assistance.
If you have a hostname (fully qualified domain name) for the network device, you can choose to have DHCP (Dynamic Host Configuration Protocol) automatically detect it or you can manually enter the hostname in the field provided.
Finally, if you entered the IP and Netmask information manually, you may also enter the Gateway address and the Primary and Secondary DNS addresses.
Tip
To change your network configuration after you have completed the installation, use the Network Administration Tool.
Type the system-config-network command in a shell prompt to launch the Network Administration Tool. If you are not root, it prompts you for the root password to continue.