Height
Using any of the Terrain editing tools is very simple. You will literally paint the Terrain from within the Scene View. For the height tools and all others, you just have to select the tool, and click the Terrain in Scene View to manipulate it in real-time.
Raising & Lowering Height
The first tool on the left is the Raise Height tool  .
.
With this tool, you paint brush strokes that will raise the height of the Terrain. Clicking the mouse once will increment the height. Keeping the mouse button depressed and moving the mouse will continually raise the height until the maximum height is reached.
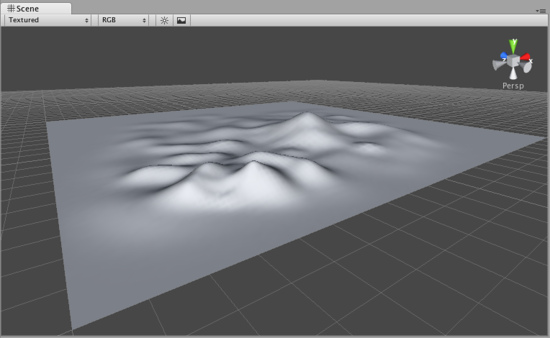
You can use any of the brushes to achieve different results
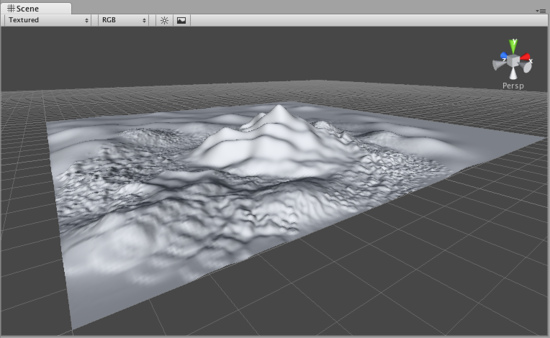
If you want to lower the height when you click, hold the key.
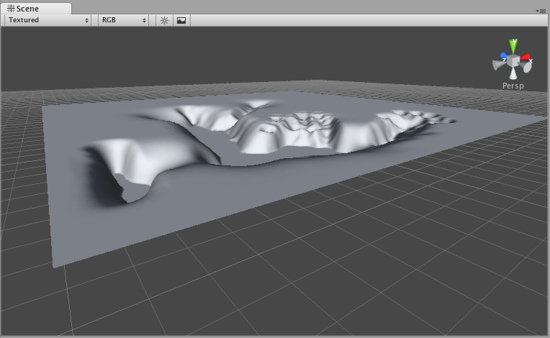
Note:When you have a brush selected, move your mouse over the Terrain in the Scene View and press . This will center the Scene View over the mouse pointer position and automatically zoom in to the Brush Size distance. This is the quickest & easiest way to navigate around your Terrain while creating it.
Paint Height
The second tool from the left is the Paint Height tool  .
.
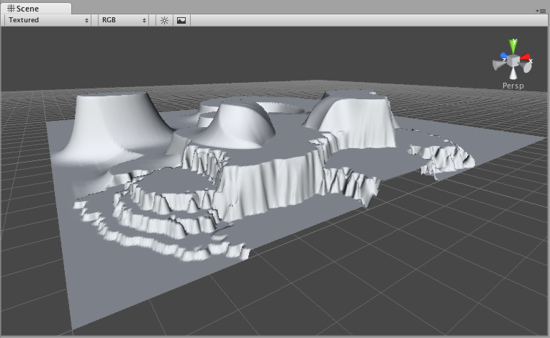
This tool allows you to specify a target height, and move any part of the terrain toward that height. Once the terrain reaches the target height, it will stop moving and rest at that height.
To specify the target height, hold and click on the terrain at the height you desire. You can also manually adjust the Height slider in the Inspector.

Now you've specified the target height, and any clicks you make on the terrain will move the terrain up or down to reach that height.
Smoothing Height
The third tool from the left is the Smoothing Height tool  .
.
This tool allows you to soften any height differences within the area you're painting. Like the other brushes, paint the areas you want to smooth in the Scene View.
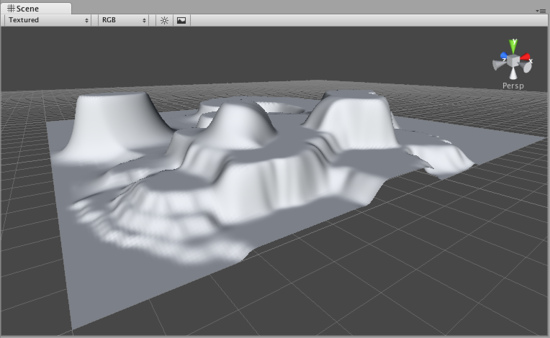
Working with Heightmaps
If you like, you can import a greyscale Heightmap created in Photoshop, or from real-world geography data and apply it to your Terrain. To do this, click the Options button  from the Terrain Inspector, choose , then select the desired RAW file. You'll then see some import settings. These will be set for you, but you have the option of changing the size of your Terrain from this dialog if you like. When you're ready, click the button. Once the Heightmap has been applied to the Terrain, you can edit it normally with all the Tools described above.
Note that the Unity Heightmap importer can only import grayscale raw files. Thus you can't create a raw heightmap using RGB channels, you must use grayscale.
Unity works with RAW files which make use of full 16-bit resolution. Any other heightmap editing application like Bryce, Terragen, or Photoshop can work with a Unity Heightmap at full resolution.
You also have the option of exporting your Heightmap to RAW format. Click the Options button  from the Terrain Inspector, choose and you'll see a export settings dialog. Make any changes you like, and click to save your new Heightmap.
Unity also provides an easy way to flatten your terrain. Click the Paint Height button  from the Terrain Inspector and choose . This lets you flatten your terrain to a height you specify in the wizard.
Page last updated: 2013-07-10