Working with Animation Curves in Mecanim (Pro only)
Animation curves can be attached to animation clips in the Animations tab of the .

The curves on animation clips in Mecanim
The curve's X-axis represents normalized time and always ranges between 0.0 and 1.0 (corresponding to the beginning and the end of the animation clip respectively, regardless of its duration).

Unity Curve Editor
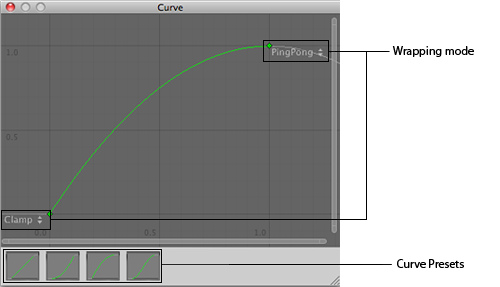
Double-clicking an animation curve will bring up the standard Unity curve editor (see Editing Value Properties for further details) which you can use to add keys to the curve. Keys are points along the curve's timeline where it has a value explicitly set by the animator rather than just using an interpolated value. Keys are very useful for marking important points along the timeline of the animation. For example, with a walking animation, you might use keys to mark the points where the left foot is on the ground, then both feet on the ground, right foot on the ground, etc. Once the keys are set up, you can move conveniently between key frames by pressing the buttons. This will move the vertical red line and show the normalized time at the keyframe; the value you enter in the text box will then set the value of the curve at that time.
Animation Curves and Animator Controller parameters
If you have a curve with the same name as one of the parameters in the Animator Controller, then that parameter will take its value from the value of the curve at each point in the timeline. For example, if you make a call to GetFloat from a script, the returned value will be equal to the value of the curve at the time the call is made. Note that at any given point in time, there might be multiple animation clips attempting to set the same parameter from the same controller. In that case, the curve values from the multiple animation clips are blended. If an animation has no curve for a particular parameter then the blending will be done with the default value for that parameter.
(back to Mecanim introduction)
Page last updated: 2012-11-08