-
To access the Define Commands area, from any device you have loaded into your system, open the Device page menu, select More >> Administration.
The Administration tab appears.
-
From Define Commands table menu, select Add User Command.
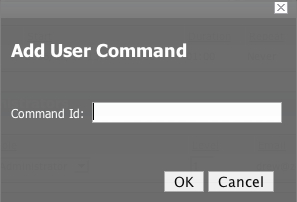
The Add User Command dialog appears.
-
In the Command Id field, enter a name for the command and click OK.
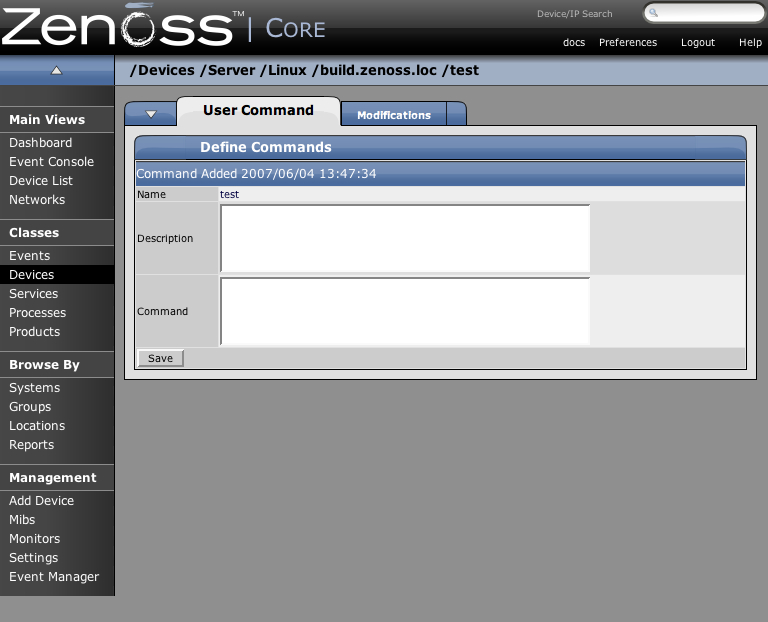
The Define Command page appears.
-
In the Description field, brief description of what the command will do.
-
In the Command section, enter the TALES expression based command you want to be run on the selected device or devices.
-
Click the Save button.
The Command is saved and added to the command drop-down menu so you can choose to run it at any time.
This section will walk you through creating an echo UI command. You can see the use of TALES expressions in the definition of this command as in many other commands in Zenoss.
-
Go to the Settings - Manage tab.
-
Add a new command called “echoDevice”
-
Echo the name and IP of the device
echo name = ${here/id} ip = ${here/manageIp}In a TALES expression ‘here’ is the object that the expression is executed against. Some TALES expressions in Zenoss have other variables like evt for event and dev or device for the device. See the TALES Expression appendix for more information on the syntax of the various TALES expressions.
-
Go to a device and run this command.
-
Now go back to the editing of this command and add some more information to the command.
echo name = ${here/id} ip = ${here/manageIp} hw = ${here/getHWProductName} -
Now try running the command against a group of devices and see the command outputs.