Administration Guide
You can create and edit custom event views, narrowing the event list view according to filters you set and save. Custom event views are set individually for users.
To create a custom event view:
Click the Preferences link at the top right of the dashboard.
Click the Event Views tab.
The Event Views tab appears.
From the Event View table menu, select Add Event View.
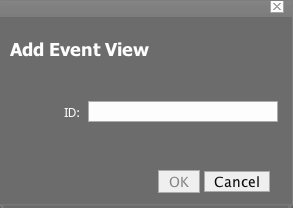
The Add Event View dialog appears.
In the ID field, enter a name for the event view.
Click OK.
This custom event view appears in the list. Note that there is a custom alerting rainbow for this event view.
Click the link for the new event view you created.
Notice the size of the list and the number of entries.
Click the Edit tab.
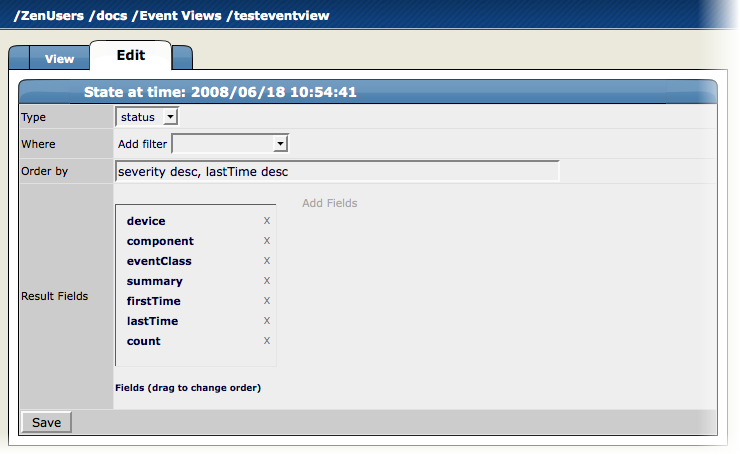
The Edit Event views tab appears.
Add conditions for this event view:
Type - Select whether to show active events or the event history.
Where - Use this area to add filters (similar to alerting rules "where" clauses).
Order by - Specify the order of entries in the view.
Result Fields - Select the fields to display in the view. Click the X next to each field you want to remove from the view.
Click Save.
You can click the View tab to see the results of the custom event view.