Domain Name System (DNS)
Introduction to DNS
BIND [#] _ is the de facto DNS server on the Internet, originally developed at the University of California, Berkeley and currently maintained by the Internet Systems Consortium. BIND version 9, rewritten from scratch to support the latest features of the DNS protocol is used by Zentyal’s DNS module.
| [4] | http://www.isc.org/software/bind |
DNS cache server configuration with Zentyal
Zentyal’s DNS module always works as a DNS cache server for networks marked as internal in Zentyal, so if you only want your server to perform cache in DNS queries, simply enable the module.
Sometimes, this DNS cache server might need to be queried from internal networks that are not directly configured in Zentyal. Although this case is quite rare, it may occur in networks with routes to internal segments or VPN networks.
Zentyal allows the configuration of the DNS server to accept queries from these subnets by a configuration file. We can add these networks in the file /etc/ebox/80dns.conf with the option intnets=:
# Internal networks allowed to do recursive queries
# to Zentyal DNS caching server. Localnetworks are already
# allowed and this settings is intended to allow networks
# reachable through static routes.
# Example: intnets = 192.168.99.0/24,192.168.98.0/24
intnets =
And after restarting the DNS module the changes will be applied.
Zentyal’s DNS cache server will ask directly to the root DNS servers which server will provide an authoritative resolution for each DNS request and it will store them locally during the time period set in the TTL field. With this functionality we will be able to reduce the time required to start each network connection, increasing the speed for users and reducing the real traffic consumption to the Internet.
For the Zentyal server to use its own DNS cache server, which we just configured, we will go to Network ‣ DNS and set 127.0.0.1 as the first DNS server.
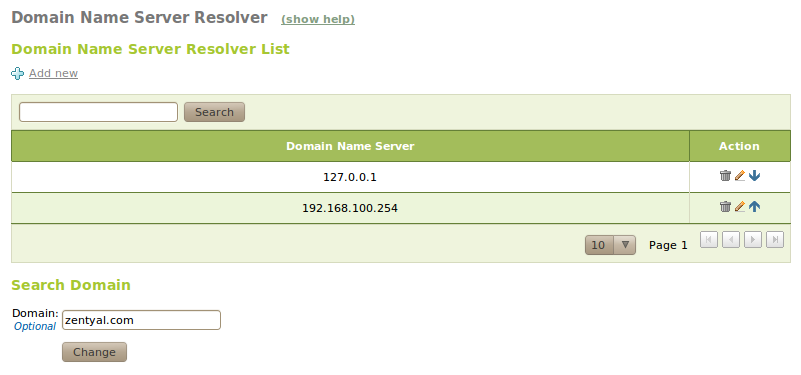
DNS configured as local cache
The search domain is basically a string that is added to the search in case it is not possible to solve the string that the user has requested. The search domain is set in the clients, but it can be provided automatically by DHCP, so that when the clients receive the initial network configuration, they can also receive these data. For example, our search domain could be foocorp.com and a user tries to access the host example; as it is not present among its known hosts, the name resolution will fail, so that the user’s operating system will automatically prove example.foocorp.com, resulting now in a successful name resolution.
In Network ‣ Diagnosis tools we have a tool for Resolución de Nombres de Dominio, which by using dig shows the details of a DNS query to the server we have set in Network ‣ DNS.
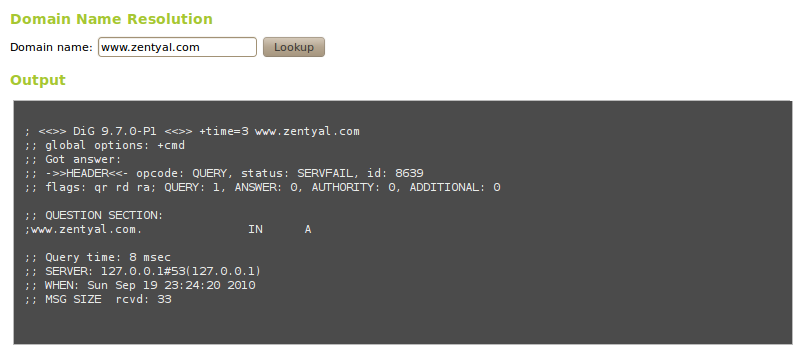
Domain name resolution using the DNS local cache
Configuration of an authoritative DNS server with Zentyal
In addition to DNS cache, Zentyal can act as an authoritative DNS server for a list of configured domains. As an authoritative server, it will respond to queries about these domains which are made both from internal and from external networks, so that not only local clients, but anyone can resolve these configured domains. As a cache server, it will respond only to queries from internal networks.
The configuration of this module is done via the menu DNS, where we can add as many domains and subdomains as we want.
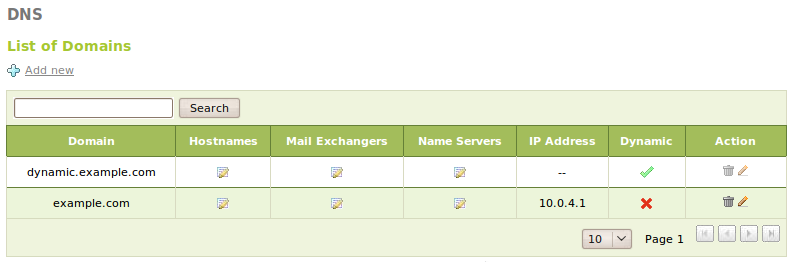
List of domains
To configure a new domain, we will display the form by clicking Add new. From this, you can configure the Domain name and optionally the IP address which will be referenced by the domain.
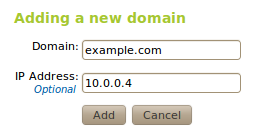
Adding a new domain
Once the domain has been created, we can define as many names as we want within it with the table Names. For each of these names Zentyal will automatically configure reverse resolution. Moreover, for each one of the names we can define as many Alias as we want.
Normally the names point to the host where the service is running and the aliases to the services hosted in it. For example, the host amy.zentyal.com has the aliases smtp.zentyal.com and mail.zentyal.com for mail services and the host rick.zentyal.com has the aliases www.zentyal.com and store.zentyal.com among others for web services.
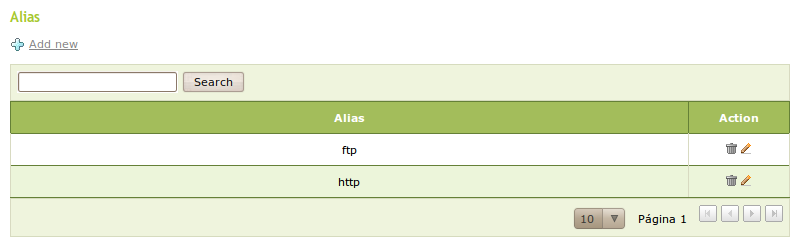
Adding a new alias
Additionally, we can define the mail servers responsible for receiving messages for each domain. In Mail exchangers we will choose a server from the list defined at Names or an external one. By Priority, we can set which of these servers will attempt to receive messages from other servers. If the preferred server fails, it will be tried with the next one in the list.
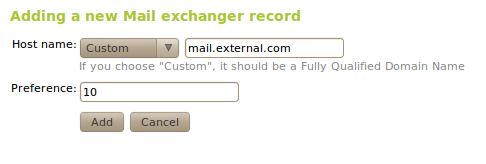
Adding a new mail exchanger
Moreover, we can also set NS records for each domain or subdomain using the table Name servers.
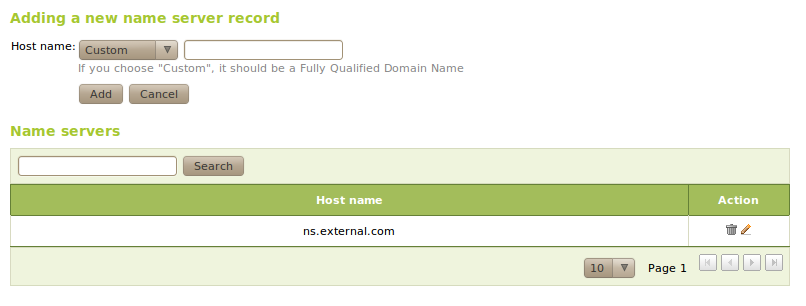
Adding a new name server
It should be mentioned that when you add a new domain, you can appreciate the presence of a field called Dynamic with a value set to false. A domain is set as dynamic when it is updated automatically by an external process without restarting the server. If a domain is set to dynamic it cannot be configured through the interface. In Zentyal, dynamic domains are automatically updated by DHCP with the names of the hosts that have been assigned an IP address, see Dynamic DNS updates.