Environments and custom Anaconda installers
This page explains the custom environments and installers created by Administrators and Superusers for users.
Administrators and Superusers can create custom environments for your users to access. These environments include specific packages and their dependencies. You can give your users access to these environments by creating custom Anaconda installers.
Users can view only the list of environments available to them.
Viewing environments
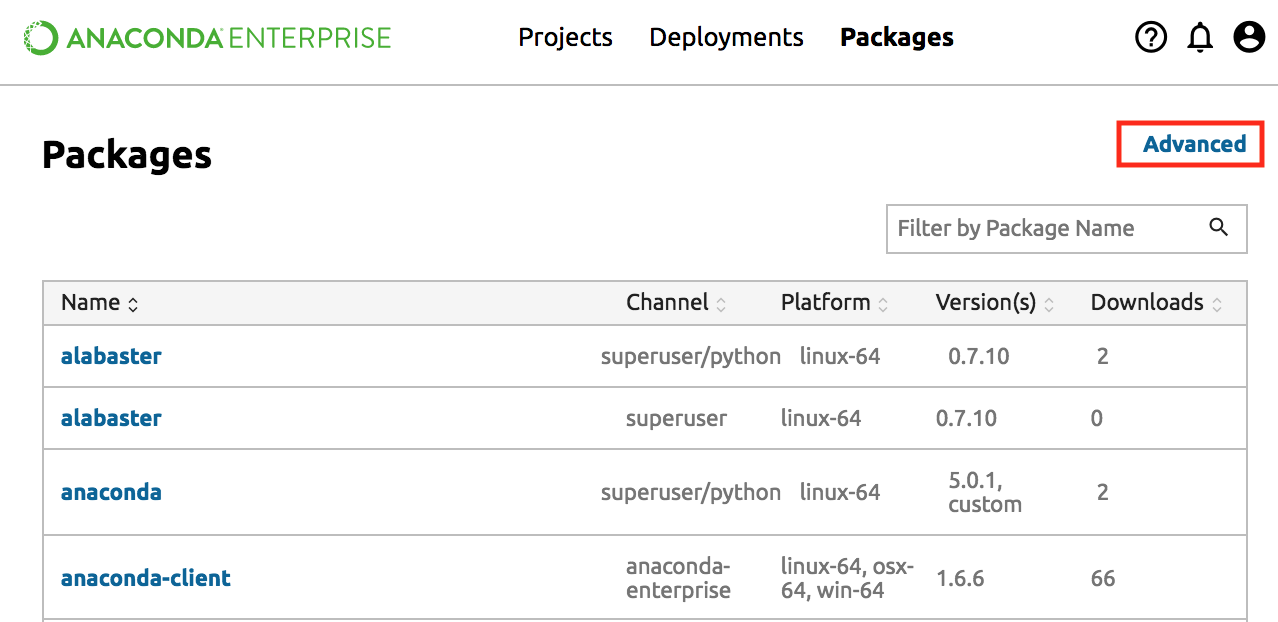
To see a list of environments and custom Anaconda installers available to you, from the top navigation select the Packages menu, then click the far right Advanced link.
Creating an environment
NOTE: See your Administrator if you need permissions to create new environments.
To start creating a new environment, click the top right New Environment button (+). This button is visible only to Superusers and above.
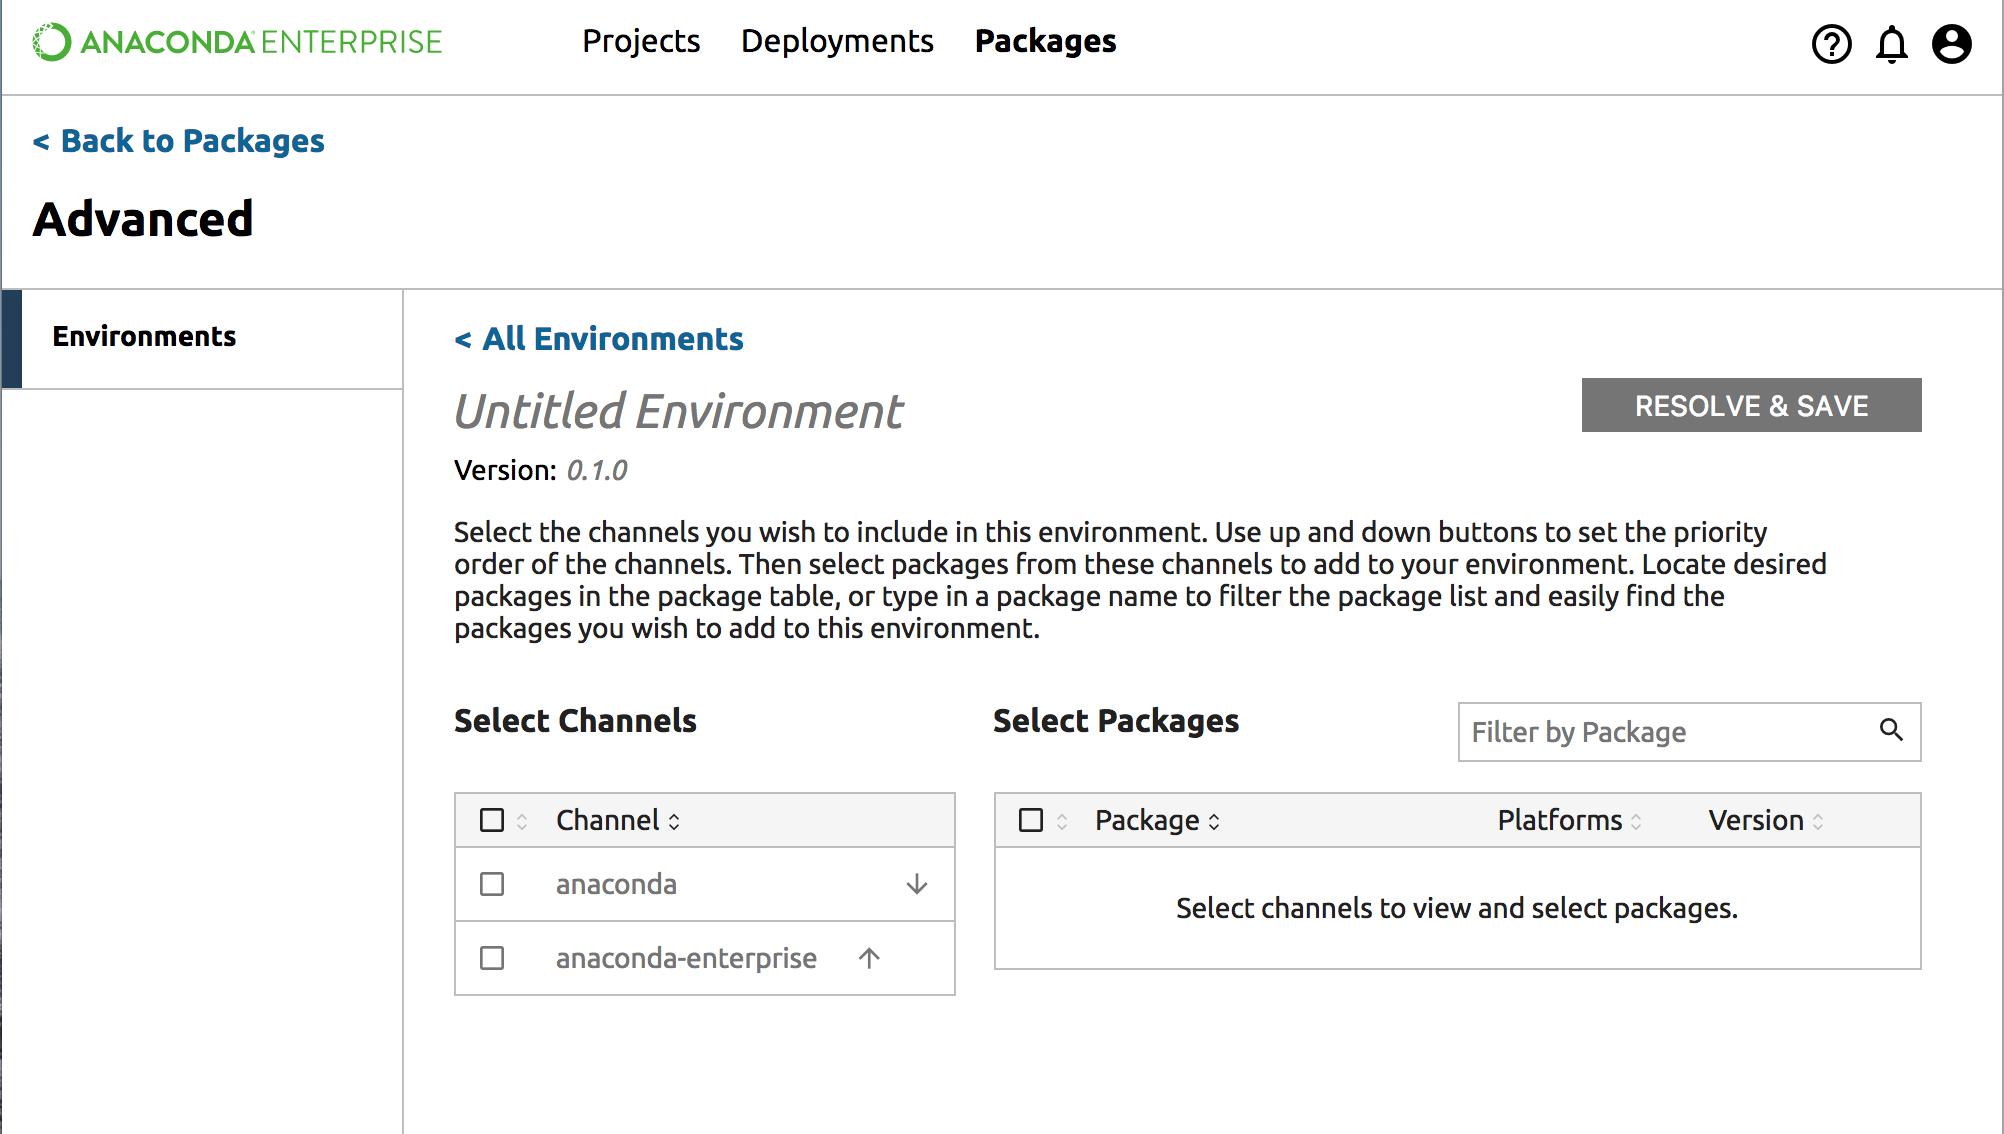
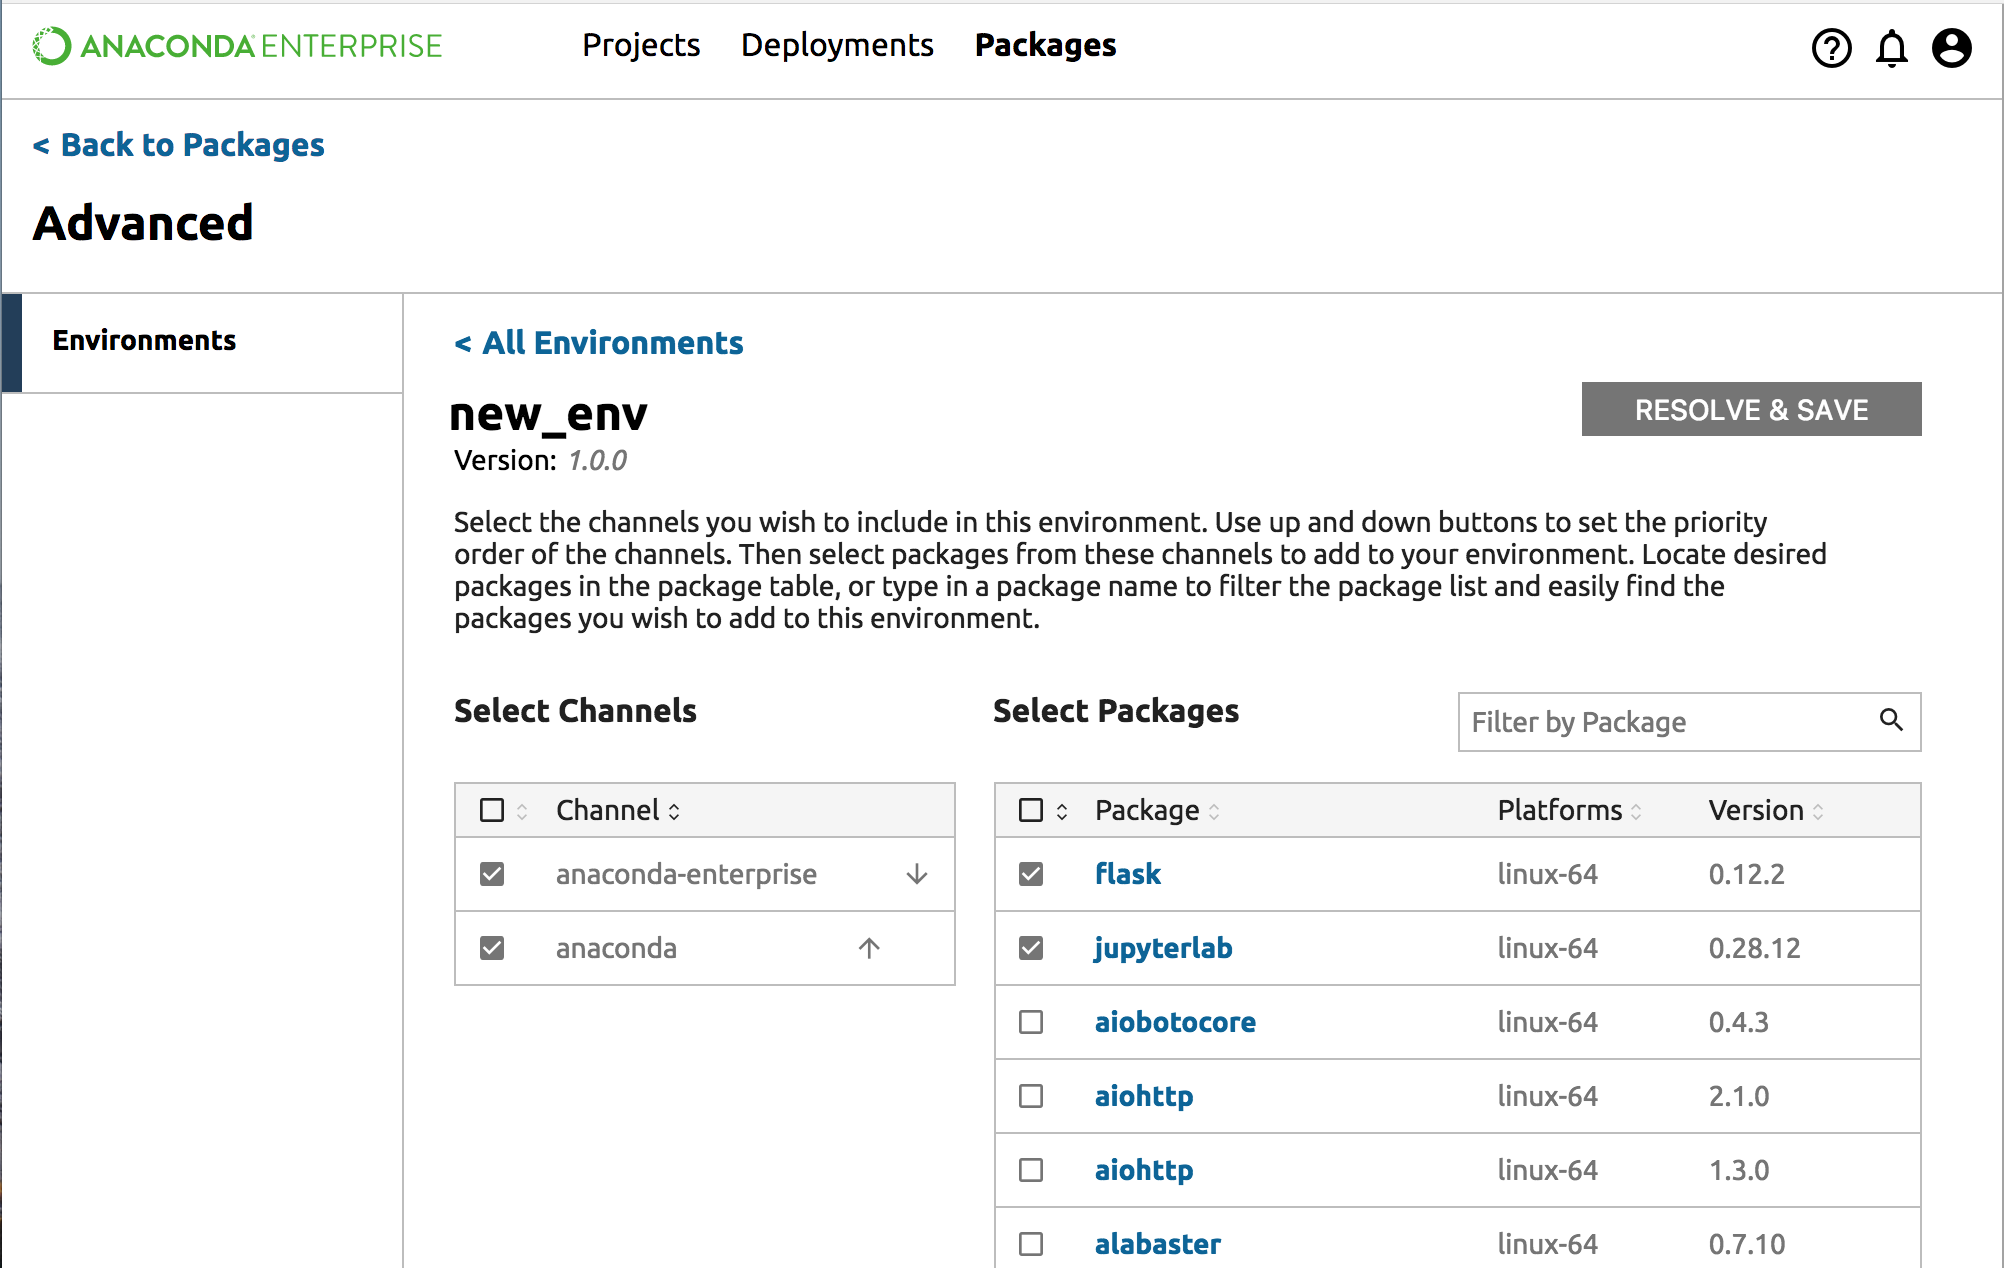
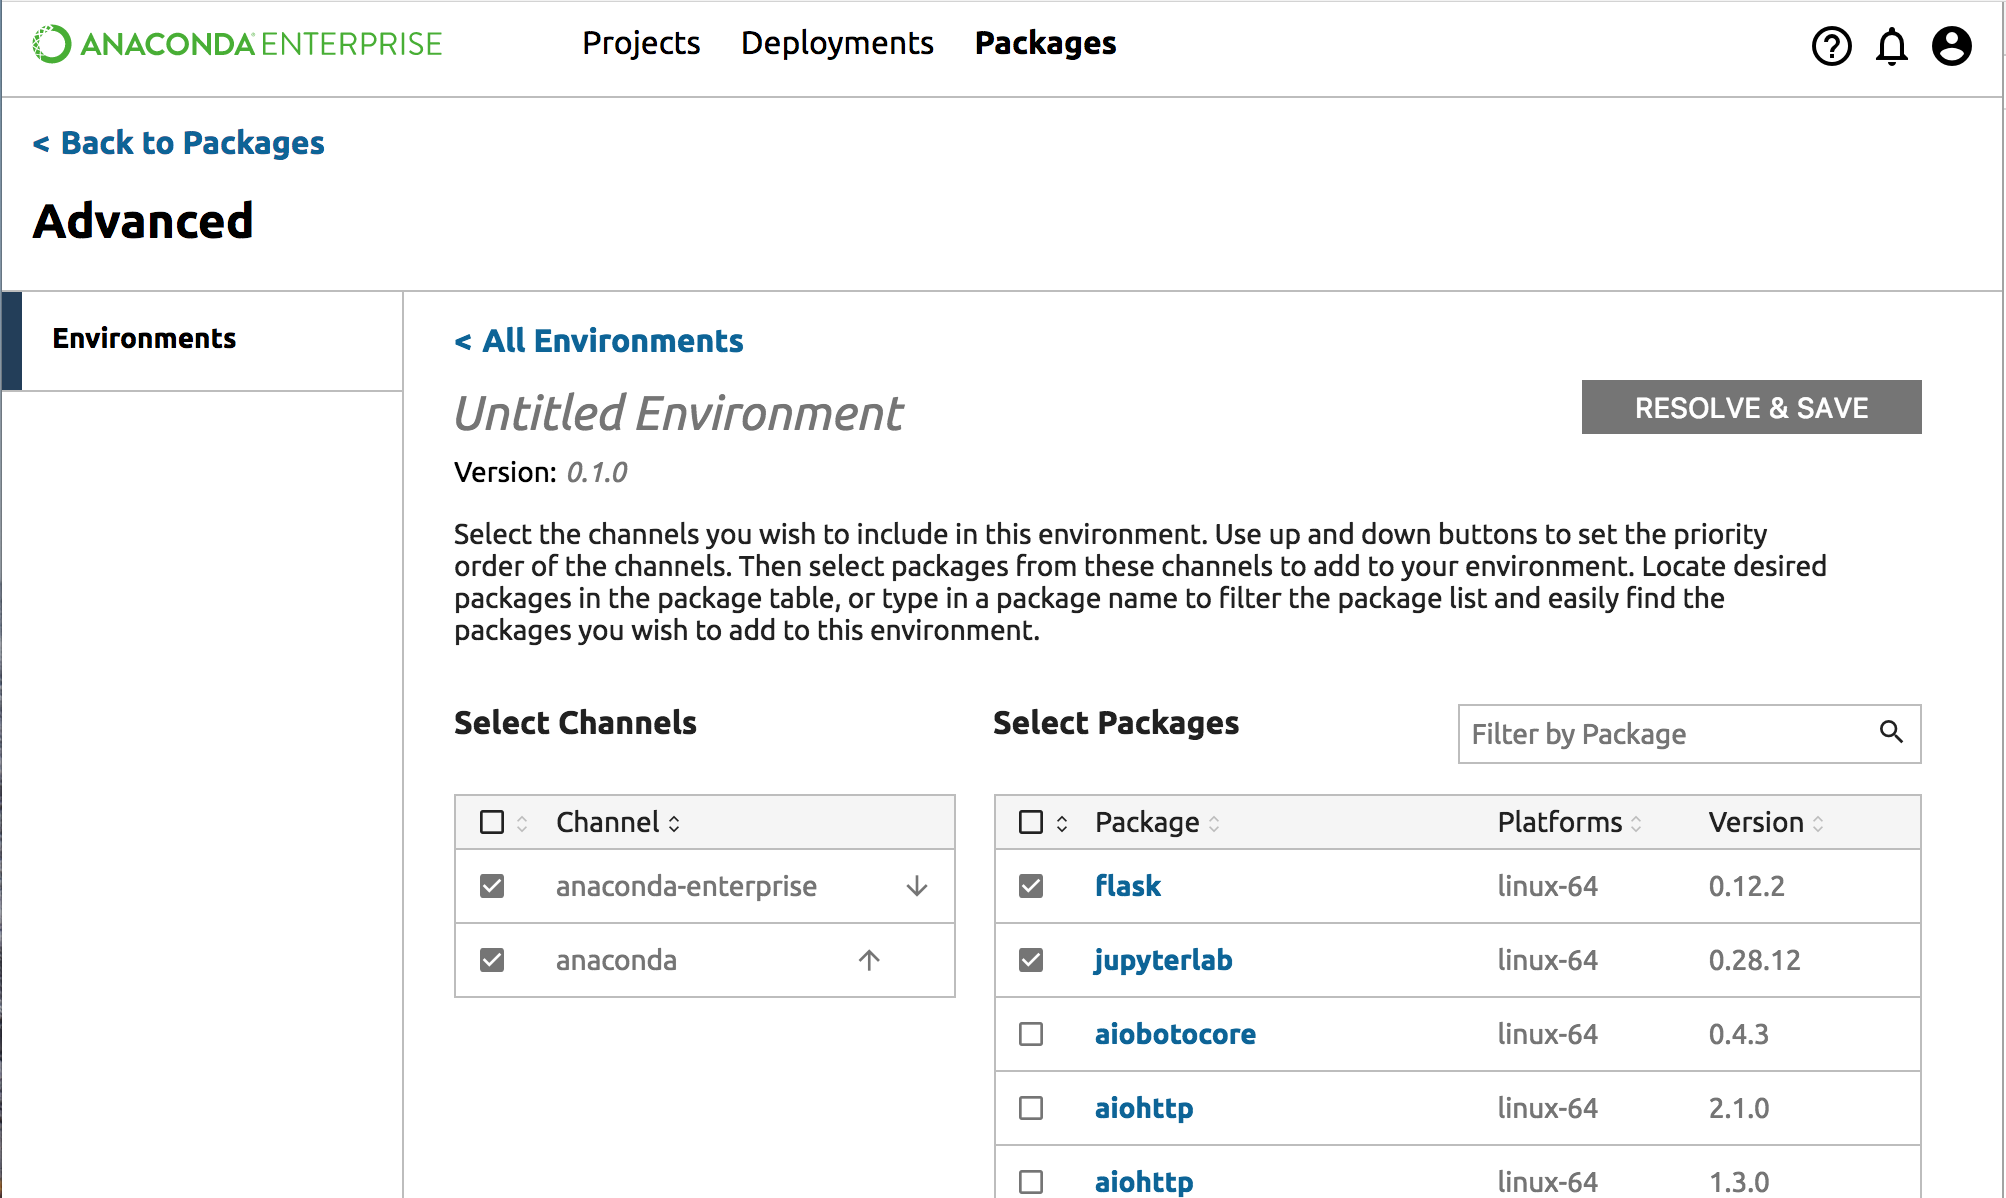
Give your new environment a name by editing the title area - where it says “Untitled Environment” - and optionally edit the version number.
Put a check in the box of any channels that you wish to use in this environment. Once a channel is selected, you can choose from packages available in that channel.
Select packages at specific versions from the package list. To see package descriptions, click on the package name in the list.

TIP: Use the up and down arrows to set the priority order of the channels.
TIP: Use the sort icon next to the checkbox to move all the selected packages to the top of the list.
Click the Resolve & Save button to resolve dependencies and save the environment.
As the environment packages are being resolved, you will see a dialog with a spinner and some information about the status of the process.
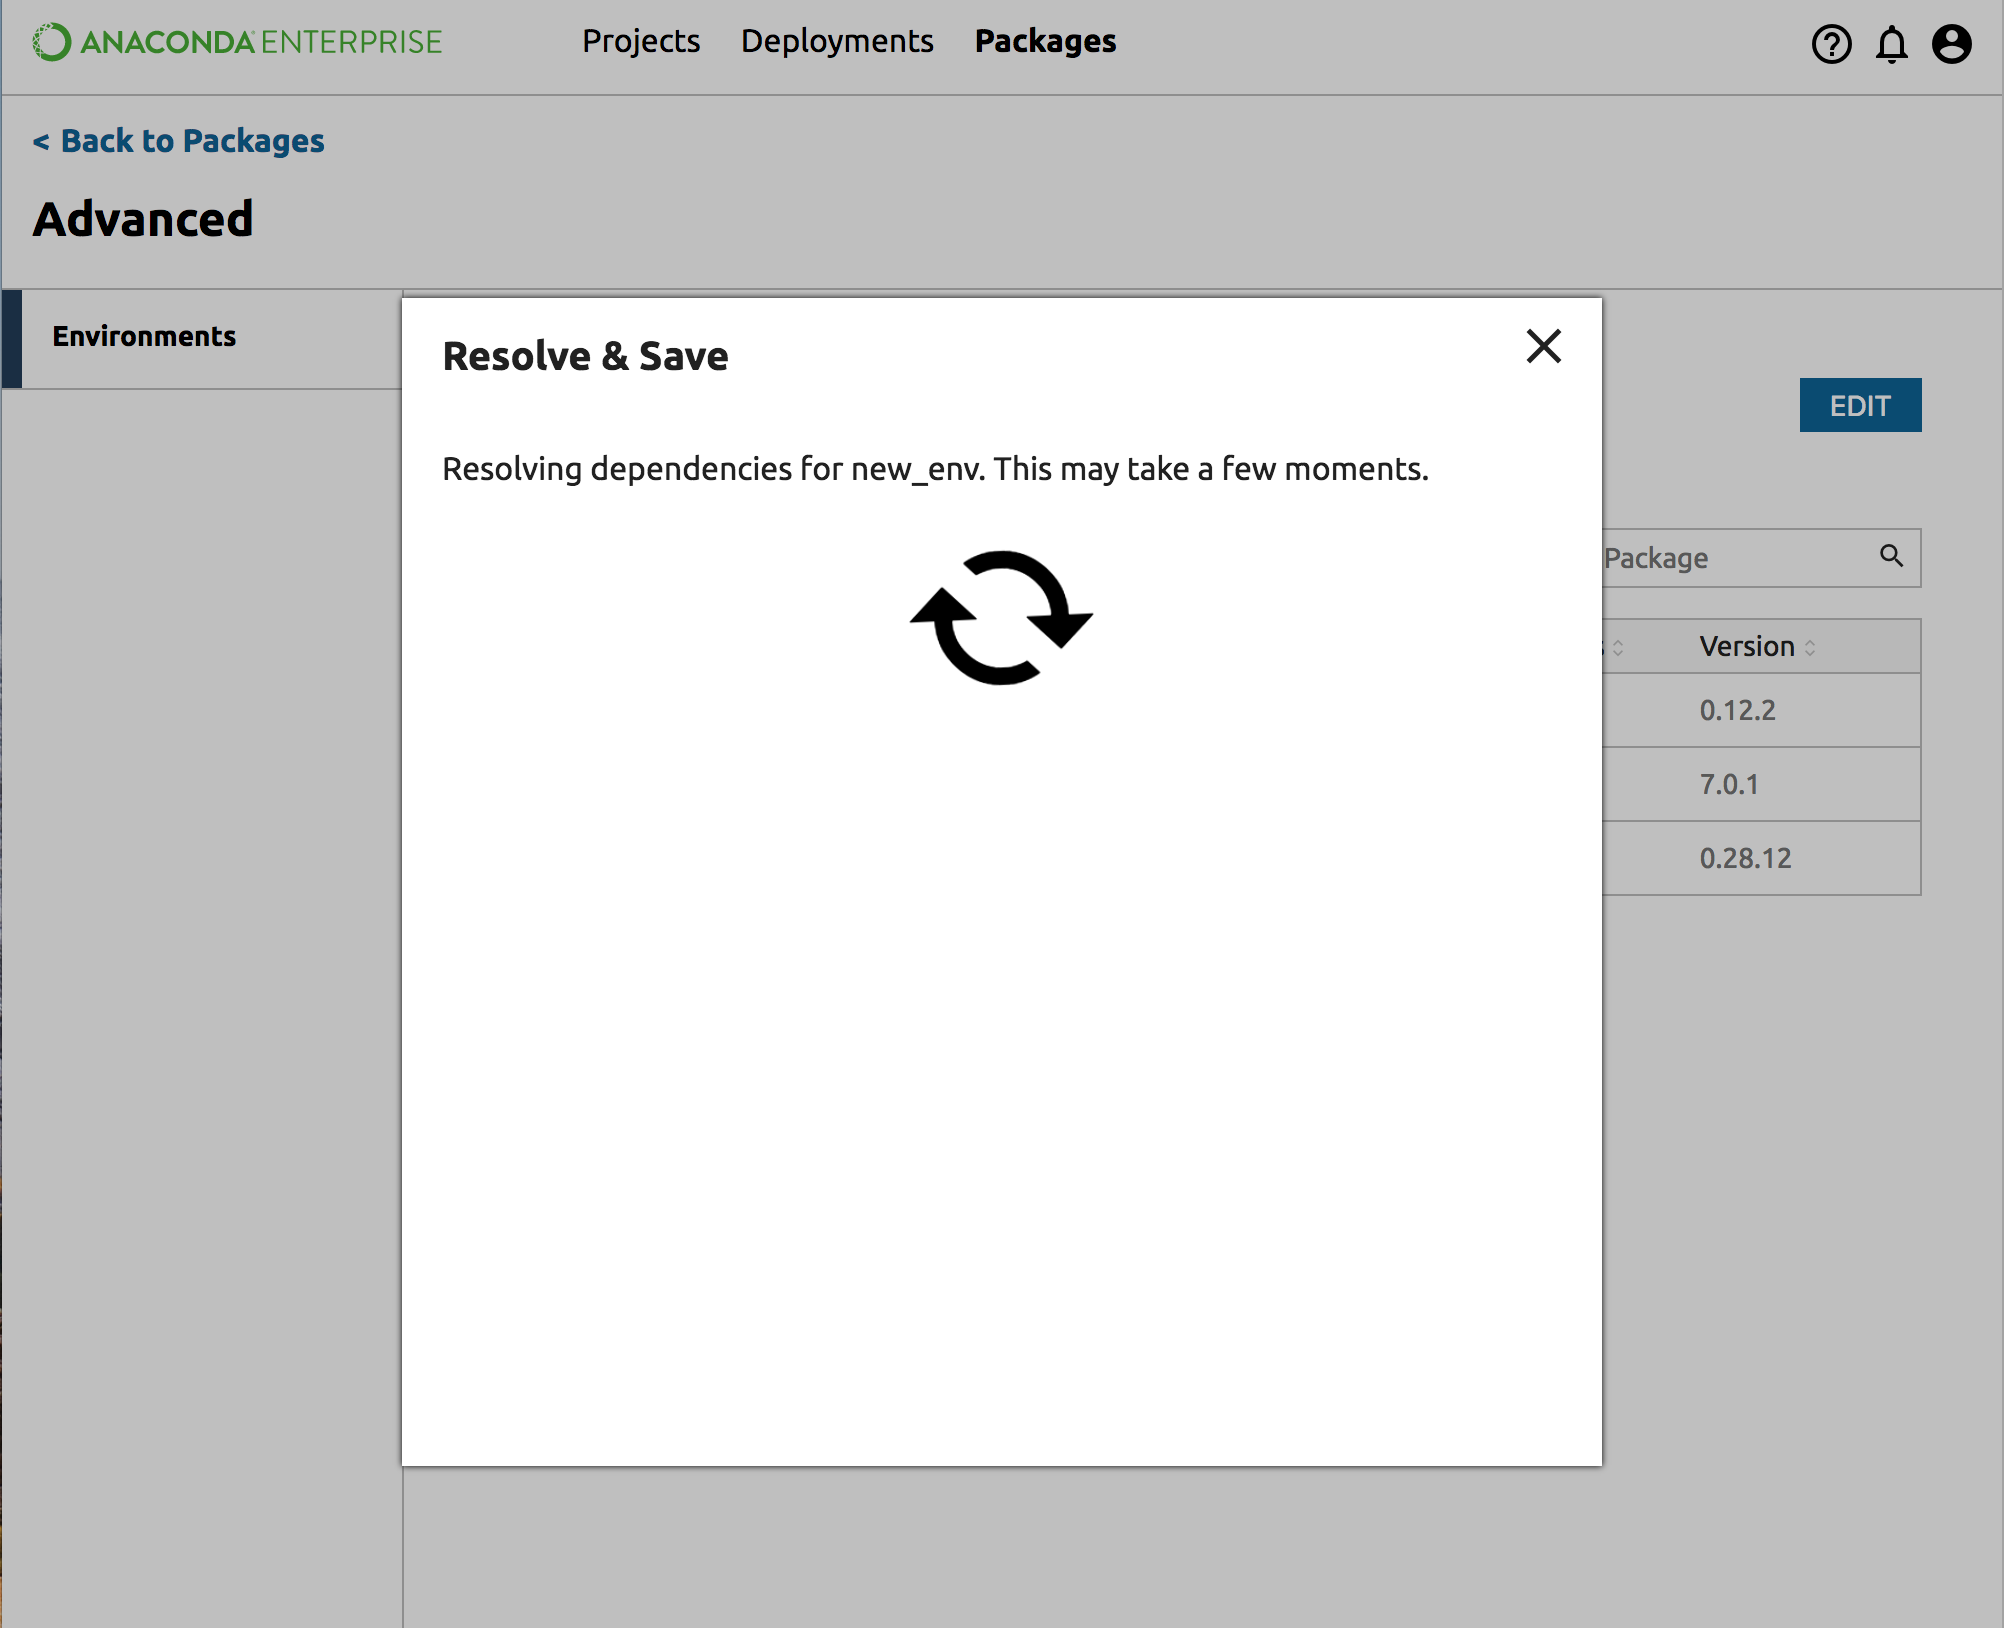
You can close this dialog if you prefer to wait for a notification. If you choose to close the dialog, you can view the environment detail:
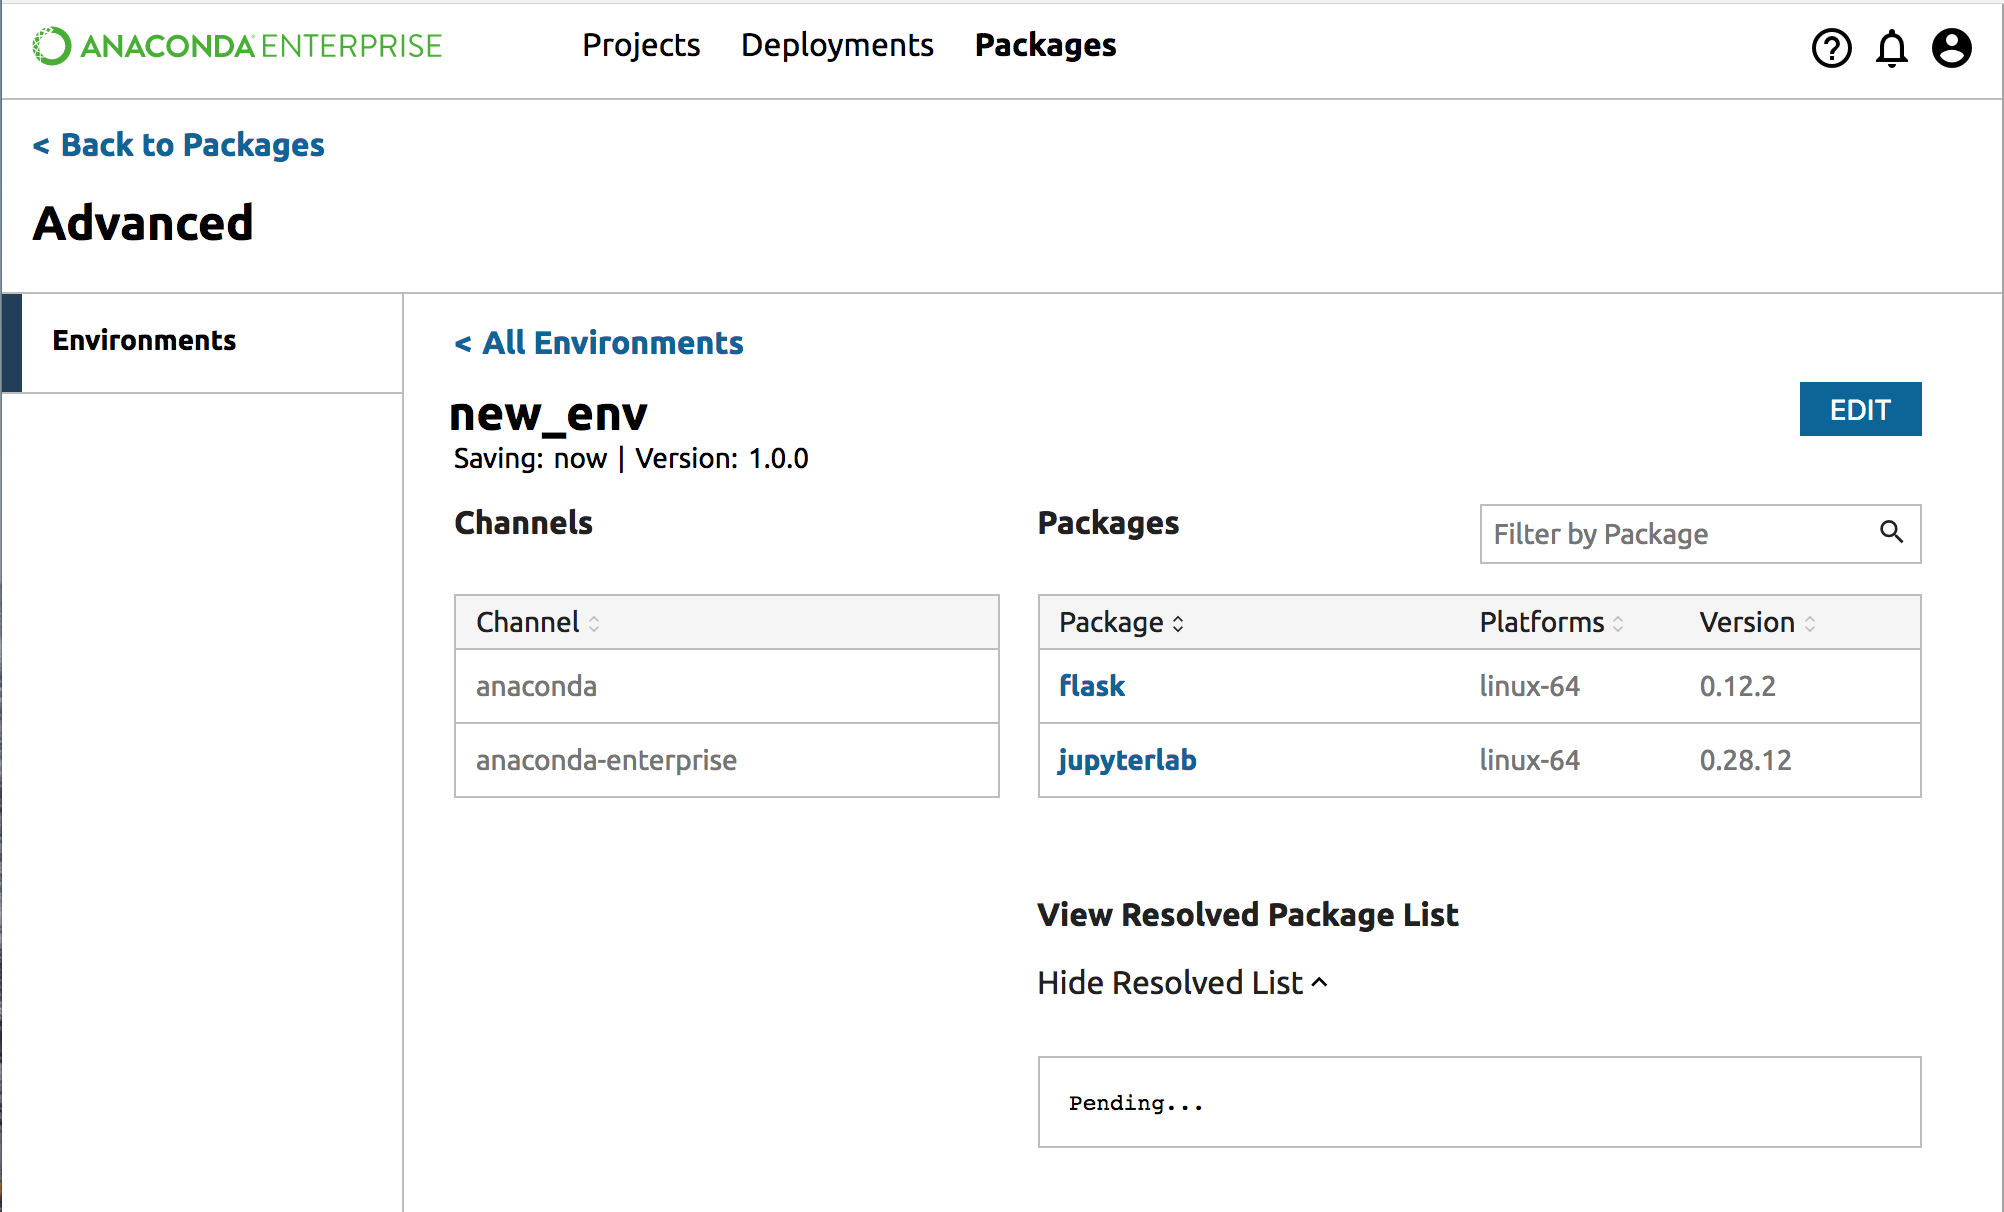
Note: If you return to the environments list you will see your new environment before it is fully saved. If you click on the name, you will also see the same detail view.
If there is an issue with the dependencies, the Resolve dialog will display the log.
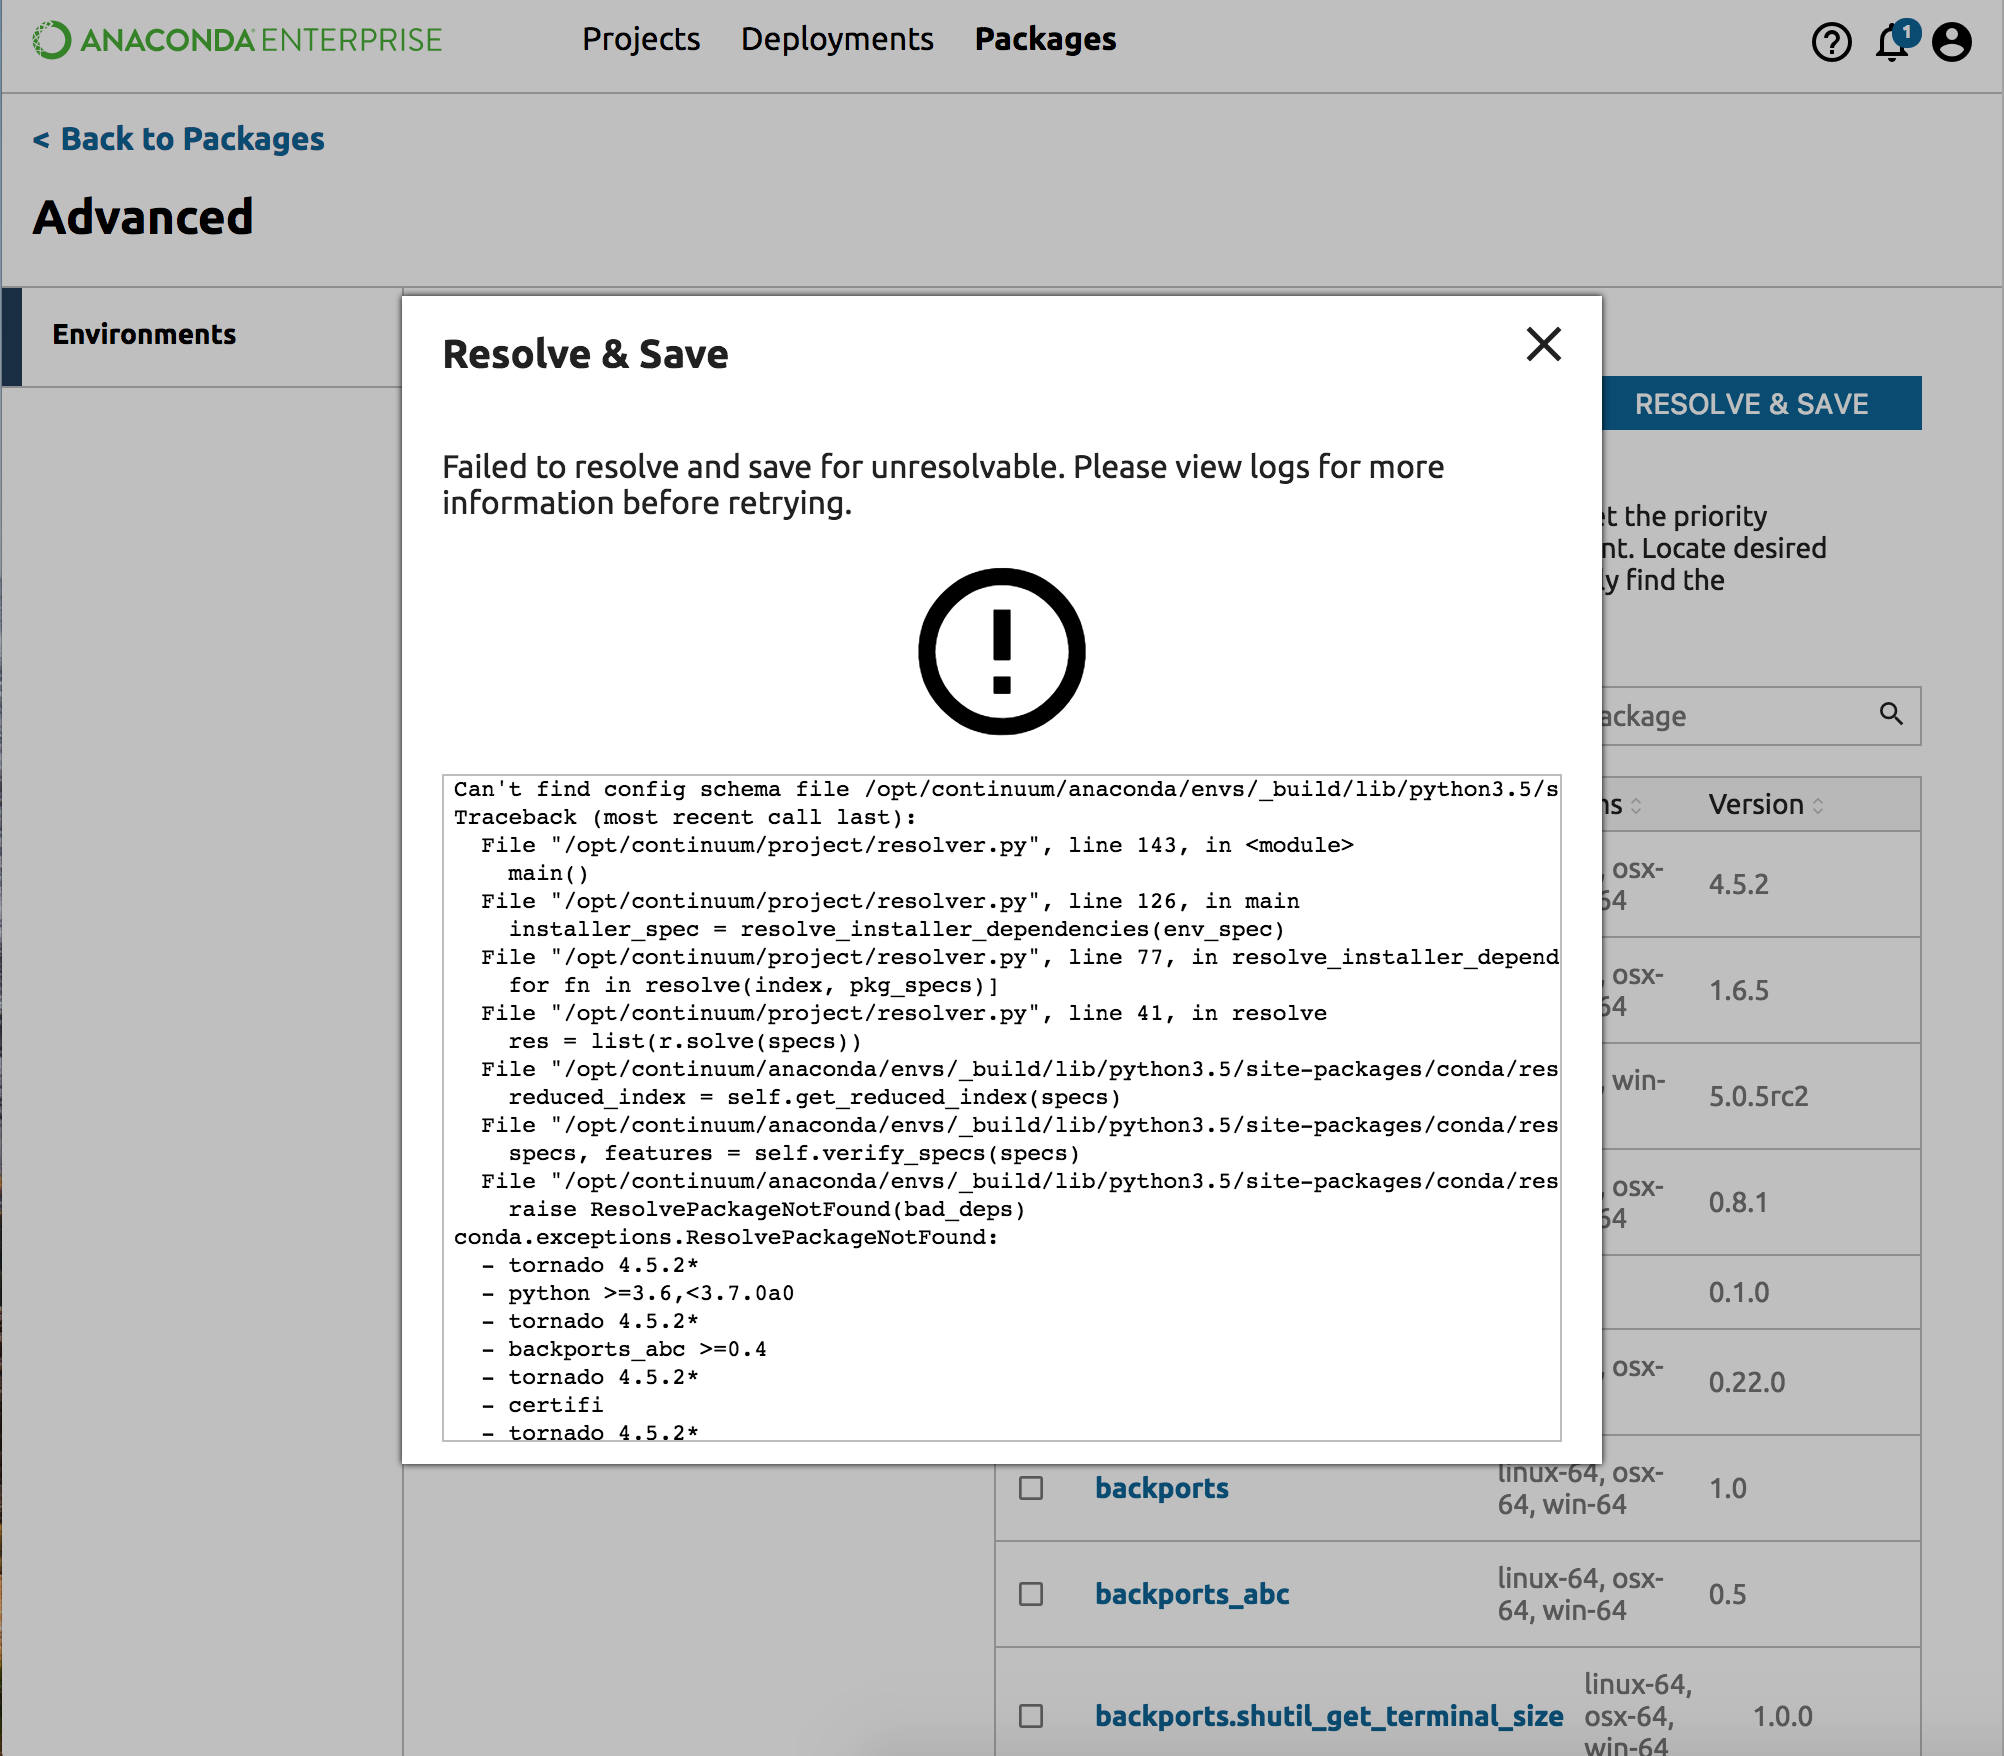
If the dialog is closed, a notification provides a link to the relevant logs:

To resolve the issue, review the log, then continue adding and removing packages from your environment before trying to Resolve and Save again.
Viewing an environment
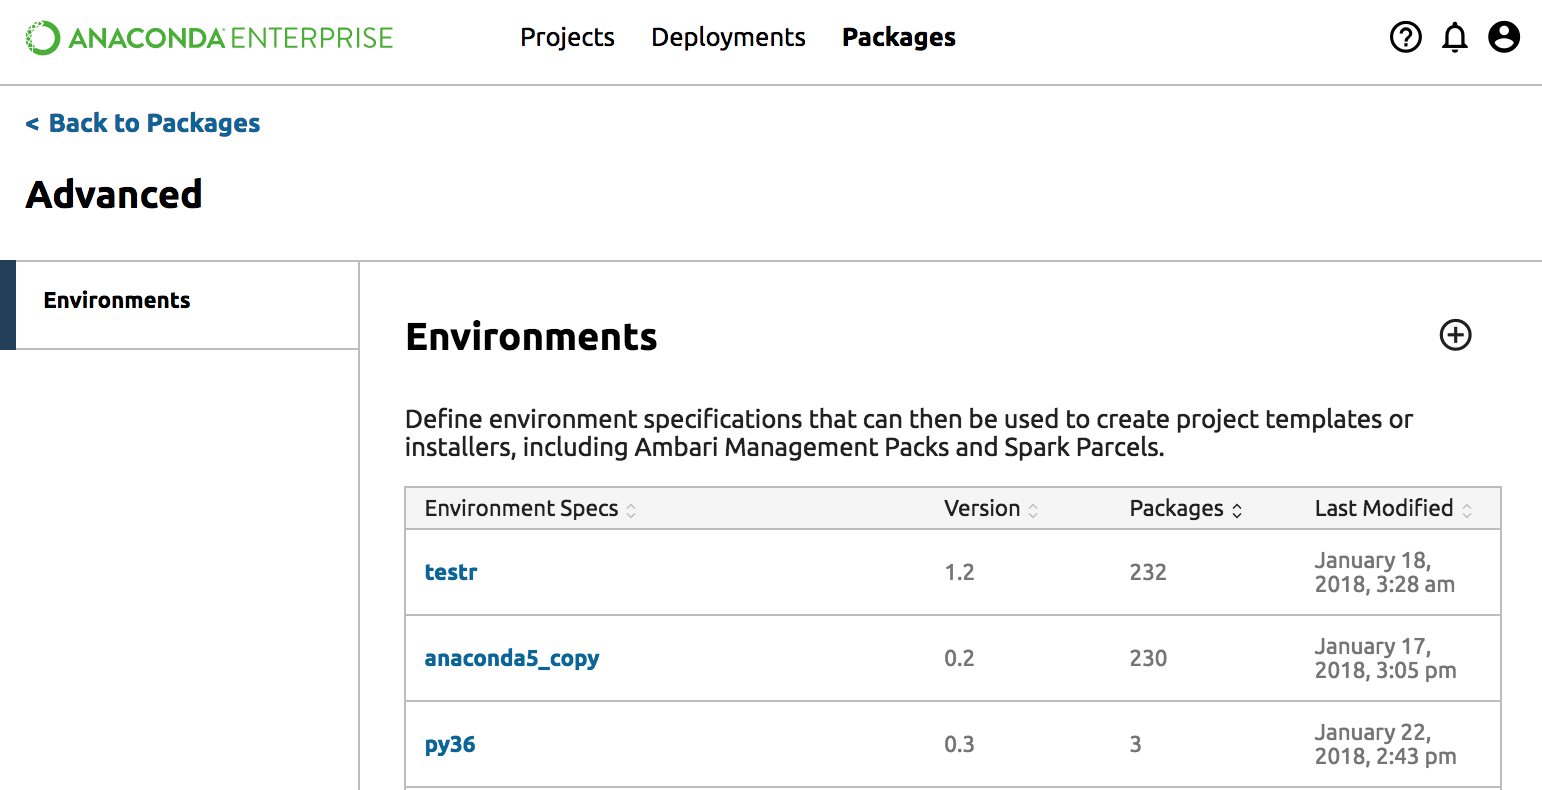
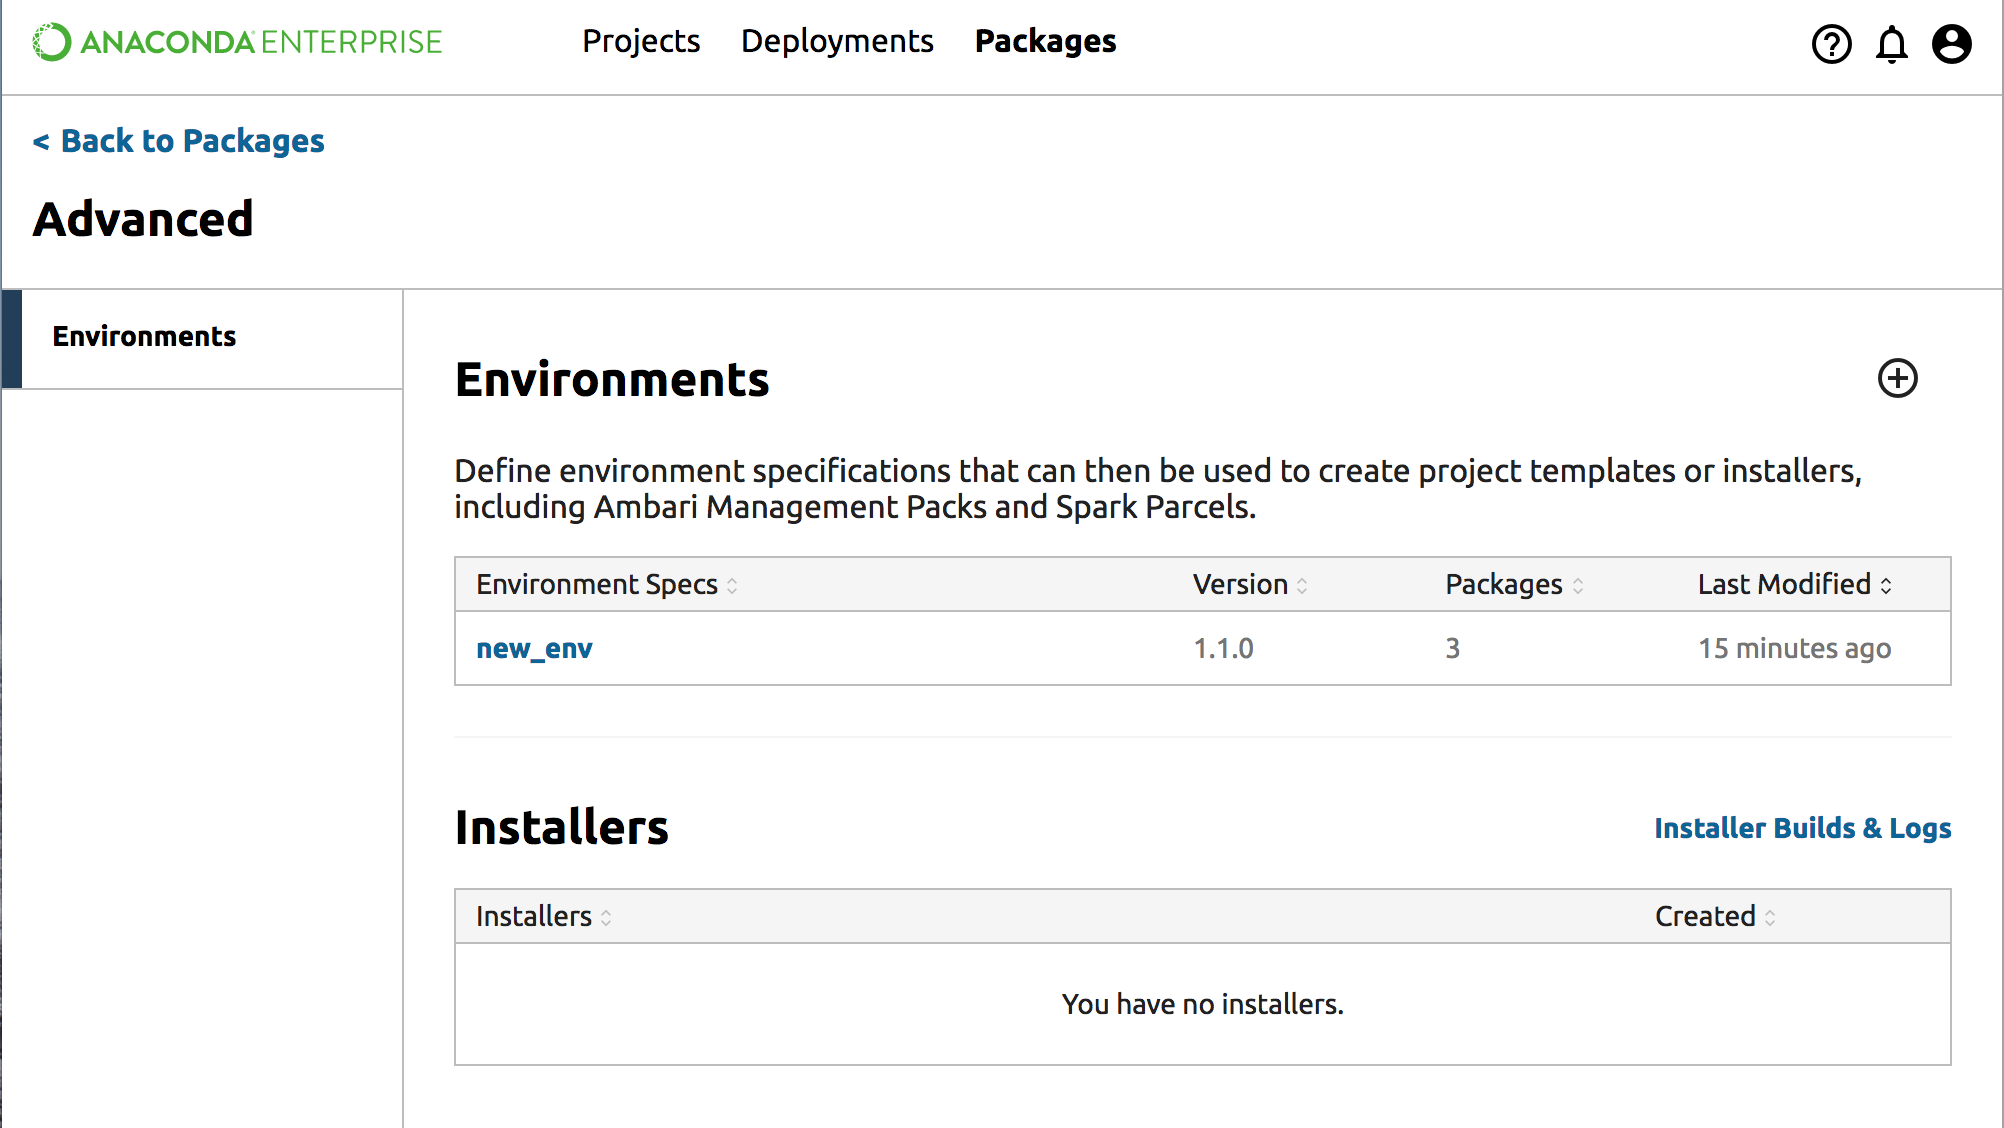
After you have successfully created an environment, it will appear in your environments list:
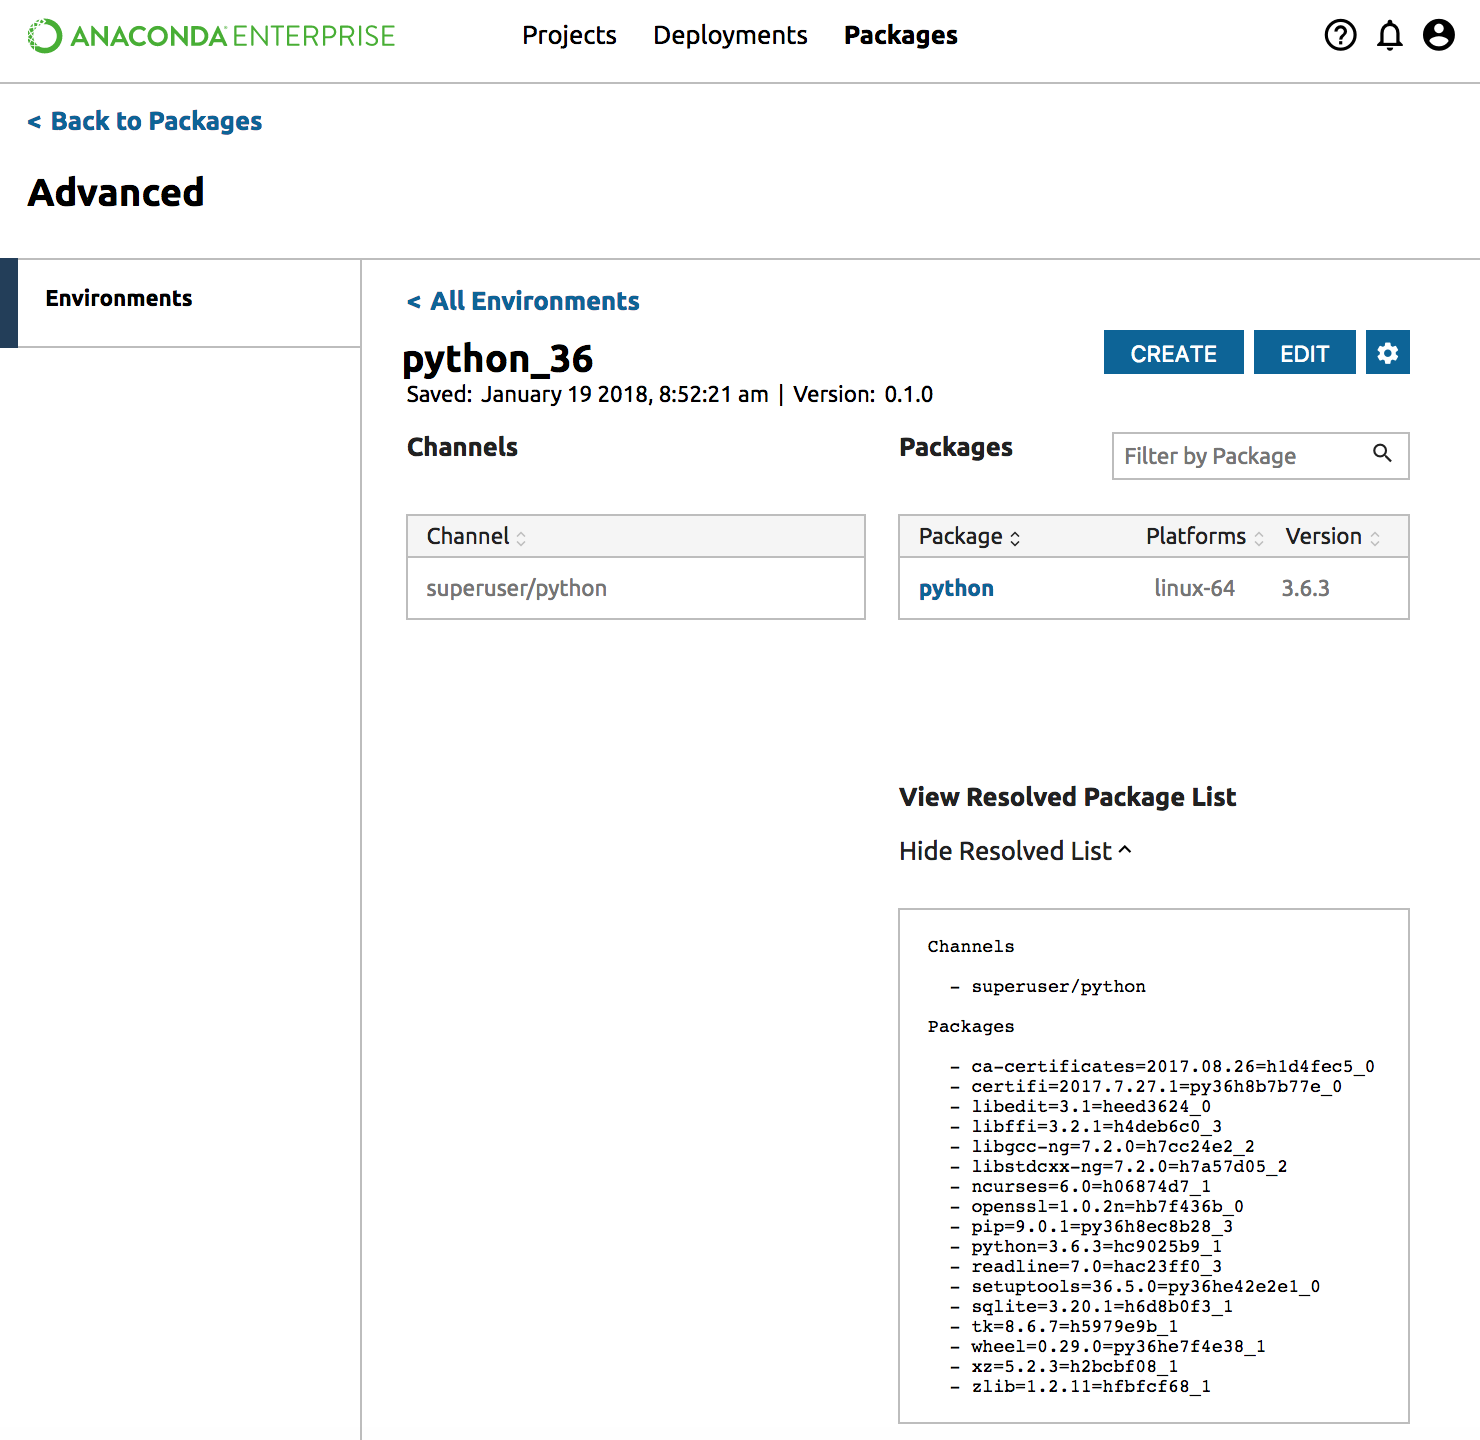
Click on the environment name to get to the environment detail view:
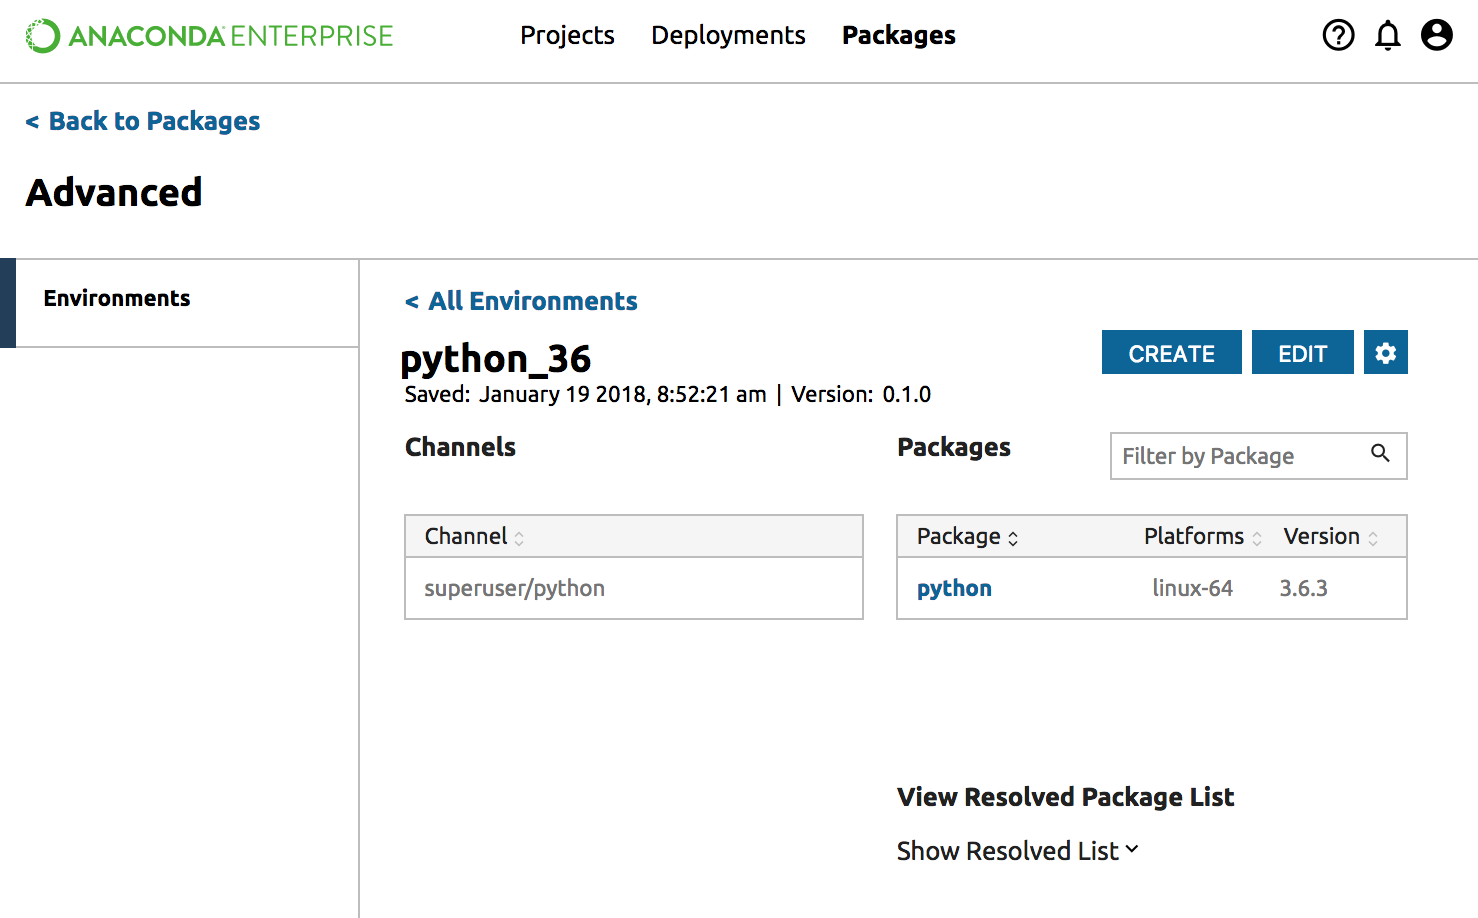
From this view, you can edit, copy or delete the environment and inspect details of the environment - such as differences between versions and resolved packages. You can also create custom Anaconda installers, custom Anaconda management packs and custom Anaconda parcels.
View resolved package list for an environment
From the environment detail view, you can see a list of resolved packages by clicking Show Resolved List under the list of packages.
View different versions of an environment
From the environment detail view, you can view different versions of your environment by clicking on the dropdown next to the version number:
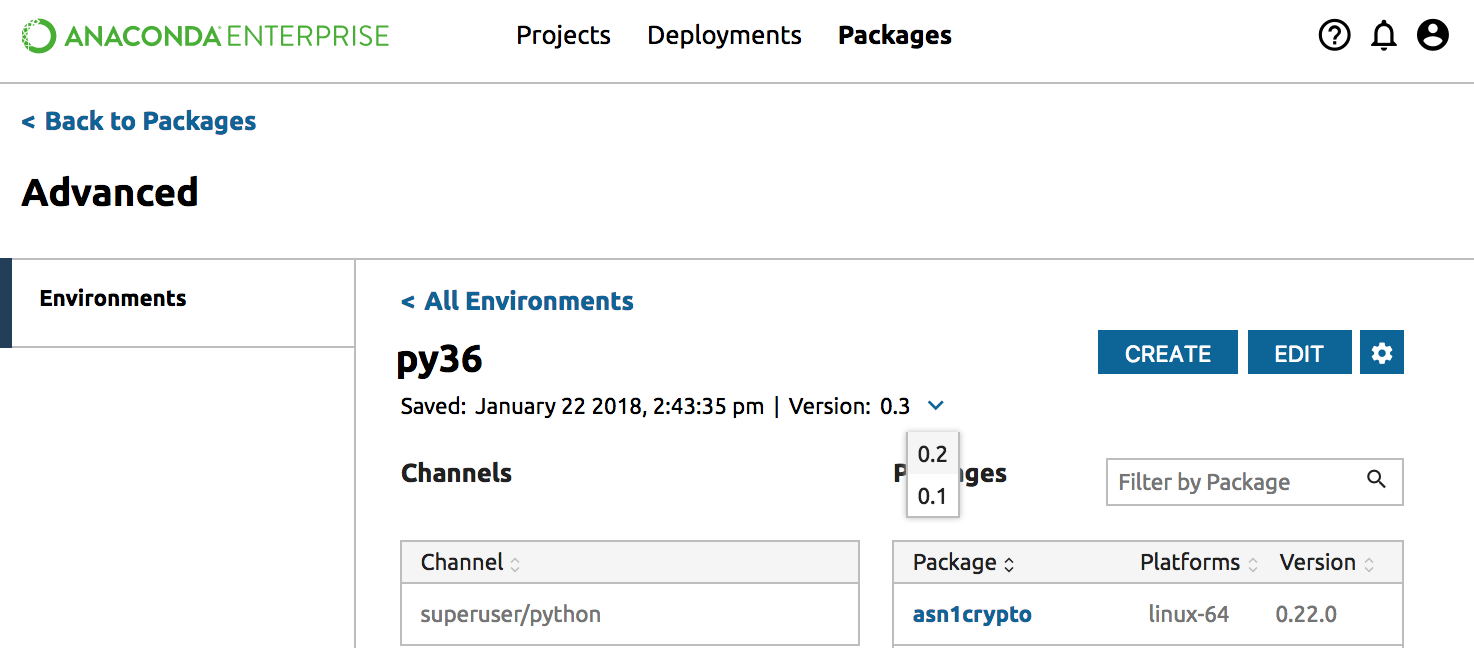
NOTE: If there are no other versions of the environment, there will not be a dropdown.
Editing an environment
To edit an existing environment and save a new version of it, on the environment detail view, click the Edit button. While editing you must change the version number.
You can also change the channels and packages included in the environment.
To save the new version, click Resolve and Save.
After the new version has been saved, the new version will appear in your environments list:
Copying an environment
To copy an environment, from the environment detail page, click the Gear icon and select Create Copy. When copying, you must choose a new name for the environment by typing in the “Untitled Environment” box. Environment names can contain alphanumeric characters and underscores only.
Choose a new version number by typing in the Version box. Select or unselect channels and packages that you wish to include.
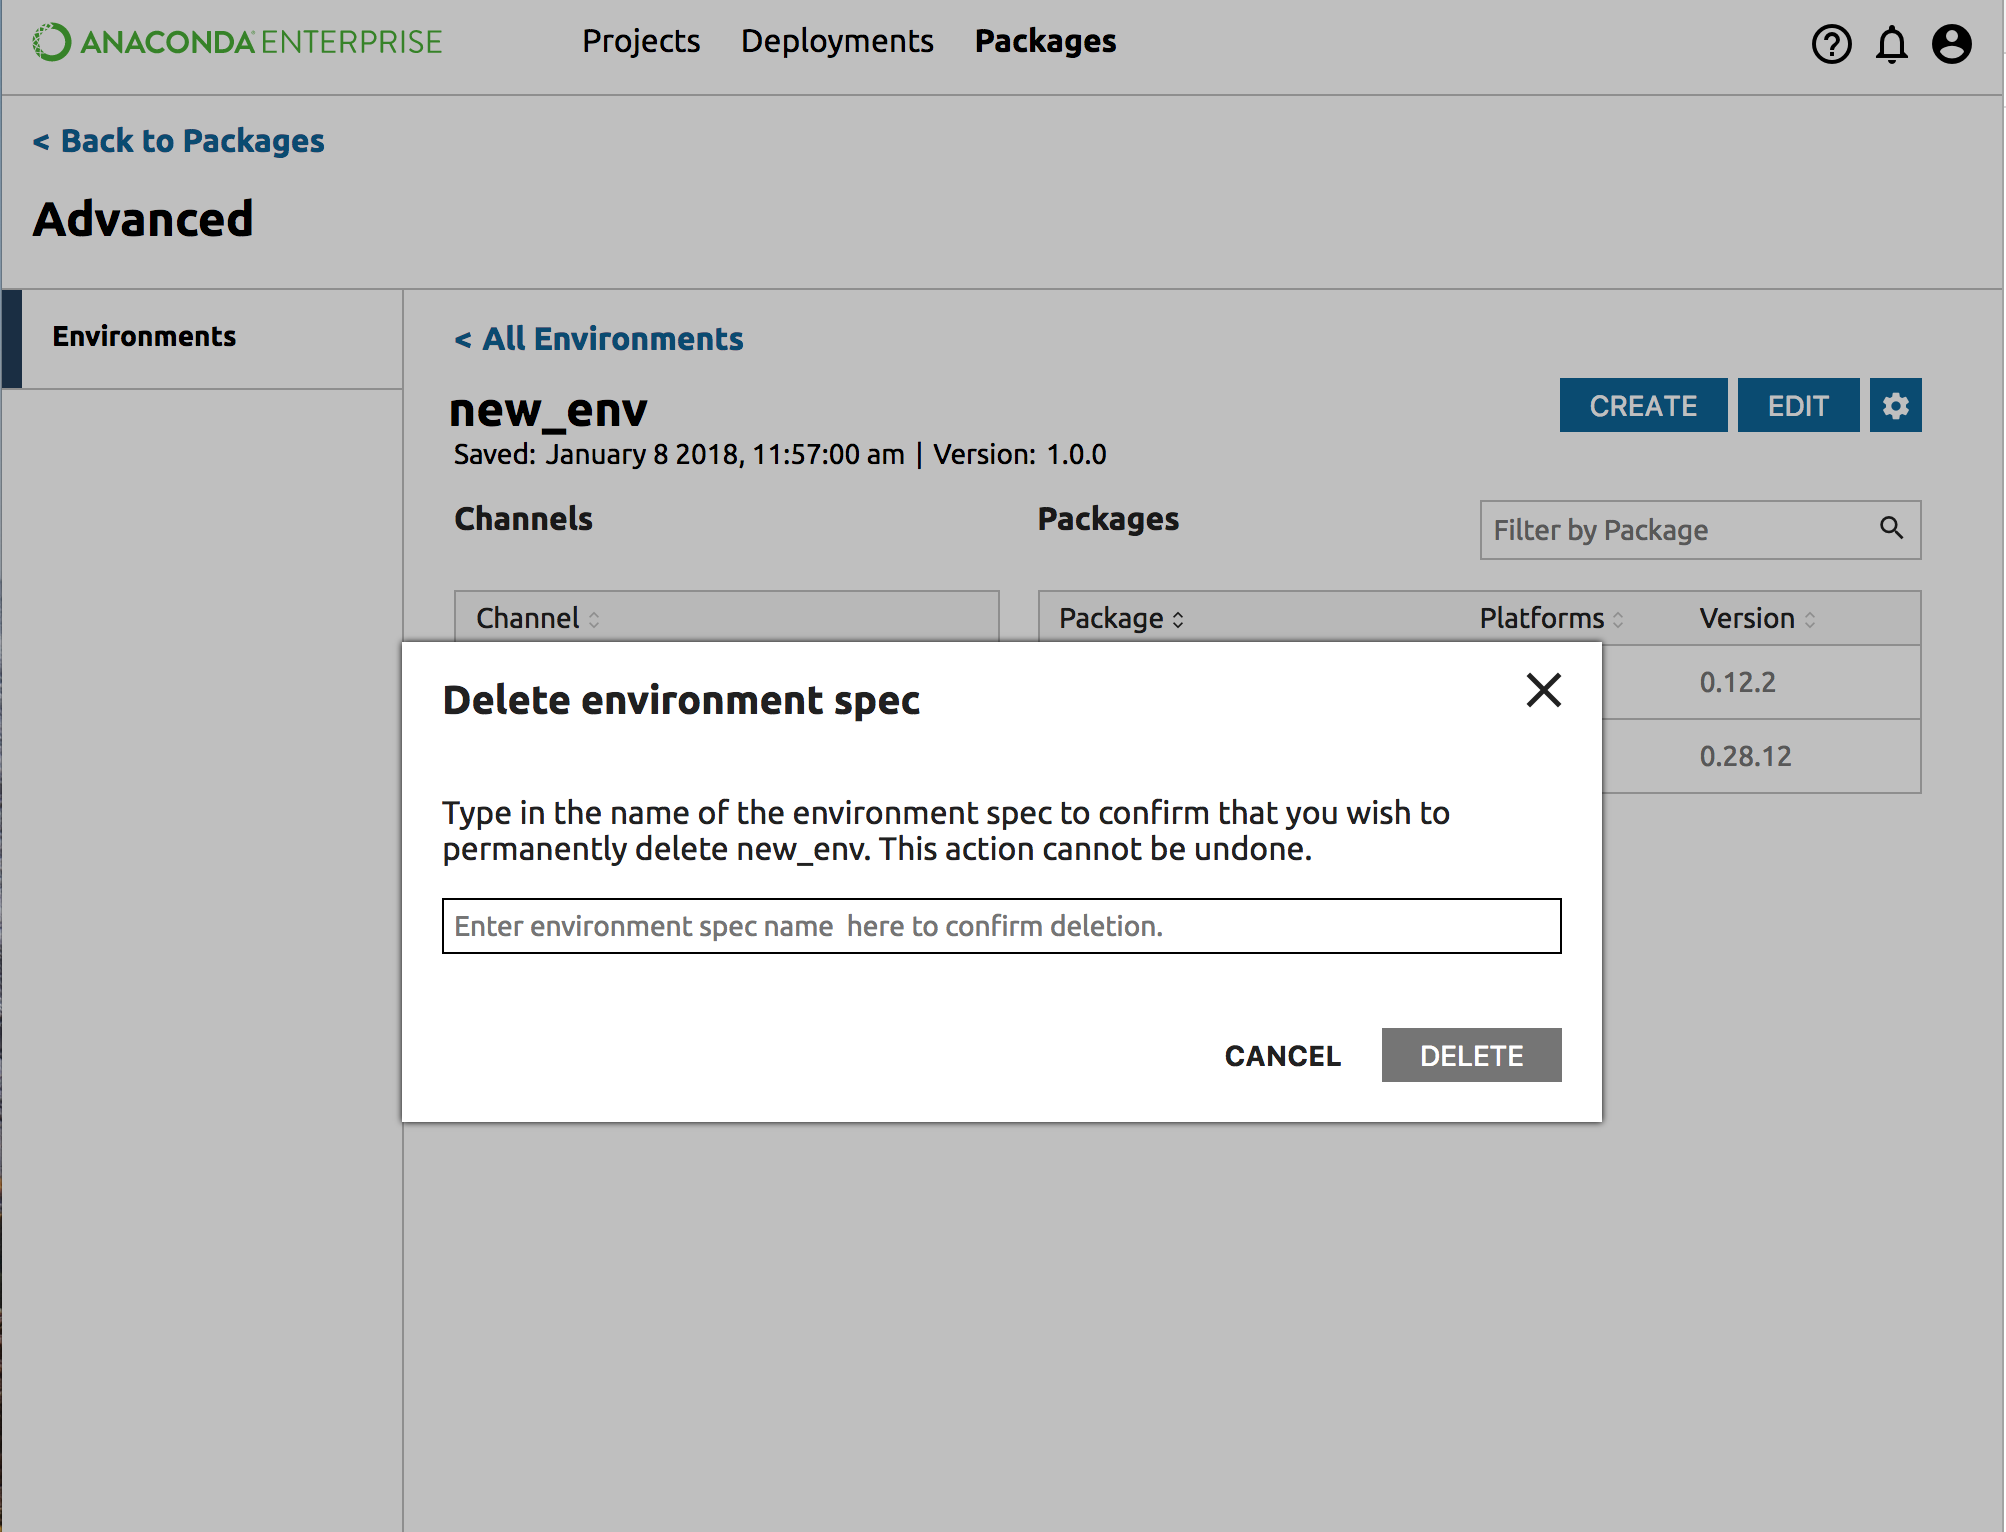
Deleting an environment
To delete an environment, from the environment detail page click the Gear icon and select Delete environment spec. You will be asked to verify the name of the environment before deletion by typing in the environment name. You can also copy/paste the name. When you have entered the name correctly, the delete button turns red. NOTE: There is no “Are you sure?” dialog box.
Creating custom Anaconda installers
Administrators and Superusers can create custom Anaconda installers for your users to access.
To create a custom Anaconda installer, custom Anaconda management pack, or custom Anaconda parcel for your users, first create a new environment.
Then from the environment detail view, click the Create button and select the type of installer that you would like to create:

Clicking on one of these options will create the installer. This process may take several minutes. You can stay in the dialog box, or close it and wait for a notification.
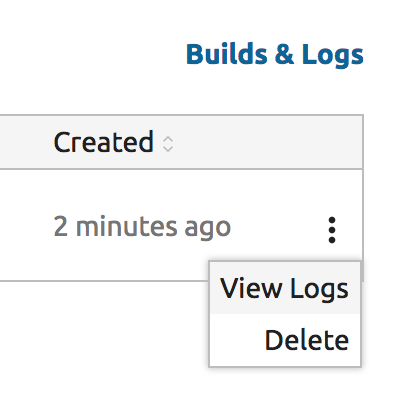
After the installer has been created, the new installer will appear in the custom Anaconda installers list:

You can use the More Actions icon (three vertical dots) to delete the installer or view the relevant logs:
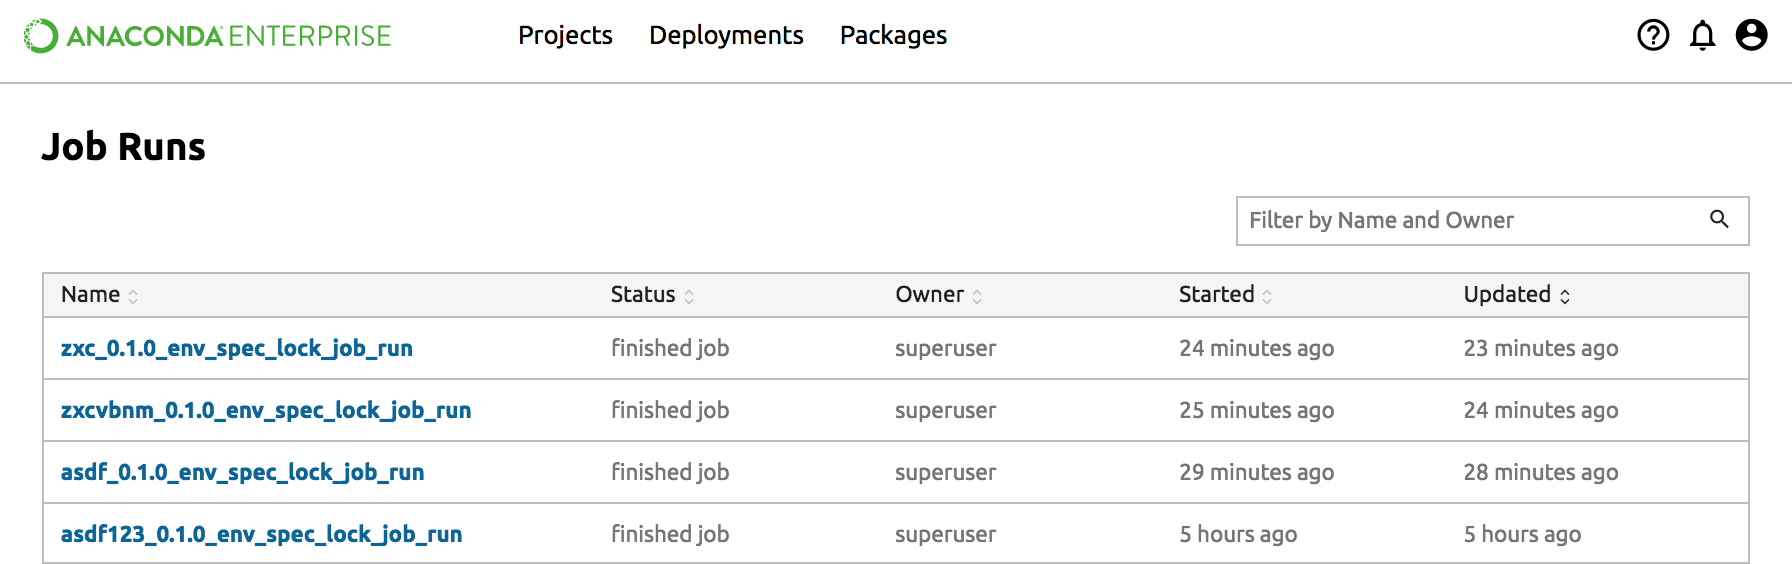
Viewing Builds & Logs
You can view the logs from building environments and custom Anaconda installers from the Builds & Logs link at the top right of the custom Anaconda installers list.
This link will give you access to running jobs (and the ability to terminate them), as well as failed and successful job runs.