Relevant to Blender v2.31
The Noise function allows you to displace vertices in meshes based on the grey-values of a texture applied to it. That way you can generate great landscapes or carve text into meshes.
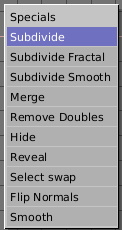
Add a plane and subdivide it at least five times with the special menu
WKEY>>Subdivide (Figure 7.44, “Subdivide tool”).
Now add a material and assign a Clouds texture to it.
Adjust the NoiseSize: to 0.500.
Choose white as the color for the material and black as the texture color,
to give us good contrast for the noise operation.
Ensure that you are in EditMode and that all vertices are selected, then
switch to the Editing Context F9.
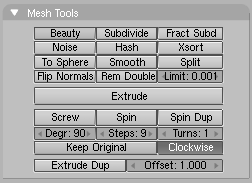
Press the Noise button in the Mesh Tools
Panel (Figure 7.45, “Noise button in EditButtons”)
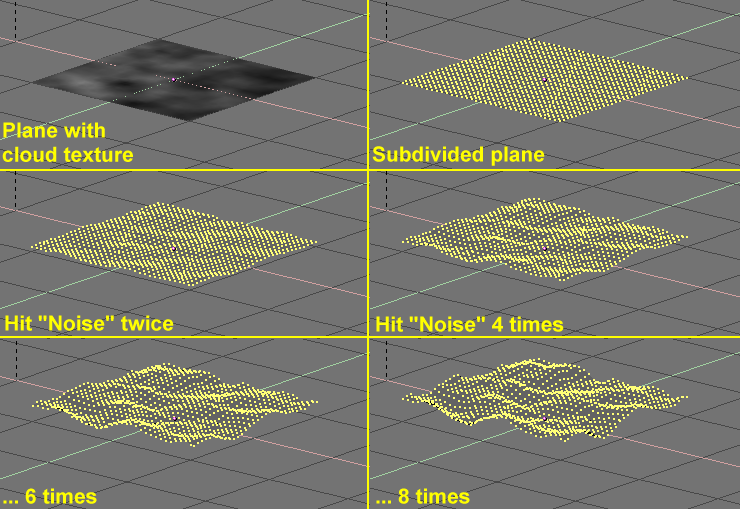
several times until the landscape looks nice. Figure 7.46, “Noise application process. From top left to bottom right: Plane
with texture, sub-divided plane, "Noise" button hit 2, 4, 6 and 8 times.”
shows the original - textured - plane as well as what happens as you press Noise.
Remove the texture from the landscape now
because it will disturb the look. Then add some
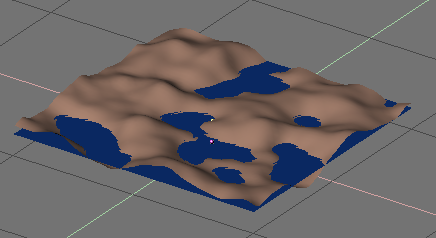
lights, some water, set smooth and SubSurf the terrain, and so on.
(Figure 7.47, “Noise generated landscape”).
Note
The noise displacement always occurs along the mesh's z coordinate, which is along the direction of the z axis of the Object local reference.


