Jetty
| Installation of Jetty |
| Installation of CloverETL Server |
| Configuration of CloverETL Server on Jetty |
![[Important]](figures/important.png) | Important |
|---|---|
See Application Server in system requirements for currently supported Jetty versions and required Java versions. If you encounter any problems during the installation, the Possible Issues during Installation section may provide a solution. |
Installation of Jetty
Download the Jetty release from the official download page.
CloverETL Server is developed and tested with the Jetty 6.x.x and 9.x.x containers. Running the Server with other versions may result in unpredictable behavior.
Extract the downloaded archive (
ziportar.gz).Run Jetty.
Unix-like systems:
Run
[Jetty_home]/bin/jetty.sh start
Windows system:
Run the
[Jetty_home]\java -jar start.jar --execcommand in Windows command prompt.
Check whether Jetty is running.
Open a new tab in your browser and type http://localhost:8080/ in the address bar.
![[Note]](figures/note.png)
Note Since the
clover.warfile is not yet implemented, you may see the Error 404 - Not found status code (see the figure below). However, it means that the server is running.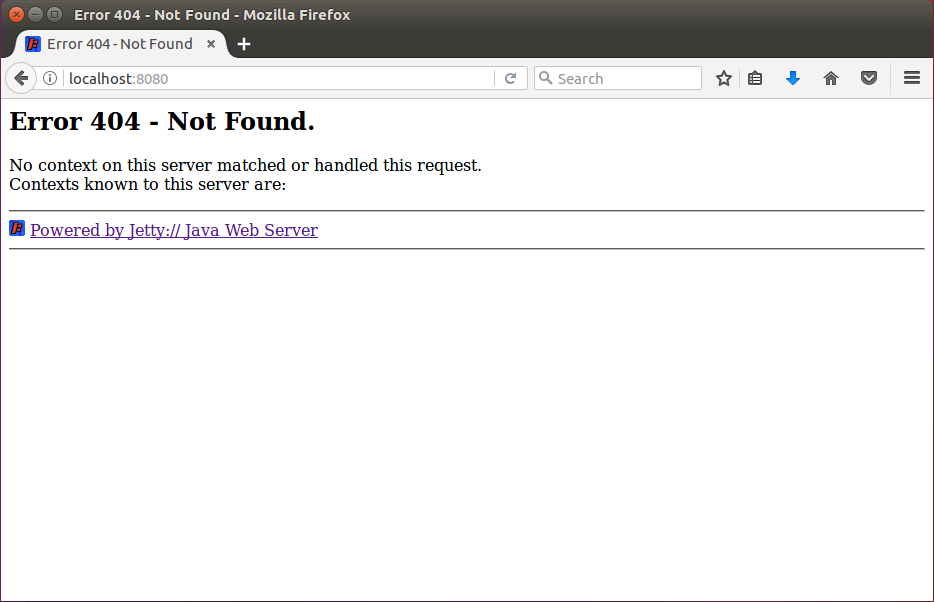
Figure 3.4. Jetty welcome page
Installation of CloverETL Server
Check if you meet the prerequisites:
Oracle JDK or JRE is installed (see Java Virtual Machine for the required Java version).
JAVA_HOME or JRE_HOME environmental variable is set.
A supported version of Jetty is installed.
It is strongly recommended to adjust the default limits for Memory allocation (see the Memory Settings section).
You can set the minimum and maximum memory heap size by adjusting the "Xms" and "Xmx" JVM parameters and classloaders memory limit by adjusting the "XX:MaxMetaspaceSize" parameter:
- Unix-like systems:
Edit the
[Jetty_home]/bin/jetty.shfile.Type or paste the following line at the end of the file:
JAVA_OPTIONS='$JAVA_OPTIONS -Xms128m -Xmx1024m -XX:MaxMetaspaceSize=256m'
- Windows system:
Edit the
[Jetty_home]\start.inifile.Type or paste the following line at the end of the file:
JAVA_OPTIONS='$JAVA_OPTIONS -Xms128m -Xmx1024m -XX:MaxMetaspaceSize=256m'
Important If you use Java 7, change
-XX:MaxMetaspaceSizeto-XX:MaxPermSize.- Unix-like systems:
Go to the download section of your CloverETL account and download the
clover.war(web archive) file containing CloverETL Server for Jetty.Copy
clover.warto the[Jetty_home]/webappsdirectory.Run Jetty.
Unix-like systems:
Run
[Jetty_home]/bin/jetty.sh start
Windows system:
Run the
[Jetty_home]\java -jar start.jar --execcommand in Windows command prompt.
Check whether CloverETL Server is running:
Open a new tab in your browser and type http://localhost:8080/clover/ in the address bar.
Use the default administrator credentials to access the web GUI: username: clover, password: clover.
Configuration of CloverETL Server on Jetty
![[Tip]](figures/tip.png) | Tip |
|---|---|
| Default installation (without any configuration) is only recommended for evaluation purposes. For production use, at least a dedicated database and SMTP server configuration is recommended. |
For detailed configuration of CloverETL Server, use a properties file. Here you can configure various properties, including the connection to the database, username and password, path to the license file, private properties, number of active threads, clusters and much more (see Chapter 9, List of Properties and Chapter 30, Cluster Configuration). The file can be placed either on a default, or specified location.
Content of such a file (example with MySQL database):
jdbc.driverClassName=com.mysql.jdbc.Driver
jdbc.url=jdbc:mysql://127.0.0.1:3306/clover?useUnicode=true&characterEncoding=utf8
jdbc.username=yourUsername
jdbc.password=yourPassword
jdbc.dialect=org.hibernate.dialect.MySQLDialect
| Note |
|---|---|
JDBC Driver must be JDBC 4 compliant and stored in the |
Properties file in Specified Location
The properties file is loaded from a location which is specified by the environment/system property
clover_config_file or clover.config.file. This is a recommended way of configuring Jetty.
Create the
cloverServer.propertiesfile in a directory readable by Jetty. (If you need an example of connection to any of supported databases, see Chapter 8, Examples of DB Connection Configuration.)Unix-like systems:
Edit the
[Jetty_home]/bin/jetty.shfile.Set the system property by adding the following line into the file:
JAVA_OPTIONS="$JAVA_OPTIONS -Dclover_config_file=/path/to/cloverServer.properties"
Windows system:
Edit the
[Jetty_home]\start.inifile.Set the system property by adding the following line into the file just after the memory settings:
JAVA_OPTIONS="$JAVA_OPTIONS -Dclover_config_file=/path/to/cloverServer.properties"
| Note |
|---|---|
|