This lesson teaches you to
Create a new project with Android Studio
This lesson describes how to set up the Couchbase Lite environment with Android Studio. Android Studio is the recommended development environment for Couchbase Lite Android apps. If you prefer to use Eclipse to develop apps, see Getting started with Eclipse.
Set up the environment
Before you can build an app, you need to set up your development environment:
Download and install Android Studio. At the time of this writing, the versions of Android Studio known to work are: 0.5.7 and 0.5.8.
Launch Android Studio.
From the Quick Start menu on the welcome screen, select Configure > SDK Manager.
If you already have a project open, you can open the SDK Manager by selecting Tools > Android > SDK Manager from the Android Studio menu bar.
In Android SDK Manager, select the following items and then click Install packages:
- Tools/Android SDK Tools
- Tools/Android SDK Platform-tools
- Tools/Android SDK Build-tools
- Android API (currently recommended: API 19)
- Extras/Google Repository
- Extras/Android Support Repository
Create a new project
Launch Android Studio.
In the Welcome to Android Studio screen, choose New Project.
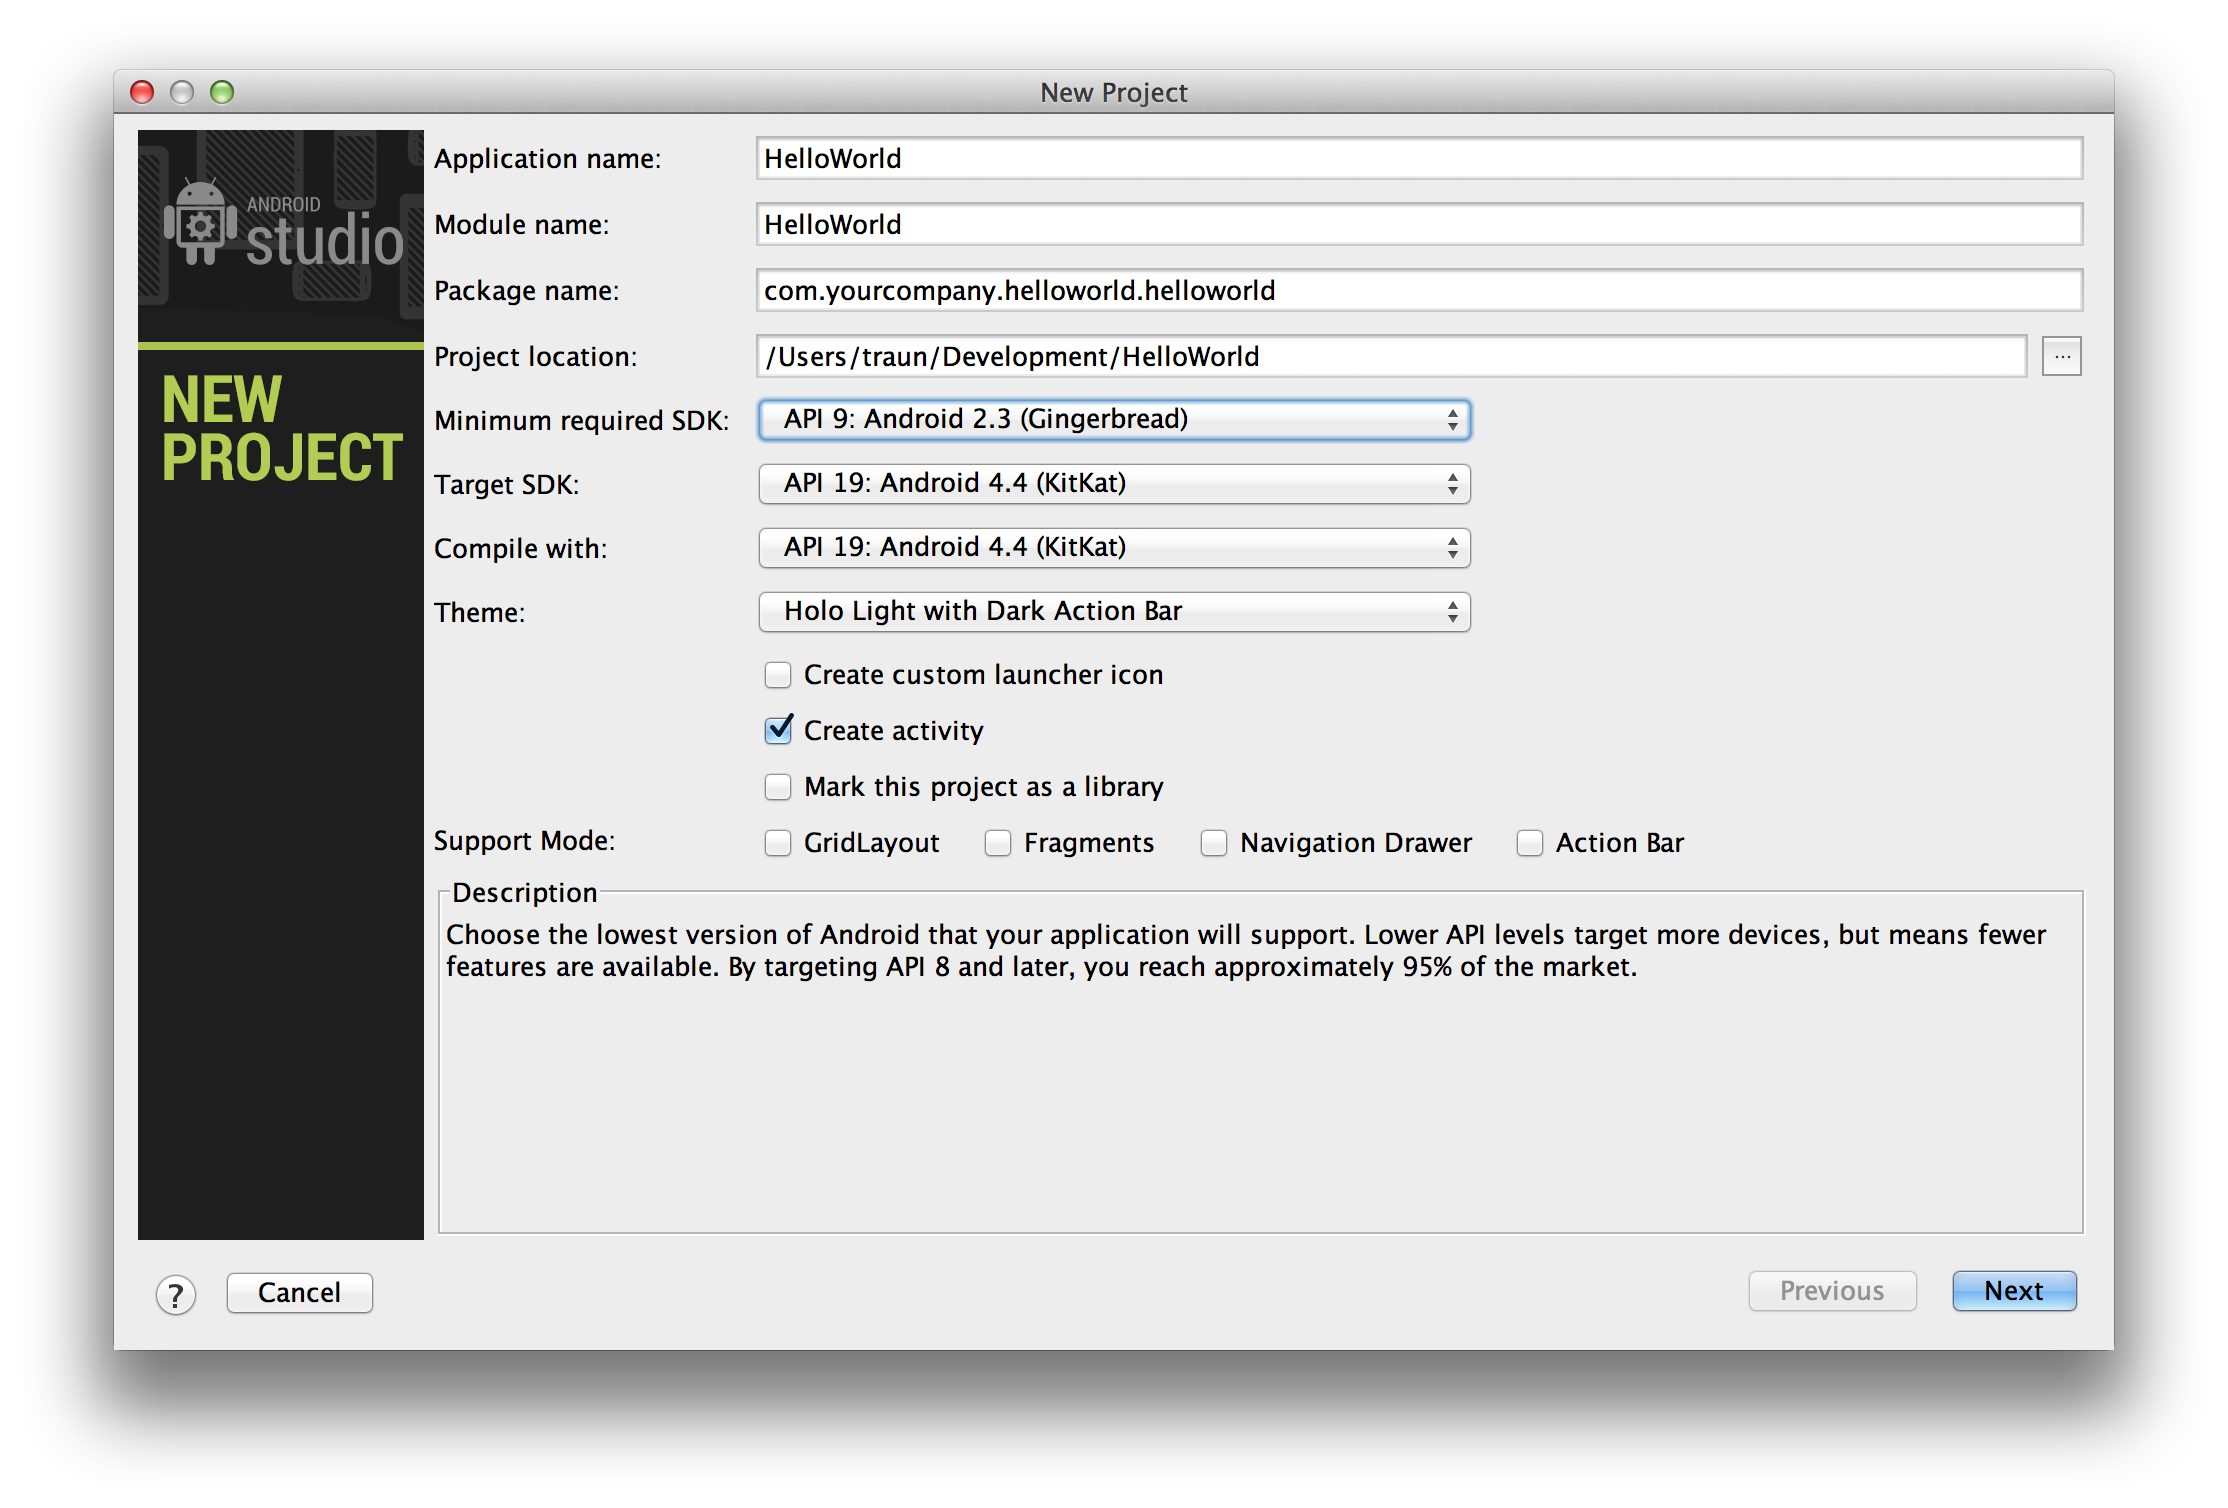
In the New Project window, enter the application name, module name, package name, and project location.
This example uses
HelloWorldfor the application name.Set the minimum required SDK to API 9: Android 2.3 (Gingerbread) or later and use the currently recommended Android API.
After you fill in the fields, the New Project window should look something like this:
Click Next, and then move through the remaining setup screens and enter settings as necessary (or just accept the defaults).
Click Finish.
Add Couchbase Lite Maven Repository
Open the build.gradle file in the top level of the project.
You should see a file that looks something like this:
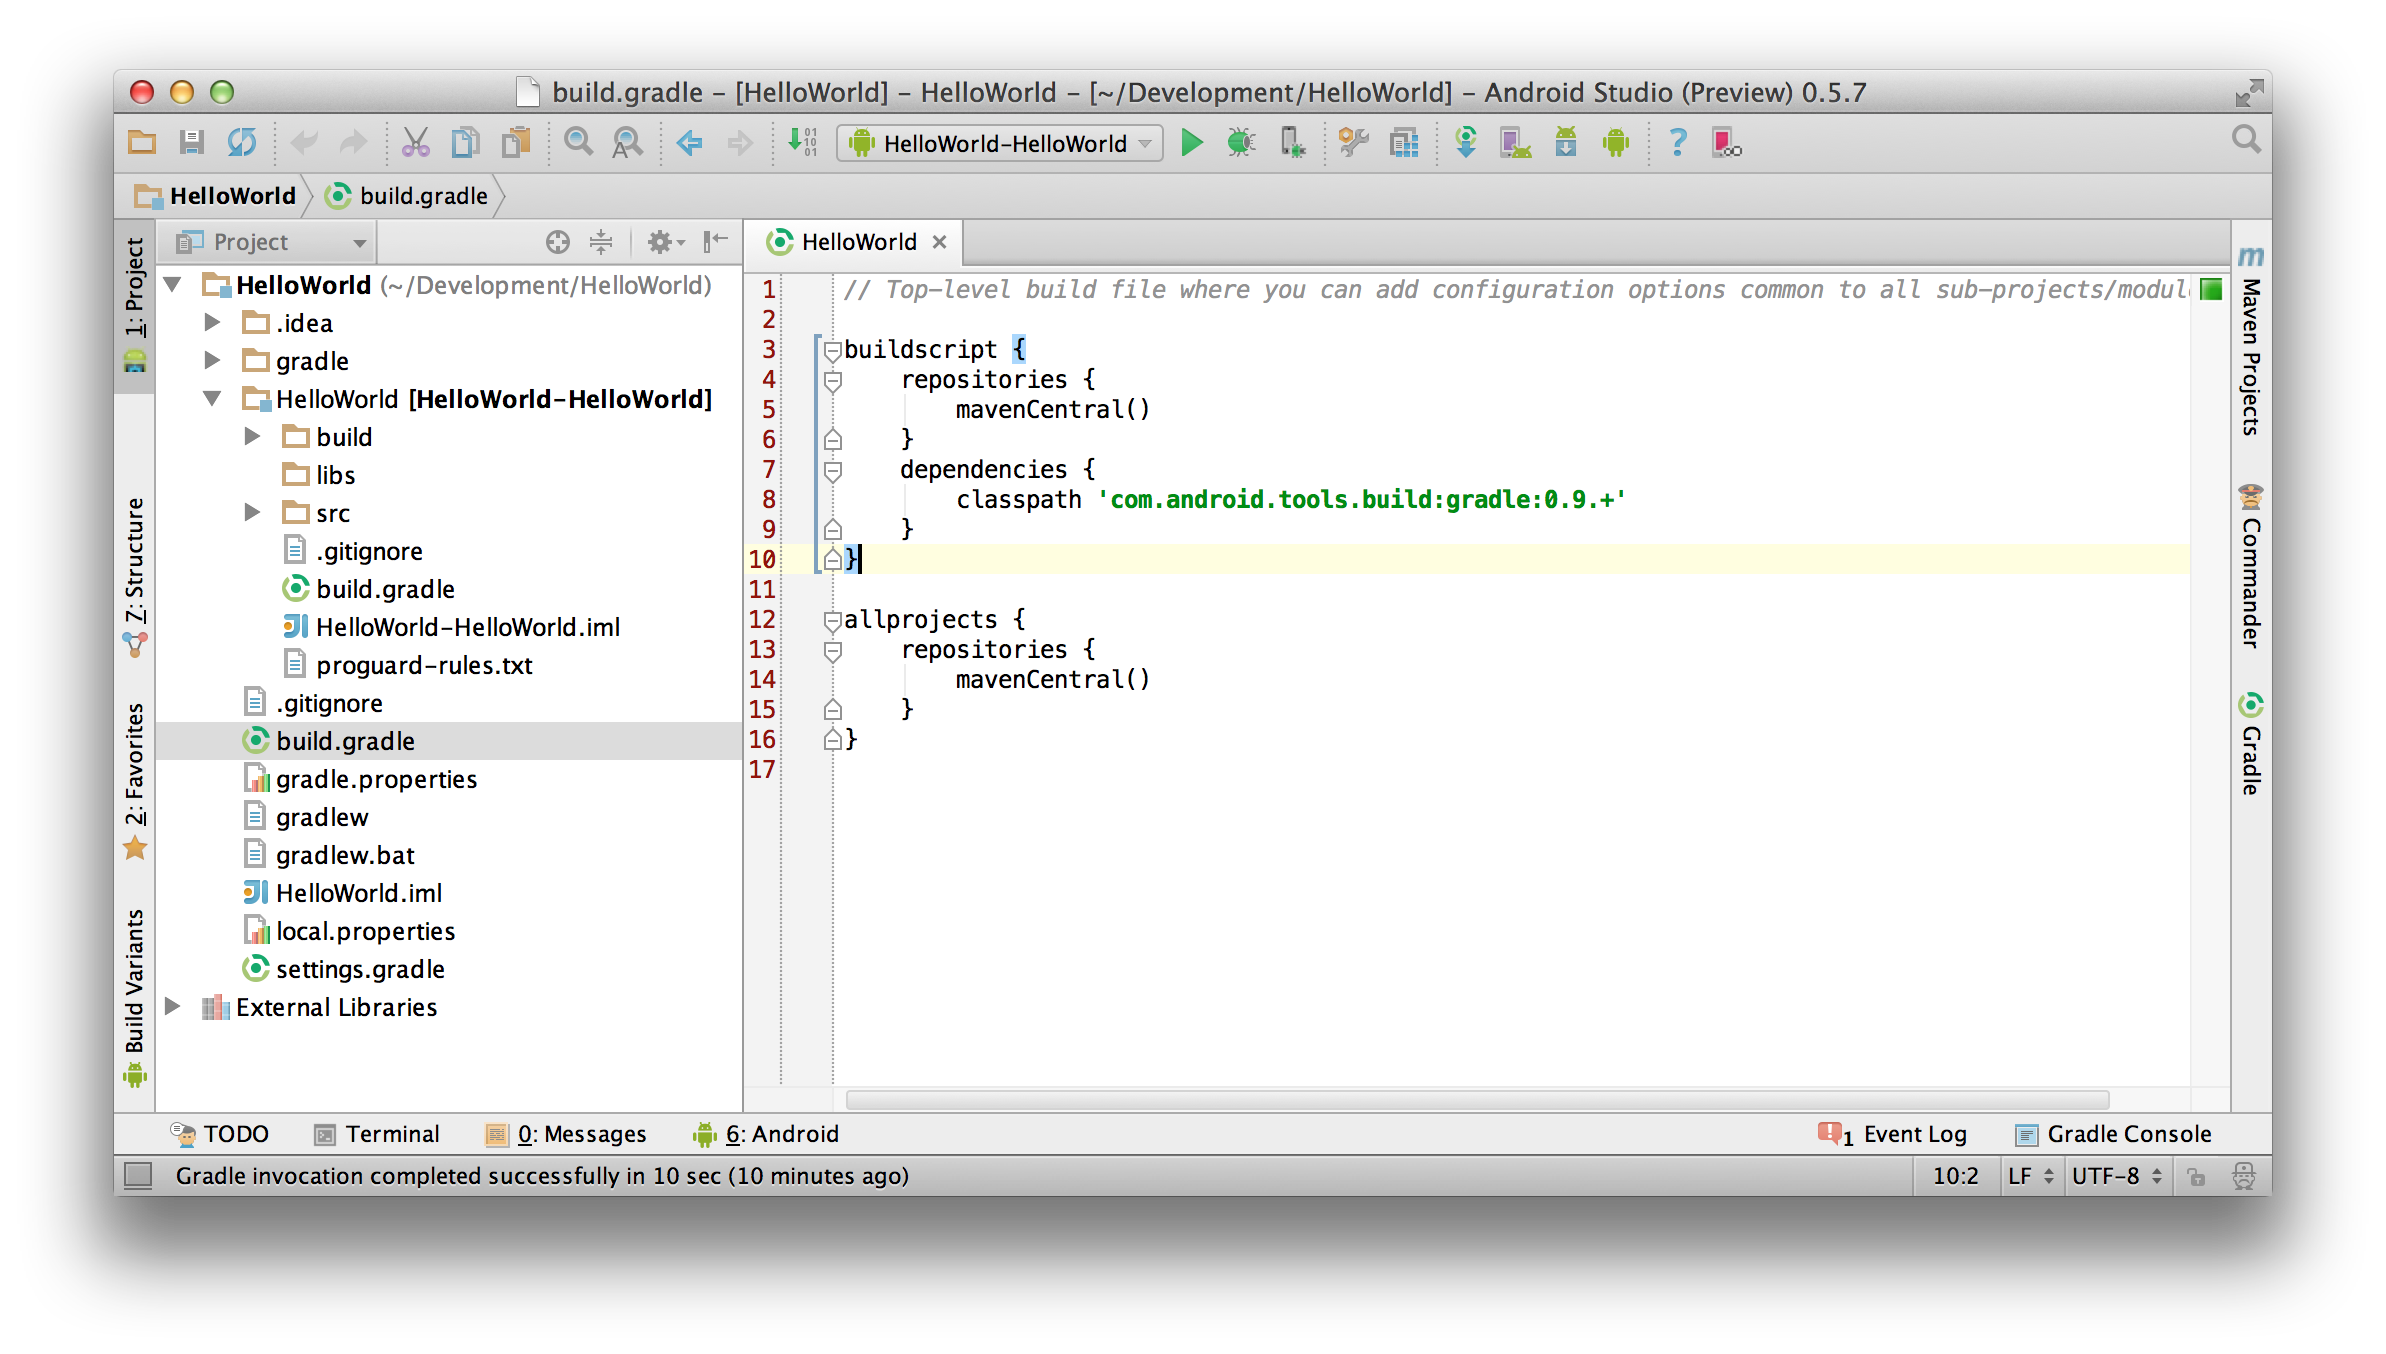
If the build.gradle does not contain an allprojects section, then you are looking at the wrong one. Make sure you open the one at the project level, not the one in the HelloWorld folder.
Add the following lines to the top-level allprojects/repositories section (not the one under the buildscript section) so it can resolve dependencies through the Couchbase Maven repository:
maven {
    url "http://files.couchbase.com/maven2/"
}
After you add the extra lines, the repositories section should look similar to this:
repositories {
    mavenCentral()
    maven {
        url "http://files.couchbase.com/maven2/"
    }
}
Add Couchbase Lite Dependencies
Expand the HelloWorld folder, and then open the build.gradle file.
You should see a file that looks something like this:
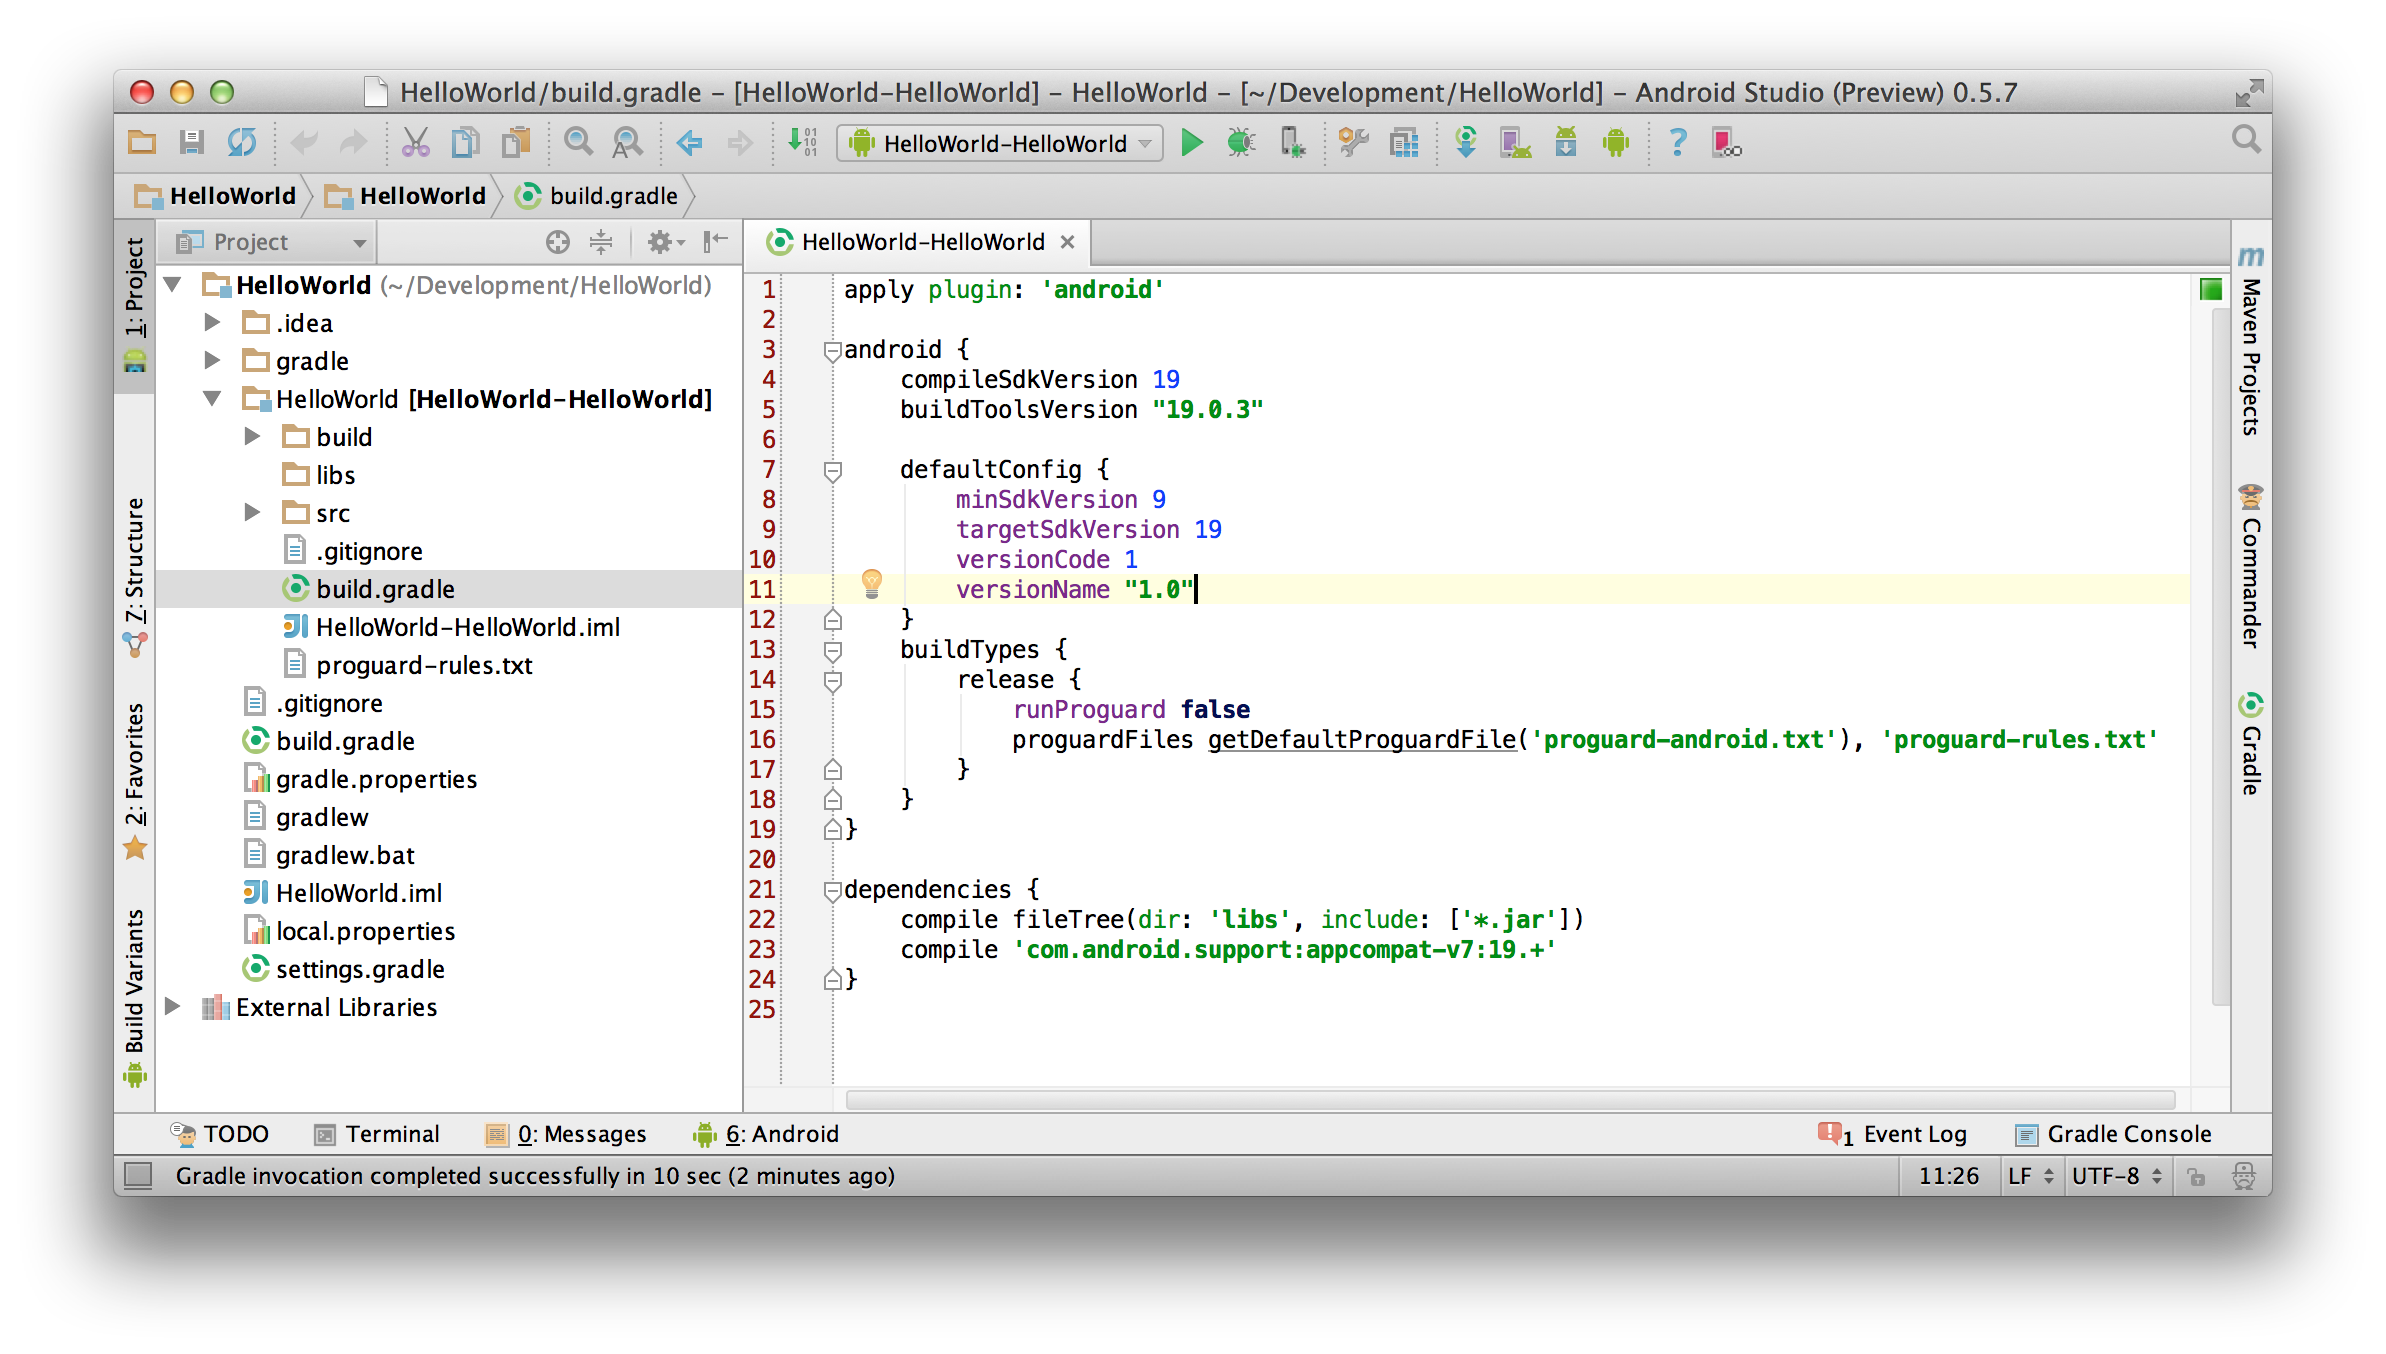
If the build.gradle does not contain an android section, then you are looking at the wrong one. Make sure you open the one in the HelloWorld folder (and not the one at the project level).
Add the following lines to the android section:
// workaround for "duplicate files during packaging of APK" issue
// see https://groups.google.com/d/msg/adt-dev/bl5Rc4Szpzg/wC8cylTWuIEJ
packagingOptions {
    exclude 'META-INF/ASL2.0'
    exclude 'META-INF/LICENSE'
    exclude 'META-INF/NOTICE'
}
Add the following line to the top-level dependencies section (not the one under the buildscript section).
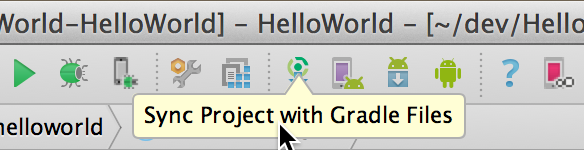
compile 'com.couchbase.lite:couchbase-lite-android:1.0.2'After you add the extra line, the dependencies section should look similar to this:
dependencies {
    compile fileTree(dir: 'libs', include: ['*.jar'])
    compile 'com.android.support:appcompat-v7:19.+'
    compile 'com.couchbase.lite:couchbase-lite-android:1.0.2'
}
In the Android Studio tool bar, click Sync Project with Gradle Files.
Build and run the app
Running the empty app at this point verifies whether the dependencies are set up correctly.
In the Android Studio tool bar, click Run.
-
When prompted, start the emulator.
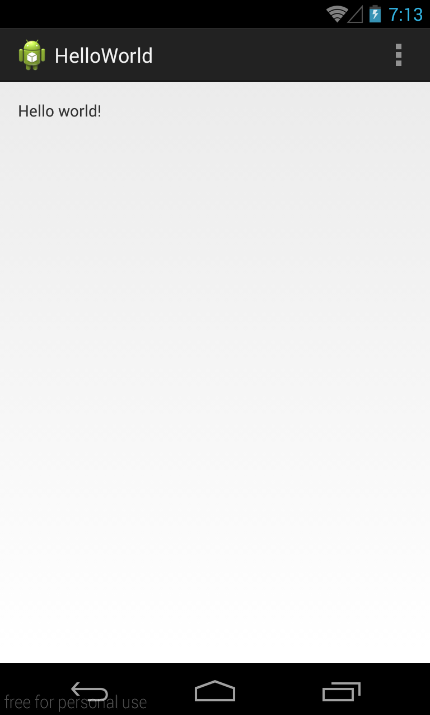
You should see the app start in the emulator and the text “Hello World” in the app window, similar to the following figure:
Troubleshoot
If the app doesn’t run properly for you, try the following troubleshooting tips.
Errors in the build.gradle file are a common cause of problems:
- Double-check the spelling of all entries in the file.
- Make sure all code added to the file is located in the correct sections.
- Verify the path for Couchbase Lite in the compile statement in the dependencies section.
- Compare your files to these sample build.gradle files.
Couchbase Lite for Android might not build correctly with Proguard. If you get build errors that mention Proguard, you can disable it by changing the build.gradle file `runProguard` setting in the android section to false. When you change it, the android section should look something like the following code:
android {
     buildTypes {
        release {
            runProguard false
            proguardFile ...
        }
    }
 }