 | Documentation |
|---|---|
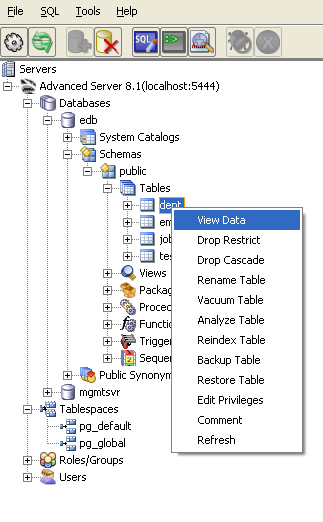
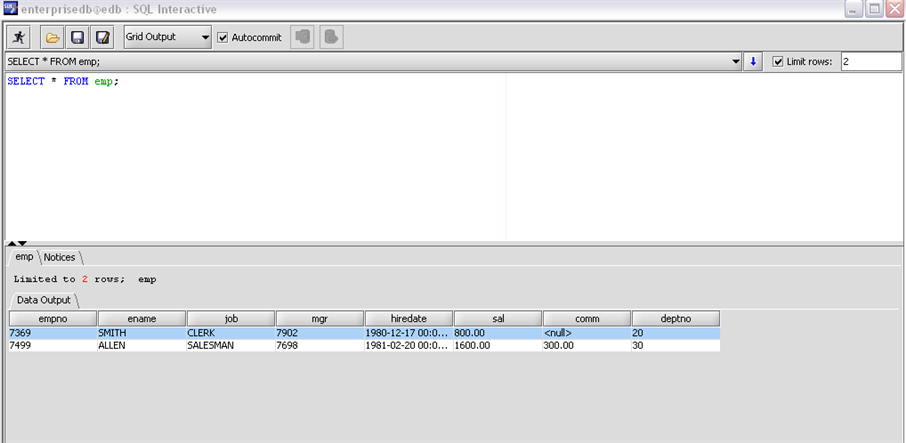
17.2. Displaying and Updating Data17.2.1. Displaying Data From Tables and ViewsDeveloper Studio provides users with the option of viewing data present in a particular table and/or view. To make use of this functionality, select your desired object from the left side navigation node, then from the Developer Studio menu, select Tools->View Data. This will run a SELECT * query to be executed on that particular object and a SQL Interactive window will be displayed containing the result set as shown in the following screen shot. The user can also display object data by right clicking on the object and selecting the View Data option from the list.
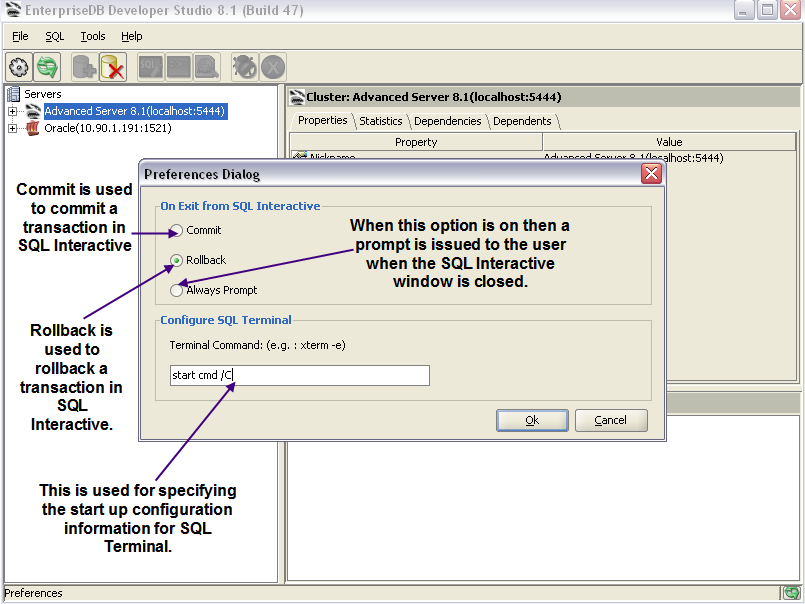
Another way of viewing object data is by double clicking on your desired object, this too will execute a SELECT * query to be executed on that particular object and a SQL Interactive window will open up to display the desired data. Developer Studio also provides the user with an option of specifying Preferences as shown in the following screen shots:
17.2.2. Using SQL Interactive
SQL Interactive enables you to execute arbitrary SQL commands. The upper part of SQL Interactive contains the Edit Entry Window, where you type your commands. You may read the query from a file, or write it out to a file. One or more SQL commands may be entered in the edit window. Click on the
The result of the database server's execution will be displayed in the lower part of SQL Interactive window. The query will also be displayed. The user can select the Messages tab to find out the number of rows returned and the query as well as the query execution time. If the edit window contains a single SELECT command or if only a single SELECT command is highlighted for execution when the edit window contains multiple SQL statements, the maximum number of rows that are displayed in the Data Output grid defaults to 100 rows. The maximum number of rows displayed can be changed by entering a new maximum value in the Limit Rows field. Alternatively, unchecking the Limit Rows check box will place no maximum limit on the displayed number of rows, subject to the host computer's resources. The value of the Limit Rows field is ignored if more than one SQL command in the edit window is executed. Developer Studio also provides the user with two execution modes in SQL Interactive:
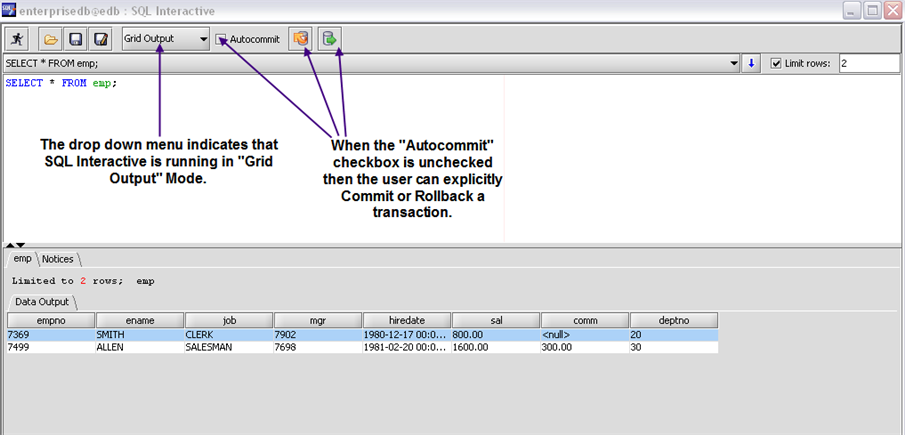
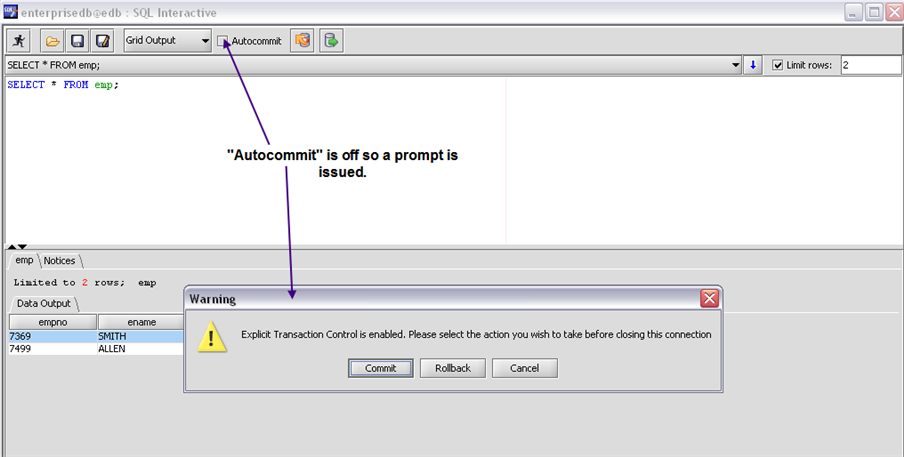
Note: The Grid Output Mode uses JDBC connector and the Text Output Mode uses Libpq connector. Since the two use different connectors, hence, the outputs can differ accordingly. Now, let us discuss each of these modes independently: Grid Output Mode In Grid Output Mode, the results are displayed in a data grid with resizable columns. In Grid Output Mode, Developer Studio provides the user with the ability to Autocommit a transaction in each SQL Interactive window. This can be done by clicking on the Autocommit checkbox. If the checkbox is unchecked then the user can explicitly Commit or Rollback a transaction. This functionality is shown in the following screenshot:
Whenever, the user exits SQL Interactive Window during an active transaction and the Autocommit checkbox is off, then a prompt dialog box appears which gives the user three choices to choose from as shown in the following screenshot:
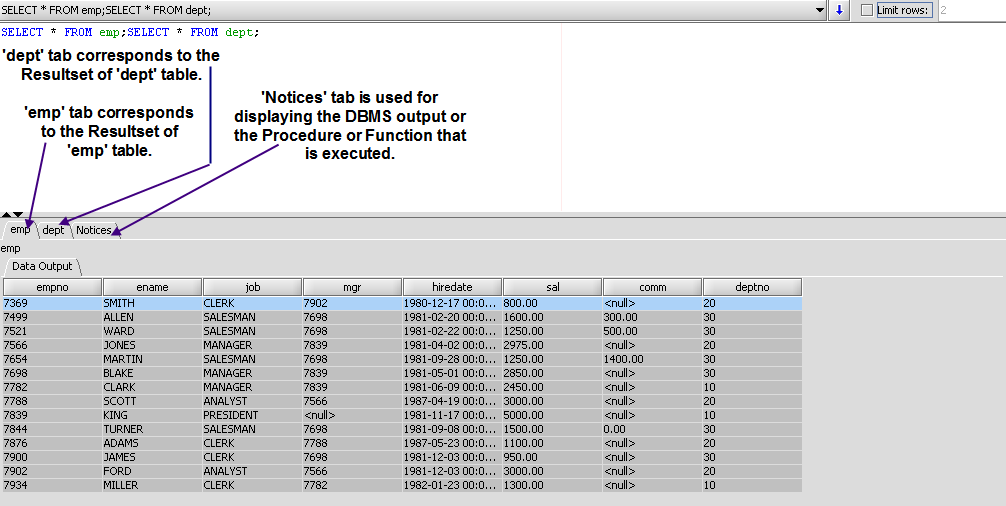
If multiple queries are executed in one SQL Interactive window then Multiple Tabs for Multiple Resultsets are created as shown in the following screenshot:
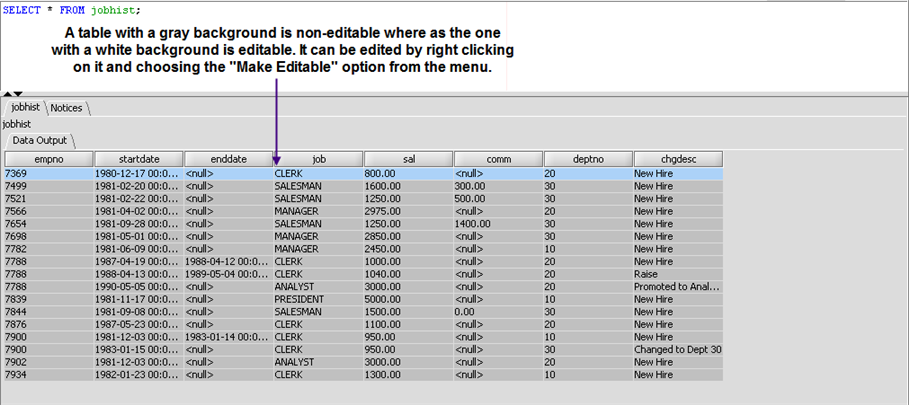
Developer Studio also provides the user with the ability to Edit a Resultset if it is editable:
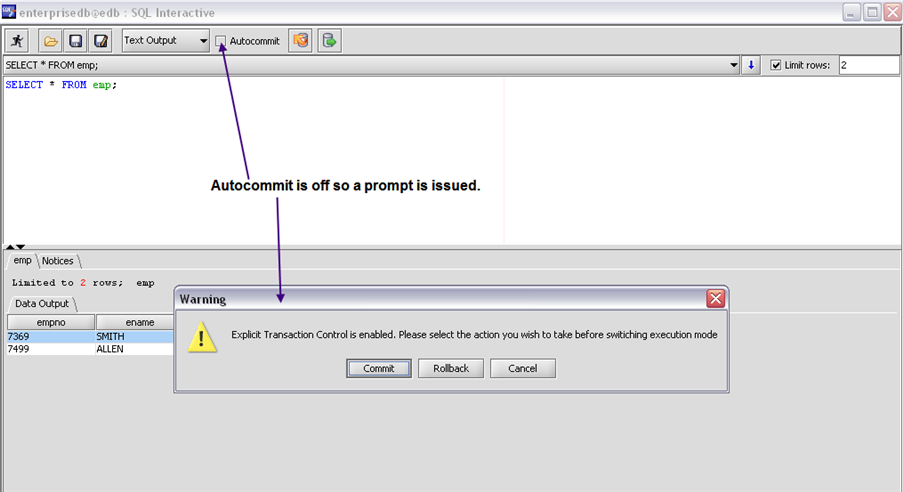
Text Output Mode In Text Output Mode, the results are displayed in a single, continuous message area. When the user switches from the Grid Output Mode to Text Output Mode and if Autocommit is unchecked, then a prompt is issued giving the user three choices to choose from as shown in the following screenshot:
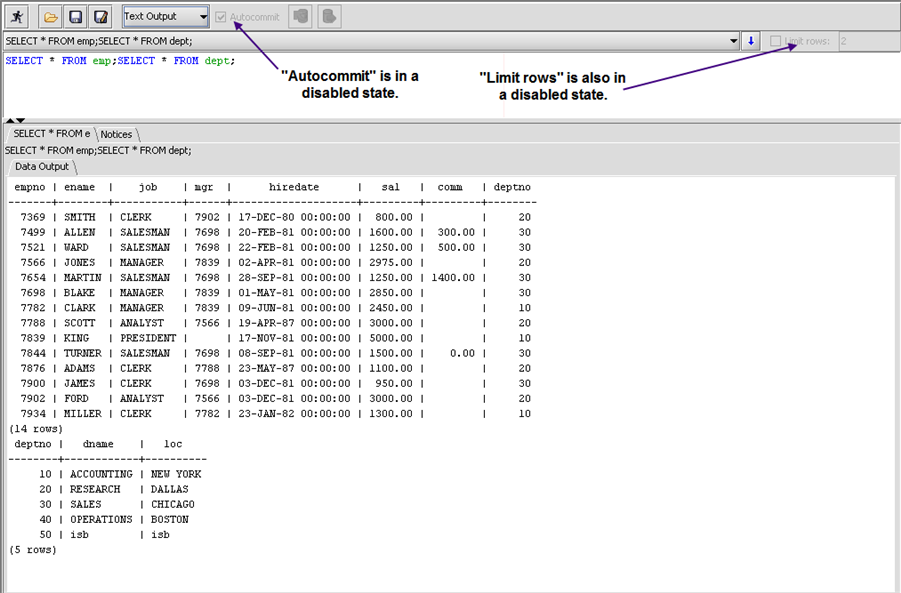
In Text Output Mode, multiple Resultsets, resulting after query execution, are displayed under a single tab. The Autocommit checkbox will be in a disabled state and the Limit rows will also be in a disabled state. This is shown in the following screenshot:
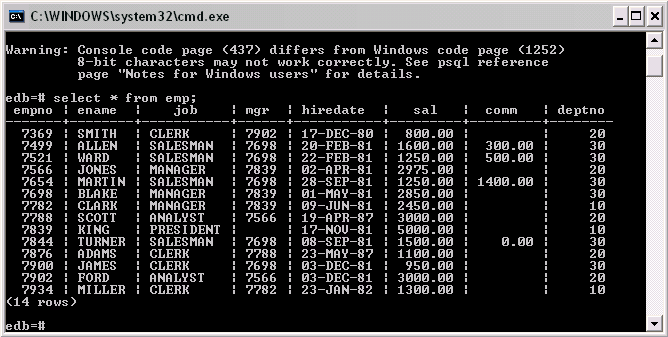
17.2.3. Using EnterpriseDB PSQLDeveloper Studio also comes with integrated support for invoking EnterpriseDB PSQL. EnterpriseDB PSQL can be invoked by either:
Either way an instance of EnterpriseDB PSQL will be invoked for the user where he/she can write and execute arbitrary SQL statements.
For more information see about EnterpriseDB PSQL please refer to EnterpriseDB PSQL. |
