
")

In this tutorial you will:
create a Apache Camel test case
add a dependency to a Maven project
run the route with the test case
observe the output
To complete this tutorial you will need:
the project from Adding a Content-Based Router
a FuseSource subscription
To create a new test case:
Select
src/test/javafrom the Project Explorer.From the context menu select |.
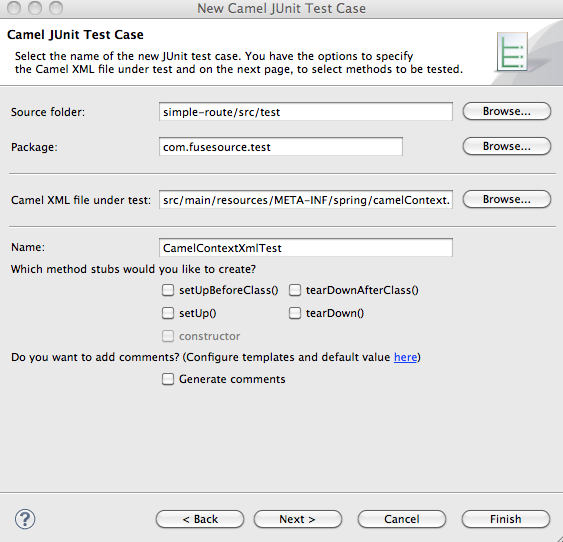
The New Camel JUnit Test Case wizard, shown in Figure 4.1, opens.
In the Source folder field, enter
simple-route/src/test/java.![[Tip]](imagesdb/tip.gif)
Tip The button opens a folder explorer that can help locate the proper folder.
In the Package field, enter
com.fusesource.test.In the Camel XML file under test field, enter
src/main/resources/META-INF/spring/camelContext.xml.Tip The button opens a file explorer that is preconfigured to screen for XML files.
Click .
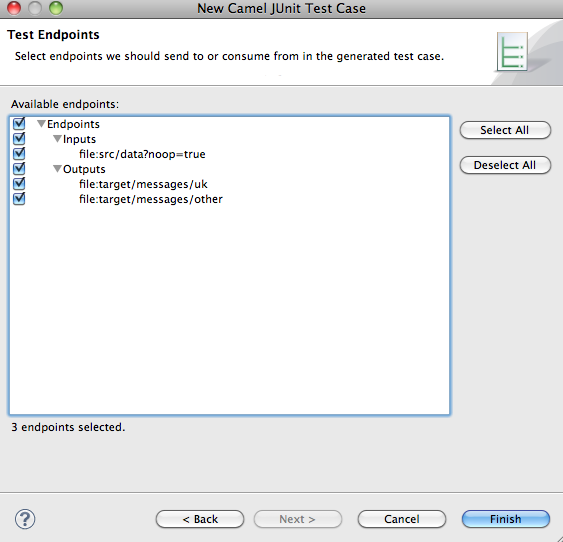
The Test Endpoints page, shown in Figure 4.2, appears.
In the Available endpoints list, place a check next to Endpoints to select all of the endpoints in the route.
Click .
Add JUnit to the build path.
The artifacts for the test are added to your project. The class implementing the test case is opened in the Java editor.
Before the route can be tested you need to add a dependency on the
camel-test package to your project.
To add the dependency to your project:
Open
pom.xmlin the editor.Select the Dependencies tab.
Click next to the Dependencies list.
A new dependency is added to the list and the editor fields are set up to accept the details of the new dependency.
In the Group Id field, enter
org.apache.camel.In the Artifact Id field, enter
camel-test.In the Version field, enter
2.7.1-fuse-00-27.Save the file.
The project will rebuild and the errors for the test case will disappear.
To run the test:
Select the project root in the Project Explorer.
Open the context menu.
Select |.
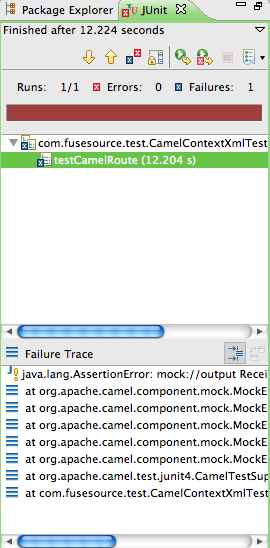
The JUnit view, shown in Figure 4.3, opens in the Eclipse sidebar.
Examine the output and take action to resolve any test failures.
 | ||
 |
