Adding a Shapefile
This tutorial walks through the steps of publishing a Shapefile with GeoServer.
Note
This tutorial assumes that GeoServer is running on http://localhost:8090/geoserver/web.
Getting Started
Download the file nyc_roads.zip. This file contains a shapefile of roads from New York City that will be used during in this tutorial.
Unzip the nyc_roads.zip. The extracted folder consists of the following four files:
nyc_roads.shp
nyc_roads.shx
nyc_roads.dbf
nyc_roads.prj
Move the nyc_roads folder into <GEOSERVER_DATA_DIR>/data where GEOSERVER_DATA_DIR is the root of the GeoServer data directory. If no changes were were made to the GeoServer file structure, the path should be geoserver/data_dir/data/nyc_roads.
Create a New Workspace
The first step is to create a workspace for the Shapefile. The workspace is a container used to group similar layers together.
In a web browser navigate to http://localhost:8080/geoserver/web.
Log into GeoServer as described in the Logging In quick start.
Navigate to Data‣Workspaces.
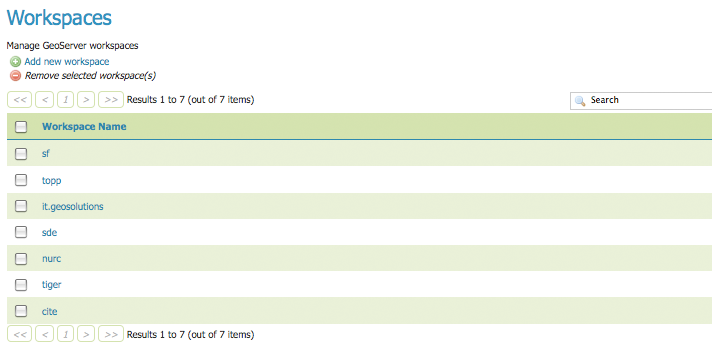
Workspaces page
To create a new workspace click, select the Add new workspace button. You will be prompted to enter a workspace Name and Namespace URI.
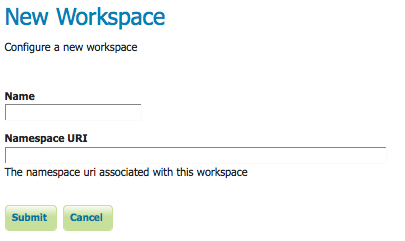
Configure a New Worksapce
Enter the name nyc_roads and the URI http://opengeo.org/nyc_roads A workspace name is a name describing your project and cannot exceed ten characters or contain a space. A Namespace URI (Uniform Resource Identifier), is typically a URL associated with your project, with perhaps a different trailing identifier.
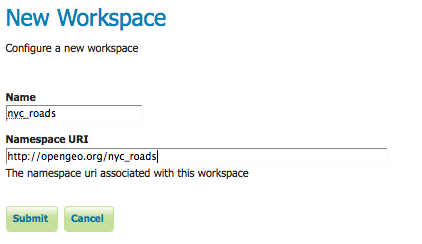
NYC Roads Workspace
Click the Submit button. GeoServer will append the nyc_roads workspace to the bottom of the Workspace View list.
Create a Store
Navigate to Data‣Stores.
In order to add the nyc_roads data, we need to create a new Store. Click on the Add new store button. You will be redirected to a list of data types GeoServer supports.
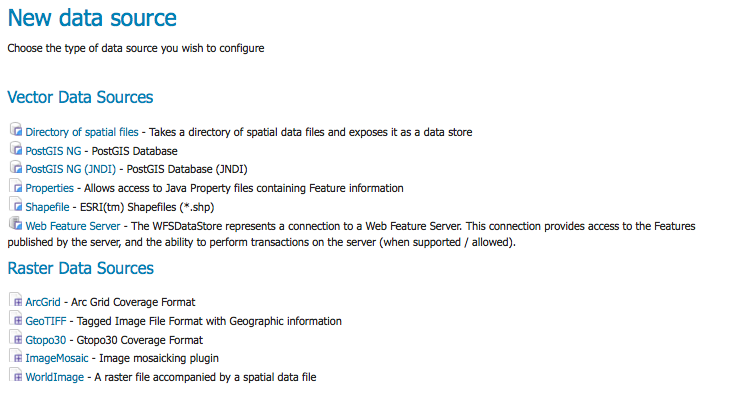
Data Sources
Because nyc_roads is a shapefile, select Shapefile: ESRI(tm) Shapefiles (.shp).
On the New Vector Data Source page begin by configuring the Basic Store Info. Select the workspace nyc_roads from the drop down menu, type NYC Roads for the name and enter a brief description, such as Roads in New York City.
Under the Connections Parameters specify the location of the shapefile–file:data/nyc_roads/nyc_roads.shp.
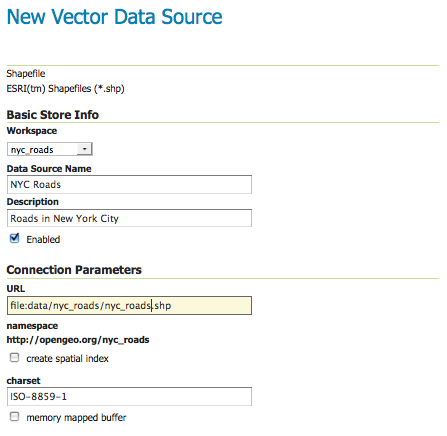
Data Info and Parameters for nyc_roads
Press Save. You will be redirected to New Layer chooser page in order to configure nyc_roads layer.
Layer Configuration
On the New Layer chooser page, select the Layer name nyc_roads.
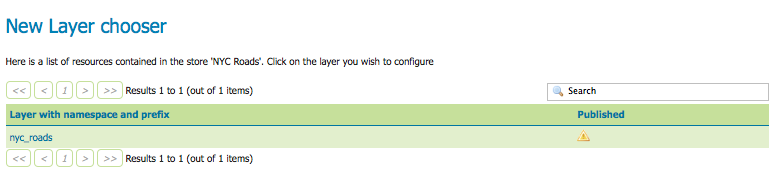
New Layer Chooser
The following configuration define the data and publishing parameters for a layer. Enter a short Title and Abstract for the nyc_roads shapefile.
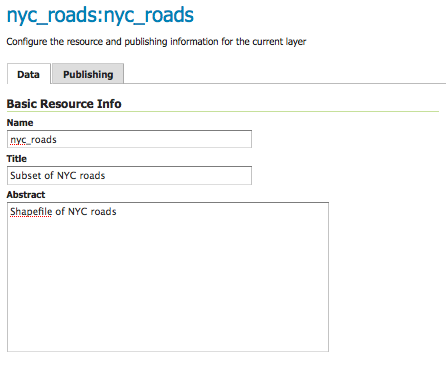
Basic Resource Information for Shapefile
Generate the shapefile’s bounds by clicking the Compute from data and then Compute from Native bounds.
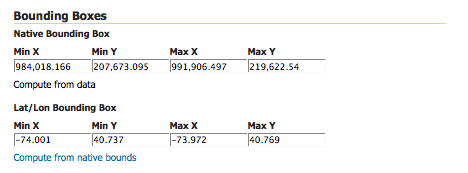
Generate Bounding Box
Set the shapefile’s style by first moving over to the Publishing tab.
The select line from the Default Style drop down list.
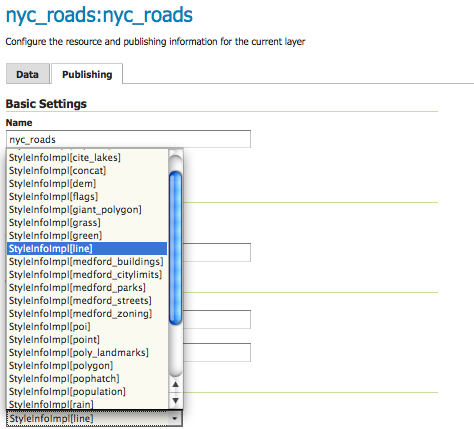
Select Default Style
Finalize your data and publishing configuration by scrolling to the bottom and clicking Save.
Preview the Layer
In order to verify that the nyc_roads is probably published we will preview the layer. Navigate to the Map Preview and search for the nyc_roads:nyc_roads link.
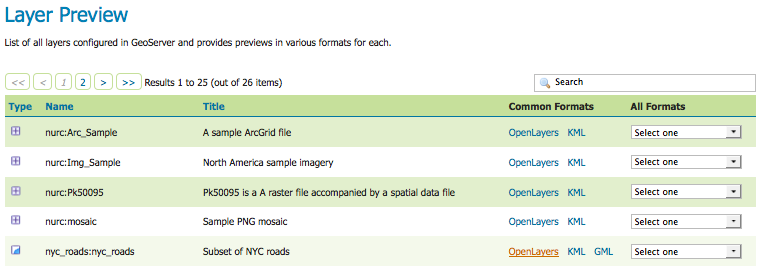
Layer Preview
Click on the OpenLayers link under the Common Formats column.
Success! An OpenLayers map should load with the default line style.
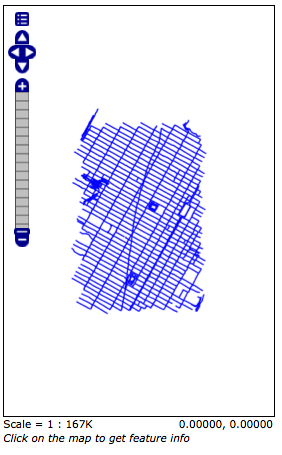
OpenLayers map of nyc_roads