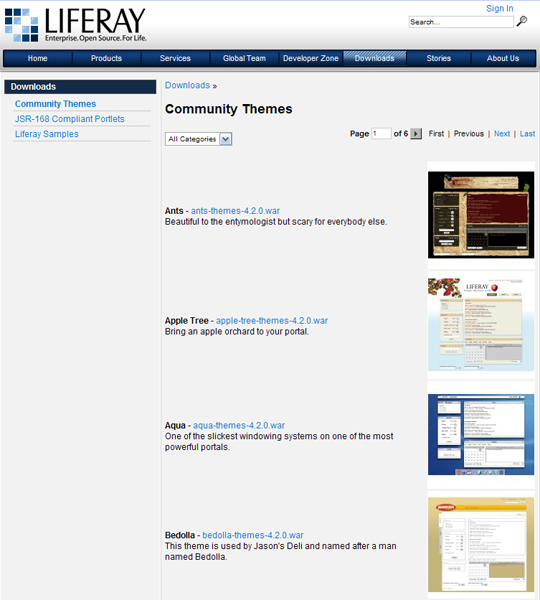
Along with the prepackaged themes in Liferay Portal, there are many additional themes that are available on Liferay’s download page. In this section you will learn how to deploy a community theme onto Liferay Portal.
Go to www.liferay.com.
Click Downloads.
Click Community Themes.

Select a theme. For this demonstration, the Aqua theme will be added. Click on the Breeze theme link.
Choose a location to download from and click Download.
Save file.
Log into Liferay Portal and sign in as the Administrator.
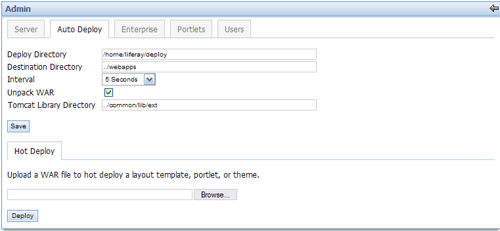
In the Admin Portlet, click on Auto Deploy.

Click Browse and locate the Aqua theme file.
Click Deploy.
To deploy the Aqua theme on the page, click Page Settings.
Click Look and Feel.

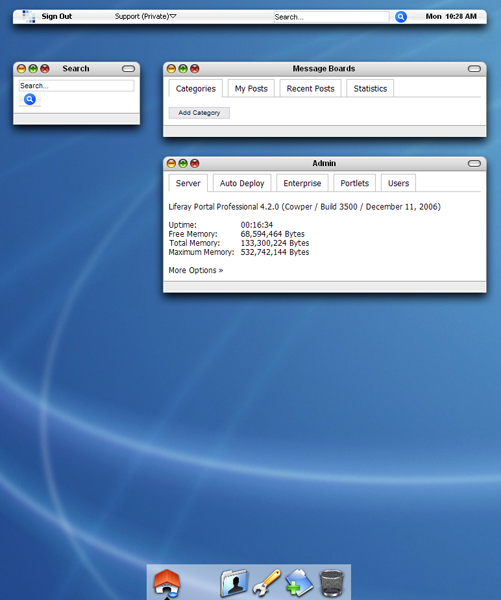
Select the Aqua theme to deploy. The figure below shows the Aqua theme deployed.

The pages of Liferay Portal are organized according to the layout templates used. Seven different layout templates are provided with the option for users to write and add new ones. This section will provide instructions for adding a sample layout template.
Begin by logging in as the Administrator.
To see a list of layout templates that comes prepackaged with Liferay Portal, click Layout.
Seven templates are available.

To add an additional template, go to Liferay’s download page located at http://www.liferay.com/web/guest/downloads.
Click on Liferay Samples.
The sample layout template that will be added contains a 2-1-2 layout. The first row contains two columns of portlets, the second row contains one column of portlets, and the third row contains two columns of portlets. Click on the Sample Layout Template.
Select a location to download from and Save the file.
After the file has been saved, log back in as the Administrator.
In the Admin portlet, click Auto Deploy.

Click Browse to locate the file, and click Deploy.
To verify that the new template has been added, click on Layout.
The 2-1-2 layout template will appear in the list.