Table of Contents
This chapter describes the binary upgrade of a NetBSD system. There are a variety of alternatives to perform this procedure, and the following sections will guide you through them:
To do the upgrade, you must have some form of bootable media (CD-ROM, USB drive, floppy, etc.) available and at least the base and kern distribution sets. Since files already installed on the system are overwritten in place, you only need additional free space for files which weren't previously installed or to account for growth of the sets between releases. Usually this is not more than a few megabytes.
Note
Since upgrading involves replacing the kernel, boot blocks, and most of the system binaries, it has the potential to cause data loss. Before beginning, you are strongly advised to back up any important data on the NetBSD partition or on any other partitions on your disk.
The upgrade procedure is similar to an installation, but without
the hard disk partitioning. sysinst will
attempt to merge the settings stored in your /etc
directory with the new version of NetBSD. Also, file systems are checked
before unpacking the sets. Fetching the binary sets is done in the same
manner as in the installation procedure.
Before doing an upgrade it is essential to read the
release information and upgrading notes in one of the
INSTALL files: this is the official
description of the upgrade procedure, with platform specific
information and important details. It can be found in the root
directory of the NetBSD release (on the install CD or on the FTP
server).
It is advisable to print the INSTALL document out. It is available in four formats: .txt, .ps, .more, and .html.
The following section provides an overview of the binary upgrade process. Most of the following sysinst dialogs are similar to those of the installation process. More verbose descriptions and explanations of the dialogs are available in Chapter 3, Example installation.
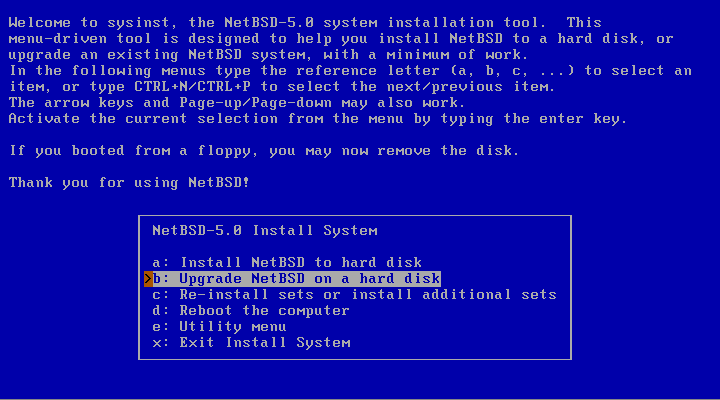
After selecting the installation language and the keyboard type, the main menu appears. Choosing option “b: Upgrade NetBSD on a hard disk” will start the the upgrade process.
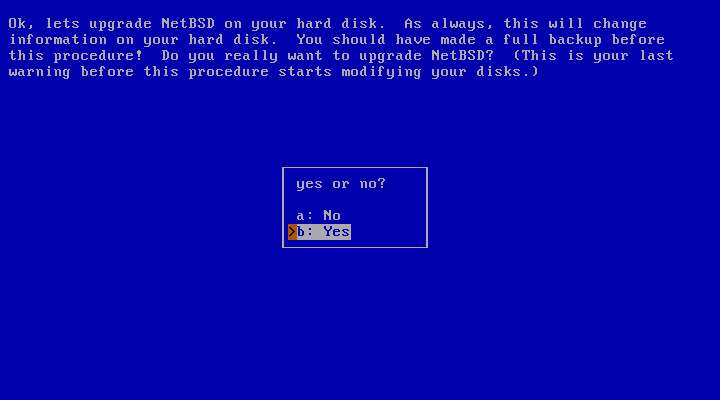
The dialog in Figure 4.2, “Continuing the upgrade” will request permission to continue with the upgrade. At this point nothing has been changed yet and the upgrade can still be cancelled. This is a good time to ask yourself whether you have made a backup, and if you know for certain that you will be able to restore from it.
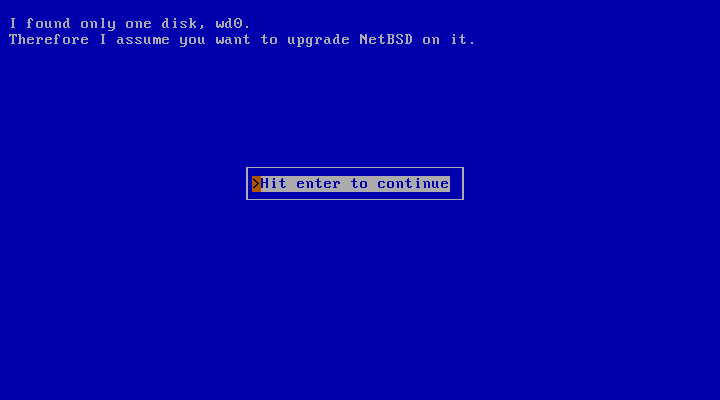
After choosing to continue with “Yes”, the next dialog will ask you to specify the hard disk with the NetBSD system that shall be upgraded. If more than one disk is available a list of the disks will be displayed.
The system used for the example has only one hard disk available: “wd0”.
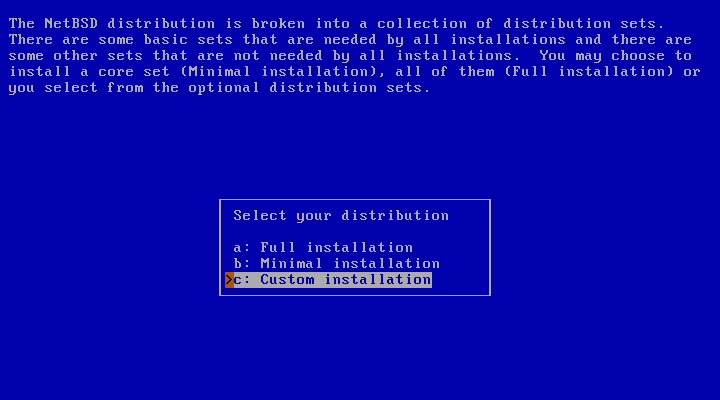
The following dialog provides a menu to choose the installation type. The choices are “Full installation”, “Minimal installation”, or “Custom installation”.
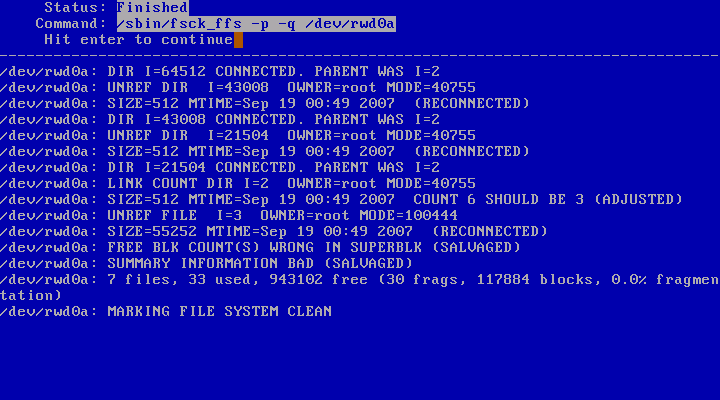
At this point, sysinst will perform a check of the file system to ensure its integrity.
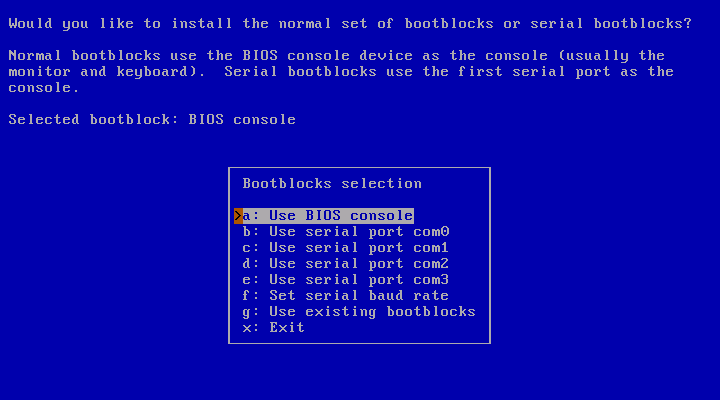
The next step is to choose which type of bootblocks to install.
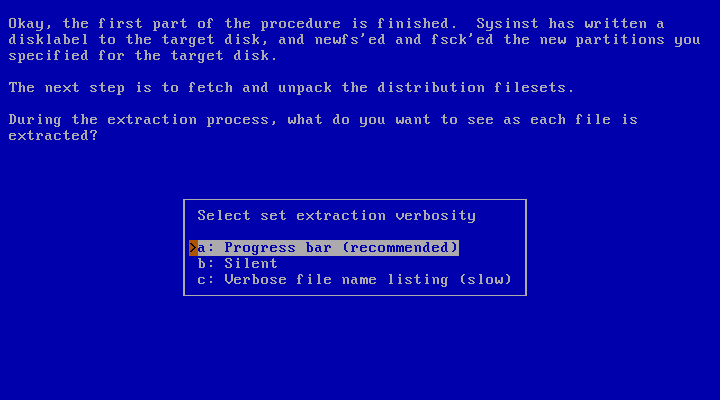
The next dialog will ask how much information should be displayed during the extraction of the distribution sets.
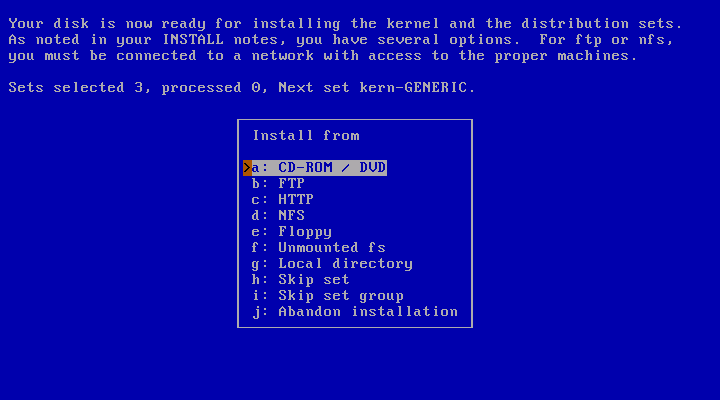
The following dialog asks for the install method of choice and provides a list of possible options. The install medium contains the new NetBSD distribution sets. You will be prompted for different information depending on which option you choose. For example, a CD-ROM or DVD install requires you to specify which device to use and which directory the sets are in, while an FTP install requires you to configure your network and specify the hostname of an FTP server. More details can be found in Section 3.10, “Choosing the installation media”.
sysinst will now unpack the distribution
sets, replacing your old binaries. After unpacking these sets, it
runs the postinstall(8) script to perform various system cleanup
and configuration update tasks. If
postinstall produces errors, you will have
to manually resolve the issues it brings up. See postinstall's man
page for more information. Even after a successful
postinstall run, it is advisable to use
etcupdate(8) to aid in merging any other configuration changes.
You should also read the remarks in INSTALL about
upgrading, as specific compatibility issues are documented there.
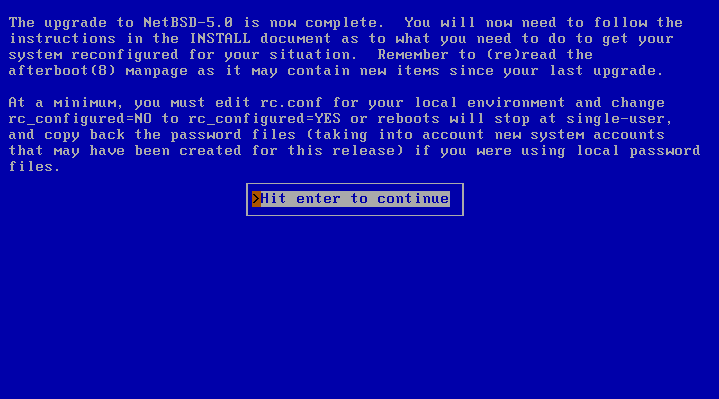
When you are back at the main menu, remove the boot medium (if applicable) and reboot. Have fun with your new version of NetBSD!
The sysupgrade utility (currently
found in pkgsrc/sysutils/sysupgrade) allows you
to upgrade a running system to a newer binary release.
Note
Please be aware that, as of August 2012, sysupgrade is a farily new tool and is still undergoing field testing. Use with care. In particular, upgrades across major binary releases might not work properly yet because of the lack of a reboot between the kernel installation and the unpacking of the sets. That said, you may find this tool very convenient to track NetBSD-current or stable NetBSD branches.
One of the benefits of sysupgrade is that it is an integrated and almost-unattended solution: the tool fetches the new kernel and distribution sets from remote sites if you desire and performs the upgrade without user intervention until new changes to the configuration files need to be merged.
Let's assume you are running NetBSD/amd64 6.0 and you wish to upgrade to NetBSD 6.1. The procedure to do so would be to run the following command:
#sysupgrade auto ftp://ftp.NetBSD.org/pub/NetBSD/NetBSD-6.1/amd64
And that's all that it takes. This will proceed to download the kernel and sets appropriate for your machine, unpack them and assist you in merging new configuration changes. Do not forget to reboot afterwards.
For more details, please see the included sysupgrade(8) manual
page and the /usr/pkg/etc/sysupgrade.conf
configuration file.
