Access rights are determined for a whole domain or space, and are inherited in their children spaces. The Access rights tab enables you to give or deny rights to the site users. You can thus customize the access to content and make it more accurate.
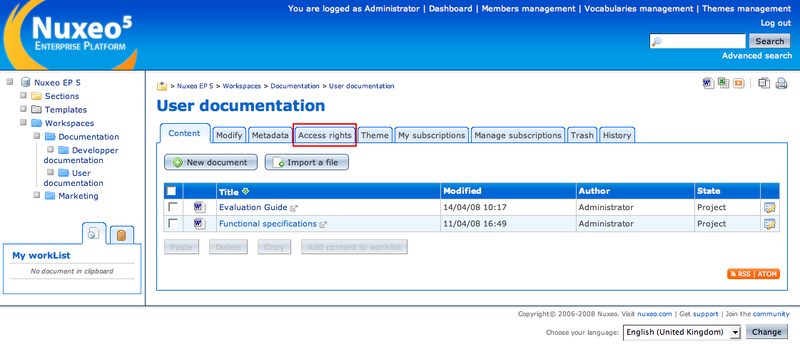
In a workspace, click on the Access rights tab to manage the workspace access rights.
In the Add a new security rule part of the screen, search and select the user you want to give access to the workspace and the rights you want to give him or her. In this case, we give John Doe (jdoe) writing rights on the workspace content.
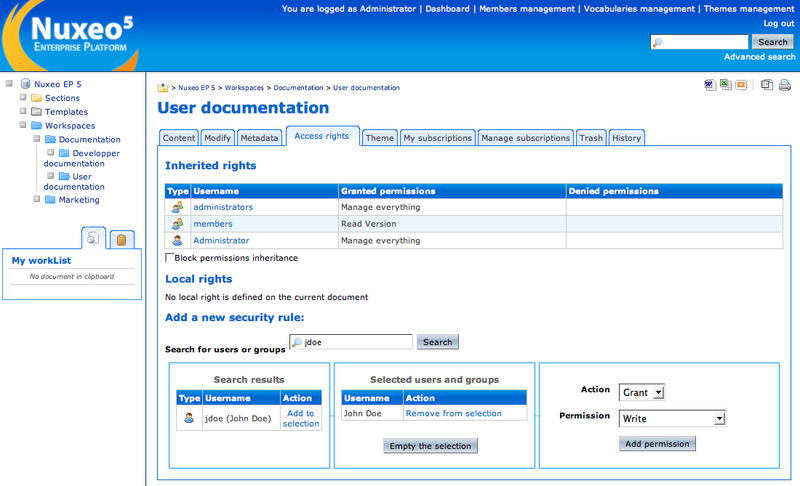
When done, click on the button.
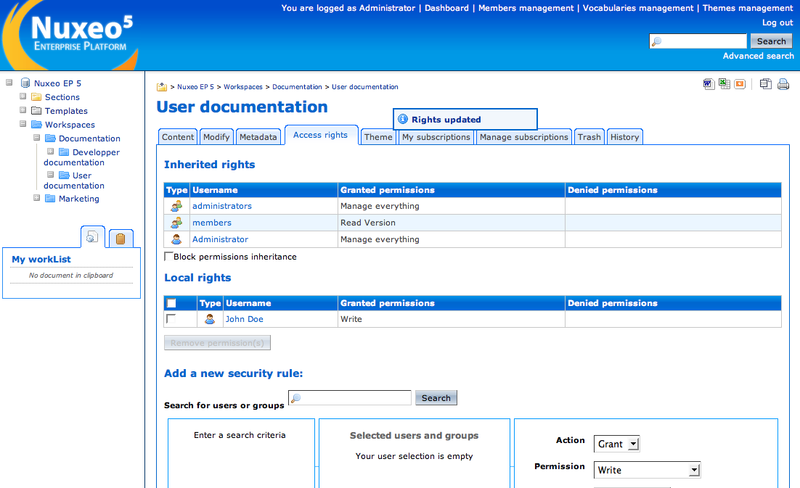
The user and its rights are displayed in the Local Rights part of the tab.
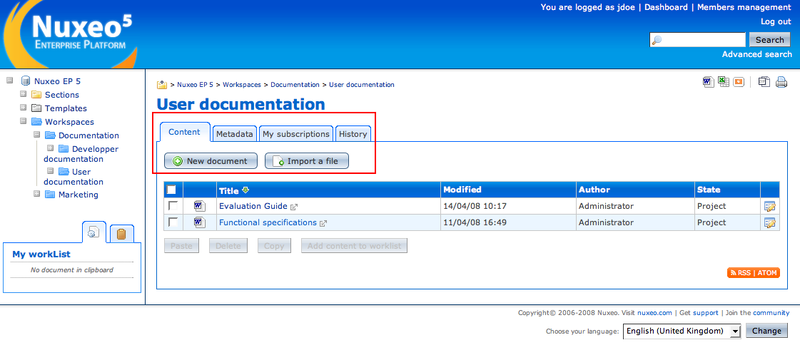
In this case, John Doe, the user we just gave writing rights in the “User documentation” workspace, is displayed the tabs corresponding to his rights. In the workspace, he is not displayed the Access Rights tab, but he can create documents.