2.2. Registration
Before you begin using Red Hat Network, you need to create a username, password, and System Profile. Upon launch, the Red Hat Update Agent senses whether these tasks have been accomplished. If not, it guides you through the registration process. If you ever need to force the Red Hat Update Agent into registration mode, say to re-register an existing system, you may do so by issuing the following command at a shell prompt:
up2date --register |
 | Important |
|---|---|
If your username is part of a larger organizational account, you should take caution when registering your systems. By default, all systems registered with the Red Hat Update Agent end up in the Ungrouped section of systems visible only to Organization Administrators. To ensure you retain management of these systems, Red Hat recommends your organization create an activation key associated with a specific system group and grant you permissions to that group. You may then register your systems using that activation key and find those System Profiles within RHN immediately. Refer to Section 2.5 Registering with Activation Keys for instructions. |
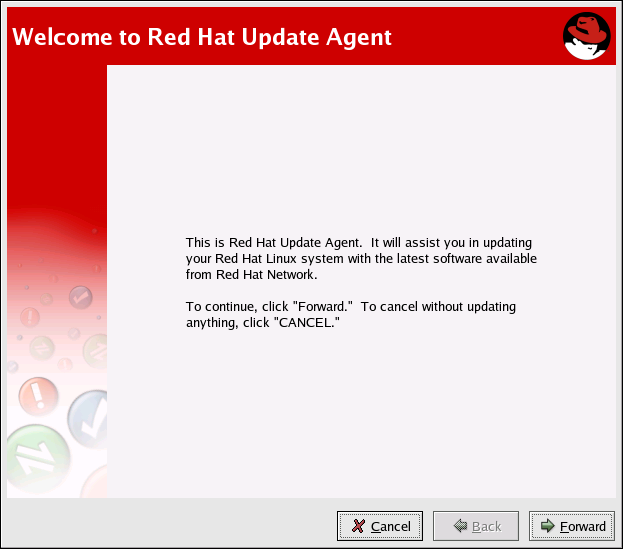
After installing the Red Hat GPG key, the screen in Figure 2-3 will appear. It appears every time you start the Red Hat Update Agent. Click Forward to continue.
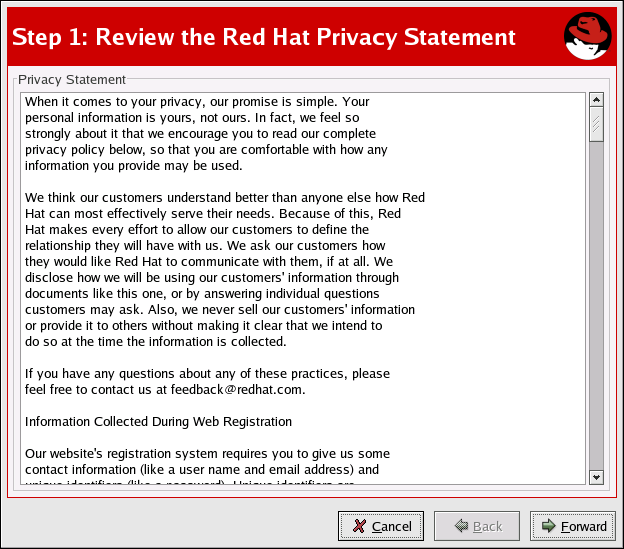
After clicking through the Welcome Screen, the Red Hat Privacy Statement appears. (See Figure 2-4). Red Hat is committed to protecting your privacy. The information gathered during the Red Hat Network registration process is used to create a System Profile, which is essential to receiving update notifications about your system. When satisfied, click Forward.
2.2.1. Registering a User Account
Before you can create a System Profile, you must create a user account. Red Hat recommends you create your account through the RHN website, but you may also do so through up2date. All that is required is a unique username-password combination and a valid email address.
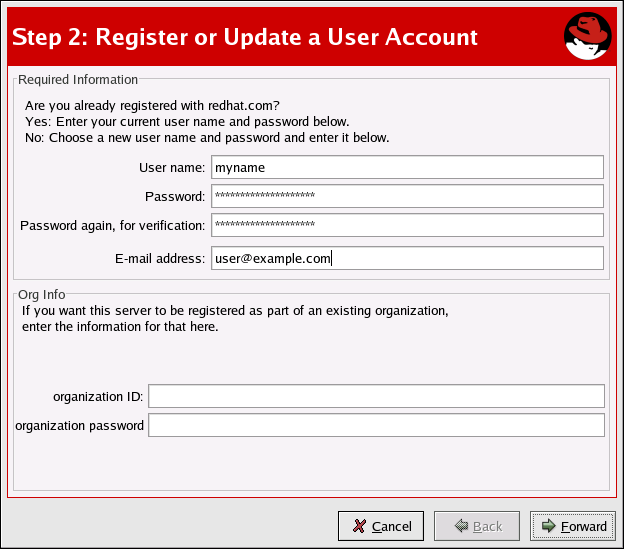
In the screen shown in Figure 2-5, choose a username and password. Once logged in to Red Hat Network, you can modify your preferences, view your existing System Profile, or obtain the latest Red Hat software packages.
 | Note |
|---|---|
If you are already a member of redhat.com, you can and should use the same username and password. However, you will still need to continue with the registration process to create your System Profile. |
Your username has the following restrictions:
Cannot contain any spaces
Cannot contain the characters &, +, %, or '
In addition, the following restrictions apply to both your username and password:
Must be at least four characters long
Are case-insensitive
Cannot contain any tabs
Cannot contain any line feeds
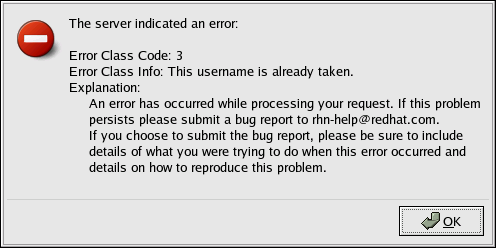
You must choose a unique username. If you enter one already in use, you will see an error message (see Figure 2-6). Try different usernames until you find one that has not been used.
 | Warning |
|---|---|
Be sure to identify a username that you will be satisfied with permanently, as this cannot be changed after account creation. |
Most users can leave the Org Info section blank. If you have an existing organization account, enter your organization's ID and password in the provided text fields. If the values are valid, the system will be added to the organization's Red Hat Network account.
If you have already registered a machine and created a System Profile, you can add a new machine to your account. Run the Red Hat Update Agent on the new machine you wish to add, and enter your existing Red Hat Network username and password. The new machine will be added to your existing account, and you can log into Red Hat Network with your username and password to view all your systems simultaneously.
In the Create Account screen, click Forward to continue.
If you are a new user to RHN, the Red Hat Update Agent takes you to the screen shown in Figure 2-7. Here you will add details about yourself and your business, if applicable, and identify the methods by which you should be reached.
| Note |
|---|---|
Unlike other details, your company name can be changed only through Red Hat Customer Service, so enter it carefully. If you do need to have your company name changed, send your request to [email protected]. |
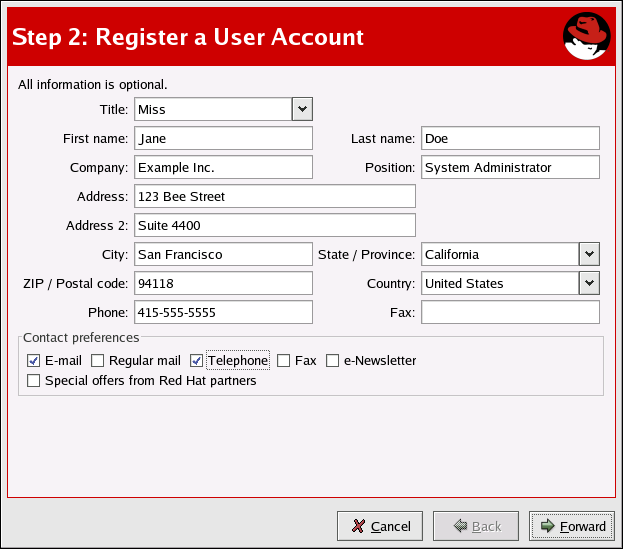
Once satsfied with the information supplied, click Forward to continue.
2.2.2. Registering a System Profile
Now that you have a user account, you can create a System Profile that consists of hardware and software information about your Red Hat Enterprise Linux system. The System Profile information is used by Red Hat Network to determine what software update notifications you receive.
2.2.2.1. Hardware System Profile
After creating a username and password for your Red Hat Network account, the Red Hat Update Agent probes your system for the following information:
Red Hat Linux version
Hostname
IP address
CPU model
CPU speed
Amount of RAM
PCI devices
Disk sizes
Mount points
The next step is choosing a profile name for your system as shown in Figure 2-8. The default value is the hostname for the system. You may modify this to be a more descriptive string, such as Email Server for Support Team, if you find it more helpful. Optionally, you can enter a computer serial or identification number for the system.
If you do not wish to include information about your hardware or network in your System Profile, deselect Include information about hardware and network (see Figure 2-8).
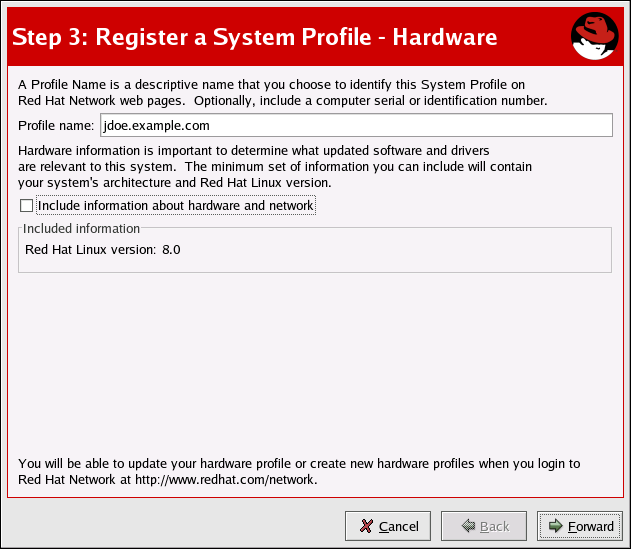
Click Forward to continue with the registration process.
2.2.2.2. Software System Profile
The software System Profile consists of a list of RPM packages for which you wish to receive notifications. The Red Hat Update Agent shows you a list of all RPM packages listed in the RPM database on your system and then allows you to customize the list by deselecting packages.
2.2.2.2.1. Gathering RPM Database Information
Only those packages you choose during this part of the registration will be included in your System Profile, and you will receive notifications only about the packages in your System Profile. Therefore, you must include packages in your profile to have RHN send you Errata regarding them. You should also note if you use an older version of a package and deselect it from the list, it will not be replaced with a newer version.
This RPM list can be modified through the Red Hat Network Web interface or by using the Red Hat Update Agent. Figure 2-9 shows the progress bar you will see while the Red Hat Update Agent gathers a list of the RPM packages installed on your system. This operation may take some time, depending on your system installation.

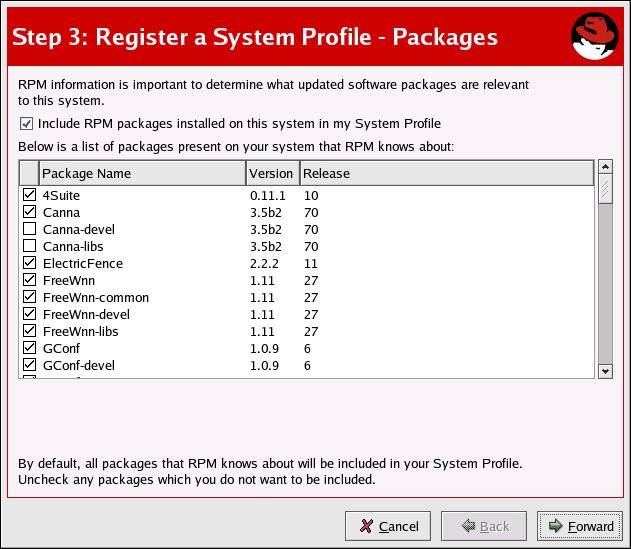
Once the RPM package list is built, the list will be displayed as shown in Figure 2-10. Deselecting Include RPM Packages installed on this system in my System Profile will omit this information from your System Profile.

2.2.2.2.2. Choosing RPM Packages to Exclude from the System Profile
By default, all RPM packages in your RPM database are included in your System Profile to be updated by Red Hat Network. To exclude a package, uncheck the package from the list by clicking the checkbox beside the package name. For example, Figure 2-11 shows that the Canna-devel and Canna-libs packages have been omitted from the package list.
Choose which packages to exclude, if any, from the System Profile, and click Forward to continue with the registration process.
2.2.2.3. Finishing Registration
As seen in Figure 2-12, the last step of registration is to confirm that you want to send your System Profile to the Red Hat Network. If you choose Cancel at this point, no information will be sent. Clicking Forward will submit your RHN System Profile.
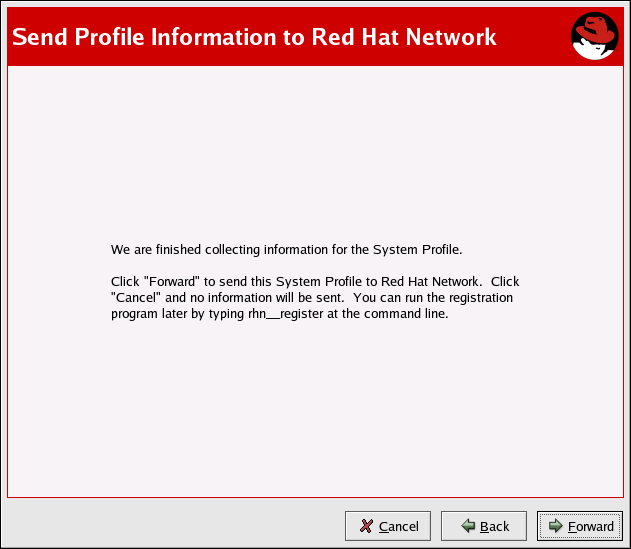
Figure 2-13 shows the progress bar you will see while your profile is being sent. This process may take some time depending on your connection speed.
You will know your System Profile has been successfully sent when you see the Channels screen (Figure 2-14) appear. Refer to Section 2.3.1 Choosing a Software Channel for continued instructions.