Printer Configuration Tool allows users to configure a printer. This tool helps maintain the printer configuration file, print spool directories, print filters, and printer classes.
Red Hat Enterprise Linux 5 uses the Common Unix Printing System (CUPS). If a system was upgraded from a previous Red Hat Enterprise Linux version that used CUPS, the upgrade process preserves the configured queues.
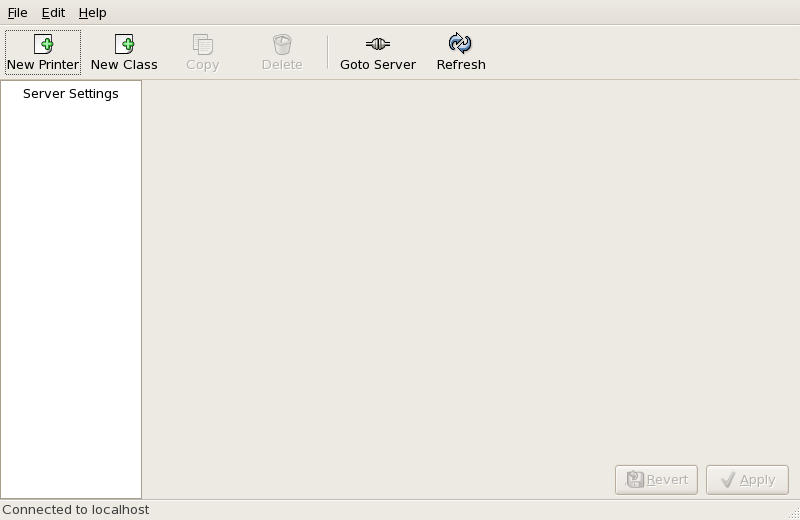
Using Printer Configuration Tool requires root privileges. To start the application, select System (on the panel) => Administration => Printing, or type the command system-config-printer at a shell prompt.
The following types of print queues can be configured:
-
AppSocket/HP JetDirect — a printer connected directly to the network through HP JetDirect or Appsocket interface instead of a computer.
-
Internet Printing Protocol (IPP) — a printer that can be accessed over a TCP/IP network via the Internet Printing Protocol (for example, a printer attached to another Red Hat Enterprise Linux system running CUPS on the network).
-
LPD/LPR Host or Printer — a printer attached to a different UNIX system that can be accessed over a TCP/IP network (for example, a printer attached to another Red Hat Enterprise Linux system running LPD on the network).
-
Networked Windows (SMB) — a printer attached to a different system which is sharing a printer over an SMB network (for example, a printer attached to a Microsoft Windows™ machine).
-
Networked JetDirect — a printer connected directly to the network through HP JetDirect instead of a computer.
Important
If you add a new print queue or modify an existing one, you must apply the changes for them to take effect.
Clicking the Apply button prompts the printer daemon to restart with the changes you have configured.
Clicking the Revert button discards unapplied changes.
To add a local printer, such as one attached through a parallel port or USB port on your computer, click the New Printer button in the main Printer Configuration Tool window to display the window in Figure 33.2, “Adding a Printer”.
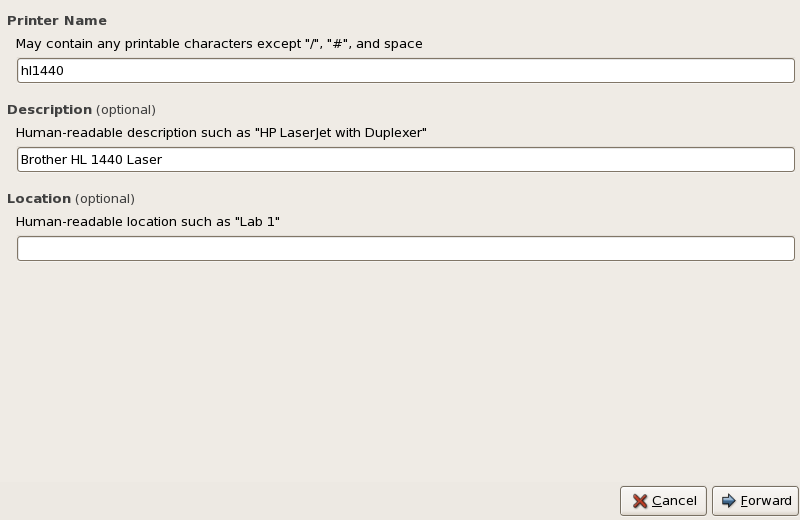
Click Forward to proceed.
Enter a unique name for the printer in the Printer Name field. The printer name can contain letters, numbers, dashes (-), and underscores (_); it must not contain any spaces.
You can also use the Description and Location fields to further distinguish this printer from others that may be configured on your system. Both of these fields are optional, and may contain spaces.
Click Forward to open the New Printer dialogue (refer to Figure 33.3, “Adding a Local Printer”. If the printer has been automatically detected, the printer model appears in Select Connection. Select the printer model and click Forward to continue.
If the device does not automatically appear, select the device to which the printer is connected (such as LPT #1 or Serial Port #1) in Select Connection.
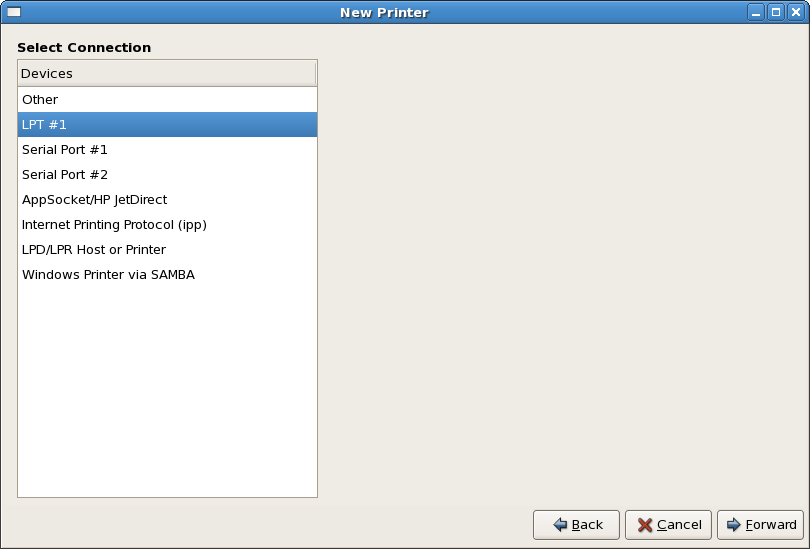
Next, select the printer type. Refer to Section 33.5, “Selecting the Printer Model and Finishing” for details.