You can create Zenoss User groups to aggregate rules and apply them across multiple user accounts. To create a new User Group:
-
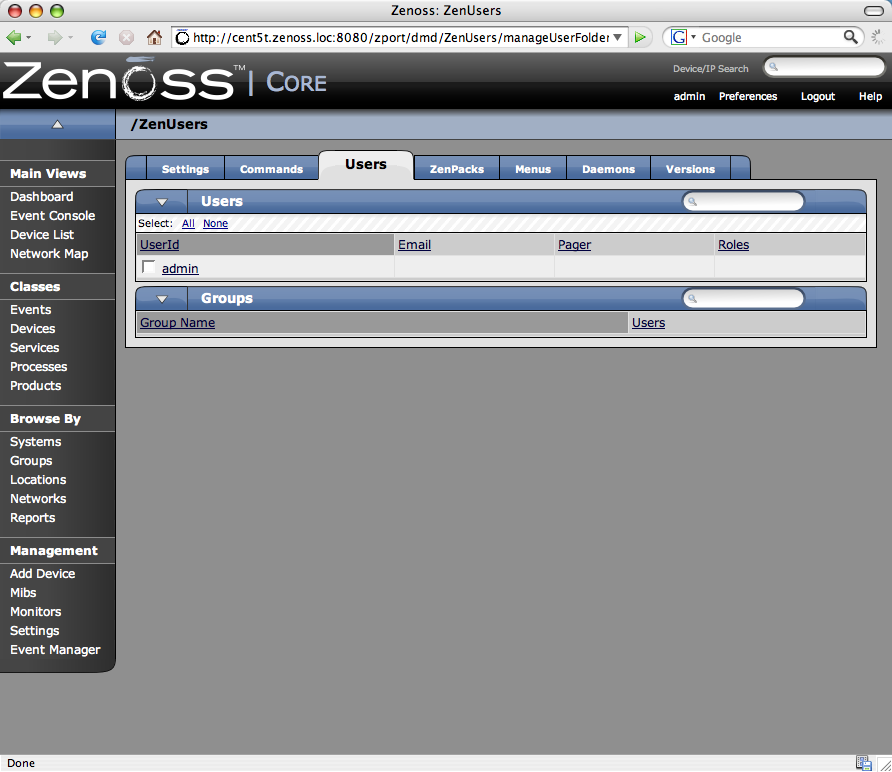
From the Left Navigation menu, select Settings.
-
Click the Users tab.
The Users tab appears.
-
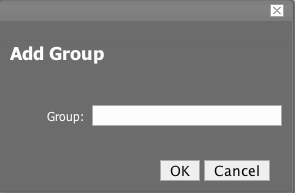
From the Groups table menu, select Add New Group.
The Add New Group dialog appears.
-
In the Group field, enter a name for this user group.
-
Click the OK button.
The name of the group you entered appears in the Groups list.
-
Click the name of the Group you just created.
The Edit tab for this group appears.
-
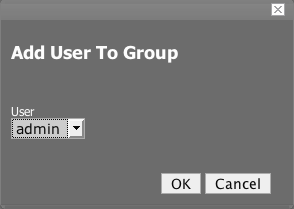
From the Users In Group Table menu, select Add User.
The Add User to Group dialog appears.
-
From the User drop-down, select the users you want to add to the group.
-
Click the OK button.
The user(s) you have selected appear in the list of users for this group.
You can also choose administered objects and Alerting Rules for this User group. These Alerting Rules will apply to all users in the group. The User's original Alerting Rules and objects will also apply.