Systems are intended to follow virtual setups like you would have in a network setup or systems grouped by functionality.
To create a new System or Sub-System:
-
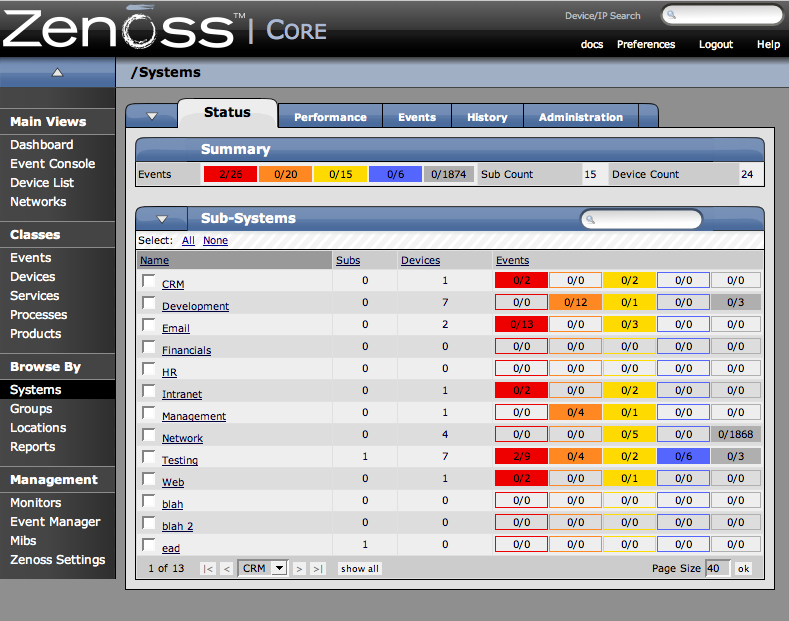
From the Navigation menu on the left, under Browse by, select Systems.
The Sub-systems Status tab appears.
-
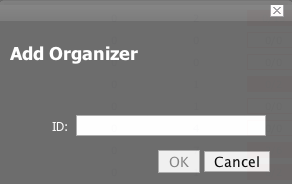
Open the Sub-Systems table menu and select the Add New Organizer option. The Add Organizer dialog appears.
-
In the ID field, Enter the name for the new Sub-system.
-
Click OK.
The new sub-system is added and appears in the list.
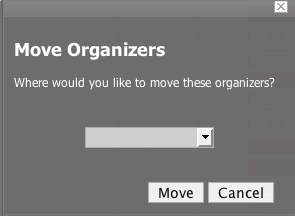
To move the sub-system into another group or sub-group:
-
Select the system from the system list by clicking the check box next to the systems that you want to move and then open the Sub-Systems table menu to show the Subsystem options.
-
Select the Move Organizer option. The Move Organizer dialog appears:
-
From the pop-up menu, select where you want to move this system.
-
Click Move.
The system is moved to the selected system and the attributes page for the system where you moved the system appears.