To manage various device attributes you can use the Manage menu item in the page menu for each device. The options for this menu are More... Manage... and Run Commands... Use the Manage item to make all of the changes described in the section below. It is also important to note that you can set up many of these management activities according to the inheritance and hierarchies of the various device organizers. Just navigate to the organizer (Class, System, Group or Location) and follow the same steps. Exceptions to this inheritance are noted in each section below.
To make Zenoss got to a device and recollect all of the configuration information for the device:
-
Navigate to the Device.
-
From the Device page menu, select Manage and then Model Device.
The Device is remodeled and the remodeling status page appears.
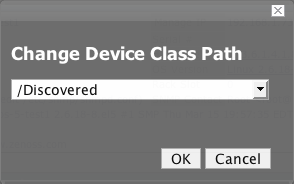
To change the Device Class for a device:
-
Navigate to the Device.
-
From the Device page menu, select Manage and then Change Class.
The Device Class Change dialog appears.
-
Select the new Device class for this device from the drop-down menu.
-
Click OK.
The device class for the current device has been changed.
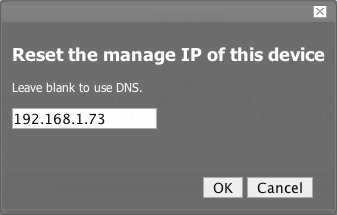
To Reset the manage IP of a Device in the system:
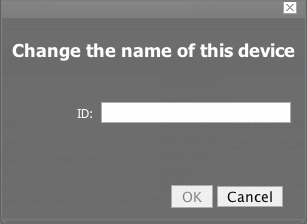
To rename a device that is in the Zenoss system:
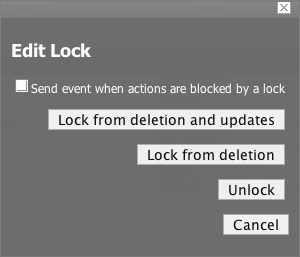
You can lock a device's configuration in a few ways to prevent changes from being overwritten when remodeling the device. There are two levels of locking that are available. You can Lock the configuration from deletion and updates, or lock from deletion. You can also use this dialog to Unlock the device configuration.
-
Navigate to the Device.
-
From the Device page menu, select Manage and then Lock.
The Lock Configuration Confirmation Dialog appears.
-
If you want to send events when actions are blocked by a lock click the checkbox.
-
Change the locking configuration by clicking the button for the lock configuration you want to set.
The lock is set for the device.
To change the Device community string:
-
Navigate to the Device.
-
From the Device page menu, select Manage and then select Reset Community.
The community for the device is reset.
You can push the any changes you make to the device configuration to the Zenoss system and the associated collectors, without waiting for a remodel.
To push the changes:
-
Navigate to the Device.
-
From the Device page menu, select Manage and then select Push Changes.
A status message appears in the upper right of the screen confirming that the changes have been pushed up to the collectors.
To clear the heartbeats associated with a particular device:
-
Navigate to the Device.
-
From the Device page menu, select Manage and then select Clear Heartbeats.
The heartbeats for this device are moved to the event history.
The Edit tab for the ZenEventManager appears. Make any changes you want to make (if necessary)and click Save.
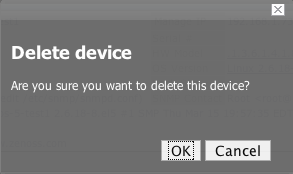
To delete a device from the Zenoss system: