Alerting rules are created on a per user basis. You can add additional recipients for rules, but upon creation, the rules are tied to a user account.
-
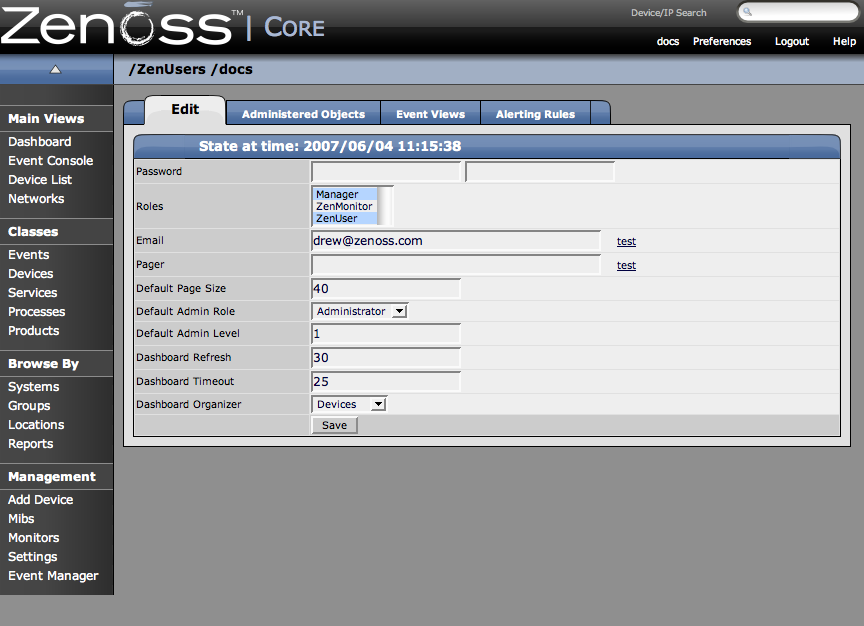
From the upper right corner of the Zenoss Dashboard, click the Preferences link.
The Preferences page appears.
-
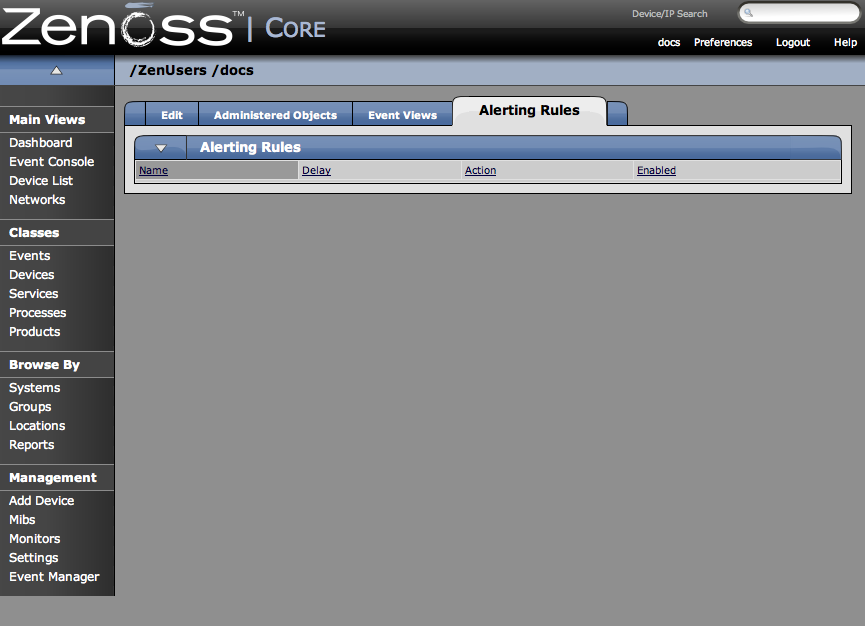
Select the Alerting Rules tab.
The Alerting Rules tab appears.
-
From the Alerting rule table menu, select Add Alerting Rule.
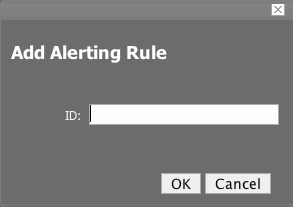
The Add Alerting Rule dialog appears.
-
In the ID field, enter a name for the alert.
-
Click the OK button.
The main Alerting Rules page appears showing the alert you just created.
-
Click the name of the Alert you just created.
The Alert Details page appears.
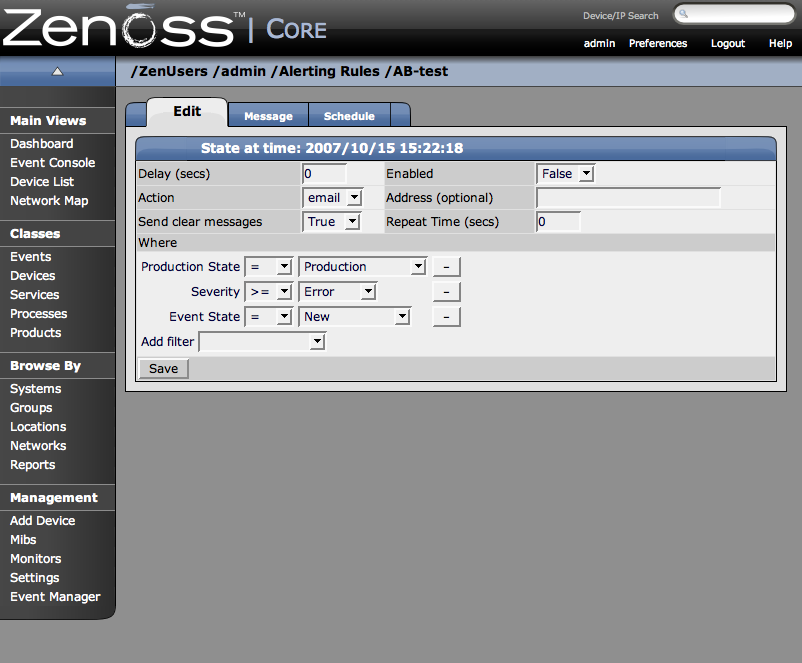
Set the attributes from the Alert Details page, and clicking the Edit tab.
-
Use the Delay field to set the number of seconds to wait before sending the alert. If an event clears before delay time no alert is sent.
-
To enable the alert, set Enabled to True.
-
Use the Repeat Time to set the time for repeating the alert to send the alert every x seconds until the event is acknowledged.
-
In the Action field, select whether you want the system to send email or a page.
If action is defined as email the event will be emailed. If the default action is set to page, you will need to have an SNMP paging server setup (see the external libs dir of install directory and the sendpage lib does this). Many wireless phone systems have SMTP to SMS gateways so in many cases you use email to act like a page as well.
By default email alerts will be sent to the email address for this user and pager alerts will go to the specified pager address.
You can override this by filling in the Address (optional) field.
-
The Where area of the tab sets the thresholds for the Alert.
The default rule that is created contains the thresholds for an event occurrence where the Event State is “New”, Severity is “greater than Error”, and Production State is “Production”. You can change these thresholds by changing the values in the pop-up menus.
-
You can also add additional filters to the Where area by choosing a filter from the Add Filter menu. Adding a filter creates an additional pop-menu in the Where area where you can choose additional values to filter the event. To Remove any of the filters for the alert, click the (-) minus button.
-
Click Save to save the values you entered on this tab.
-
From the Alerting Rules Page, click the Message tab to customize the message that is sent to the specified address.
The Message tab appears.
-
Use the Message tab to specify the email message subject and body. You actually have two (2) message to create. The first (called Message) is the message to send when the thresholds for the alert are met or exceeded. The second message is the one to send when the event has cleared (called Clear Message).
The fields for the subject and message areas are python format strings.
At the bottom of the page there is a list of the fields available for an alert. A clear events fields are accessed by prefixing the field name with “clear”. For instance the field prodState becomes clearProdState. There is also a special field clearOrEventSummary which will print the clear summary or if it does not exist the original alert summary. This is useful for the subject of a clear alert. In the case where an alert has no clear (it was deleted for the UI for instance) a meaning full subject will still be created.
-
Click Save to save the data you entered on this page.

-
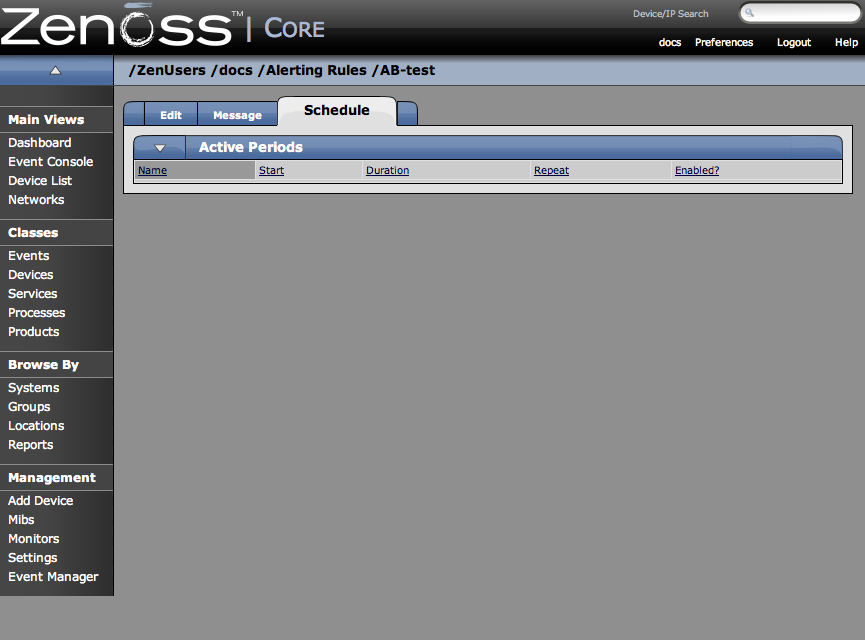
From the Alerting Rules page, click the Schedule tab to set up a schedule for the Alert.
The Schedule tab appears.
-
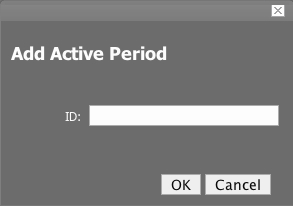
To add a new Schedule for the Alert, from the Active Periods table menu, select Add Rule Window.
The Add Active Period dialog appears.
-
Enter a name for the schedule in the ID field and click the OK button.
The Schedule you added appears in the Active Periods list.
-
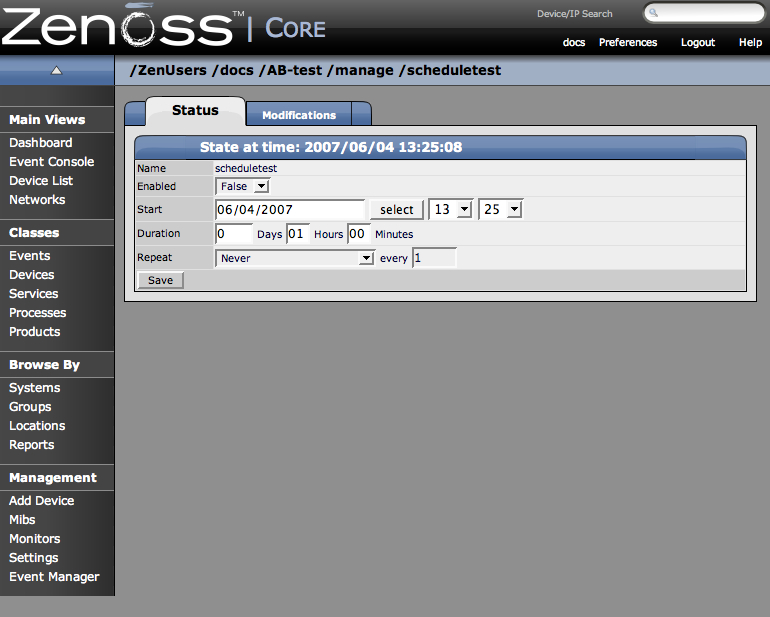
Click the name of the new Schedule to set the details for the schedule.
The Schedule Details page appears.
-
If you want to restrict this Alert to only monitor at certain times for certain durations, set the Enabled field to True.
-
In the Start area, enter the date you want the alert to start, or click the Select button to choose the date from a calendar.
-
In the fields to the right of the date, select an hour and minute for the Alert to start.
-
Use the Duration area to specify the length of time you want to Alert to be listening based on the start time.
-
If you want the Alerting period to repeat you can choose a time frame from the Repeat pop-up menu. You can choose from:
-
Never
-
Daily
-
Every Weekday
-
Weekly
-
Monthly
-
First Sunday of the Month
-
-
Choose a number of times to repeat the selected interval.
-
Click Save.
You have now saved all of the options for creating a new alert.