Administration Guide
Using Groups is much like using systems only the intent is to use groups as functional divisions or even monitoring organizers to assign attributes to multiple objects with similar function or even among departmental lines. Note that groups do not appear on the Dashboard. Even though they do not appear on the dashboard, they still help to create additional organizers for monitoring or alerting.
From the Navigation menu on the left, under Browse by, select Groups.
From the Settings tab, open the Sub-Groups table menu.
Select the Add New Organizer option.
The Add Organizer dialog appears.
In the ID field, Enter the name for the new Sub-Group.
Click OK. The new sub-group is added and appears in the list.
To move the sub-group into another group or sub-group:
Select the group from the group list by clicking the check box next to the groups that you want to move and then open the Sub-Groups table menu to show the group options.
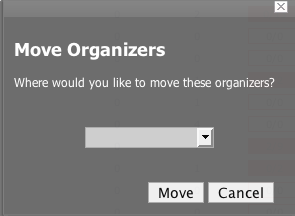
Select the Move Organizer option.
The Move Organizer dialog appears.
From the pop-up menu, select where you want to move this group.
Click Move.
The group is moved to the selected group and the attributes page for the group where you moved the group appear.